Spend time on the transferbox lock.
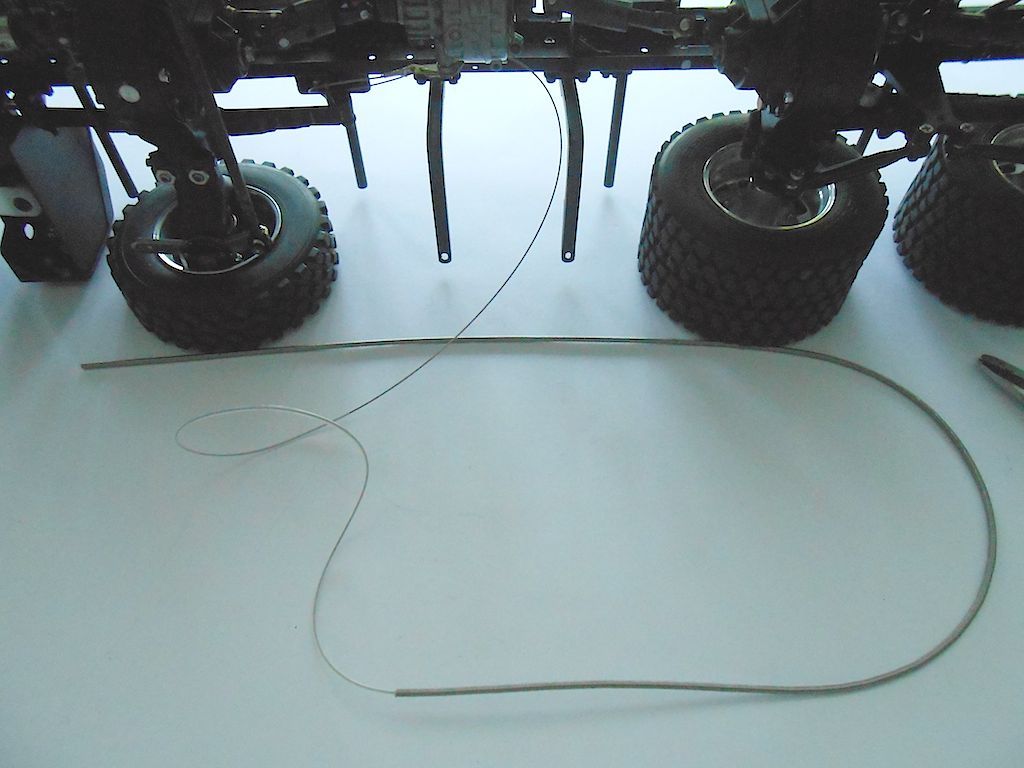
The steel cable goes into a teflon one that goes into the metal guide ... Here a picture of what I'm talking about. (just for show)
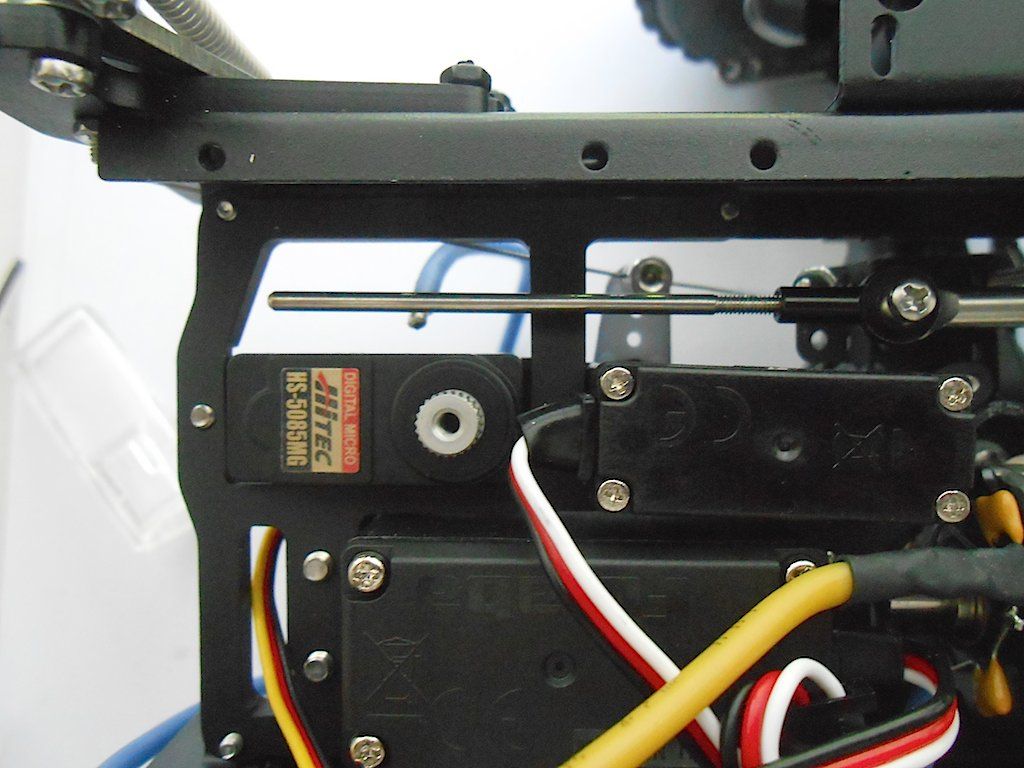
Cutting the servo horn and drilling the 3rd hole out to 2mm etc.
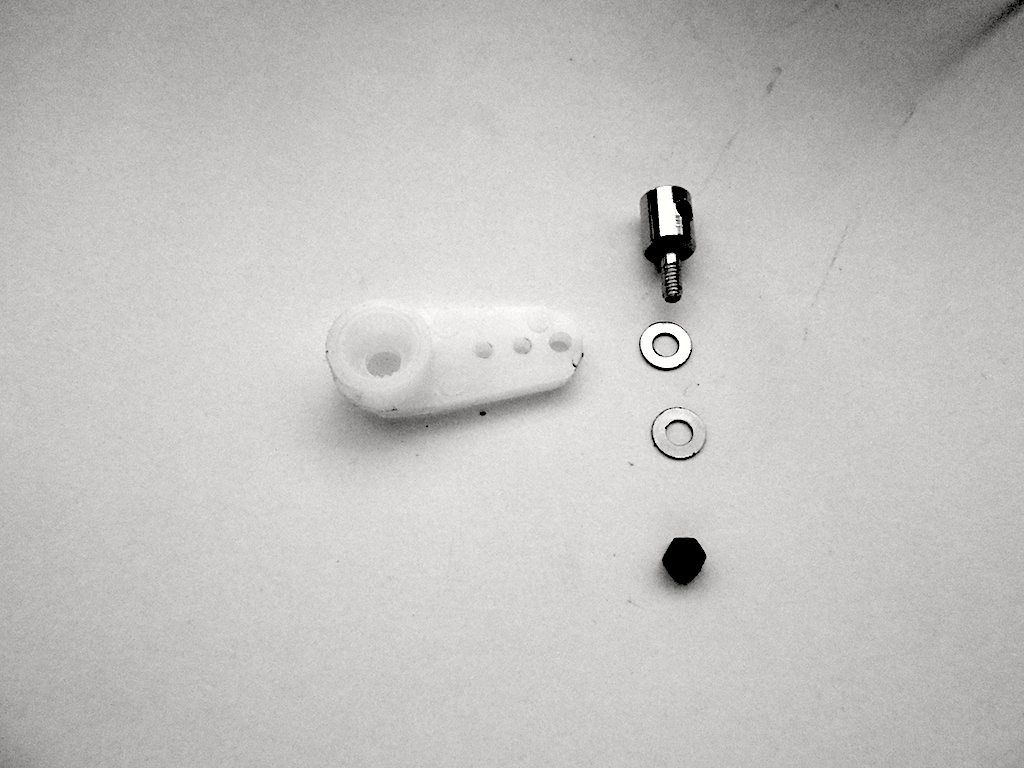
Decided to make the horn black with a Sharpie before I mounted it on the centered servo. (looks reddish in picture, but is black)
Then I spend some enervating time figuring out how to run the metal tube. First I started out at the transferbox and worked my way forward, but that was a non working proposition because trying to get that flippin thing in the clamp near the servo is a nerve wrecking proposition ... Well anyway now had a good idea of how to fit it. So started from the servo and worked my way backwards to the transfer case. Shortened it there and gently clamped it in place with the screw. Then shove in the teflon hose, followed by the steel pull cable.
After I finished this bit, I took pictures of how I ran the cable.
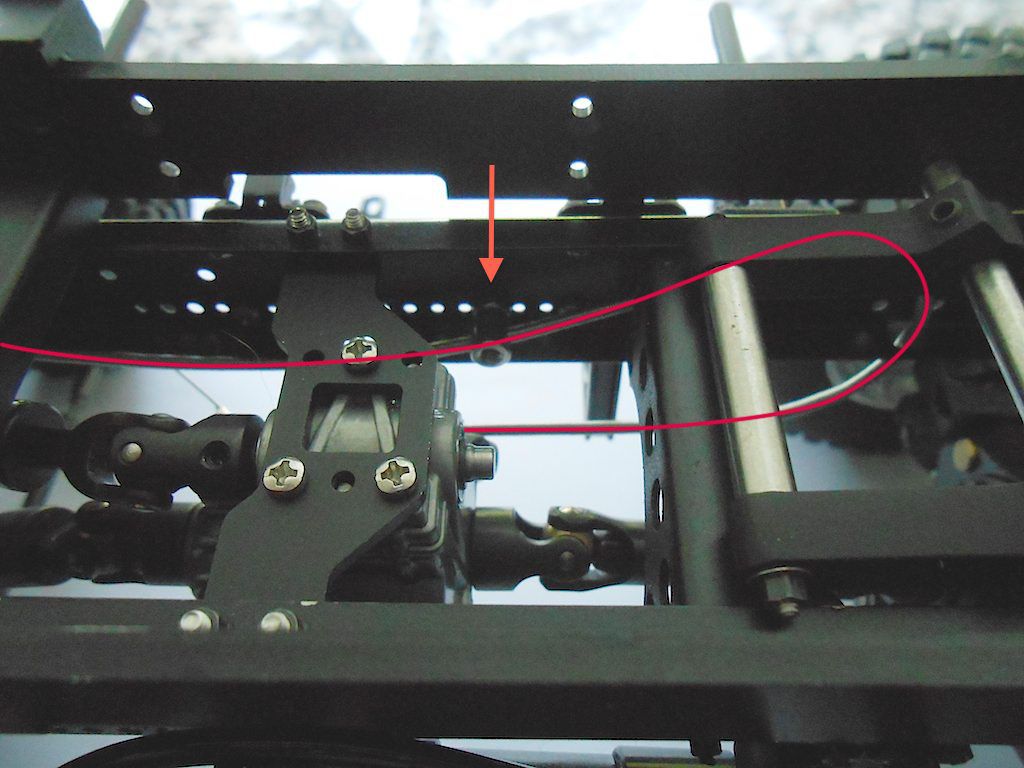
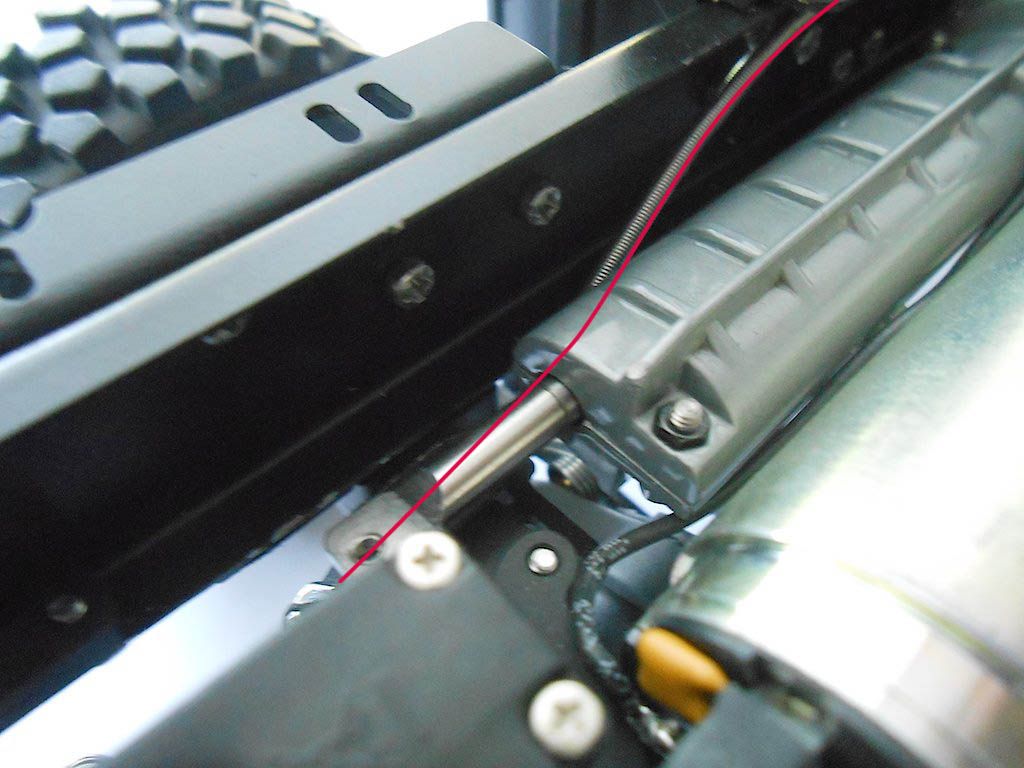
Starting at the transferbox the cable goes towards the rear of the truck.
There it goes inside the frame through one of the holes provided and swoops 180° back towards the front. I have attached to of those clamps, but I drilled the hole out to 2.5mm to make it easier to get the cable through. It does not clamp the cable, just prevents it from flopping about.
Installed a 2nd clamp (also drilled out to 2.5mm) just before the gearbox, and from there the cable swoops up to go over the gearbox
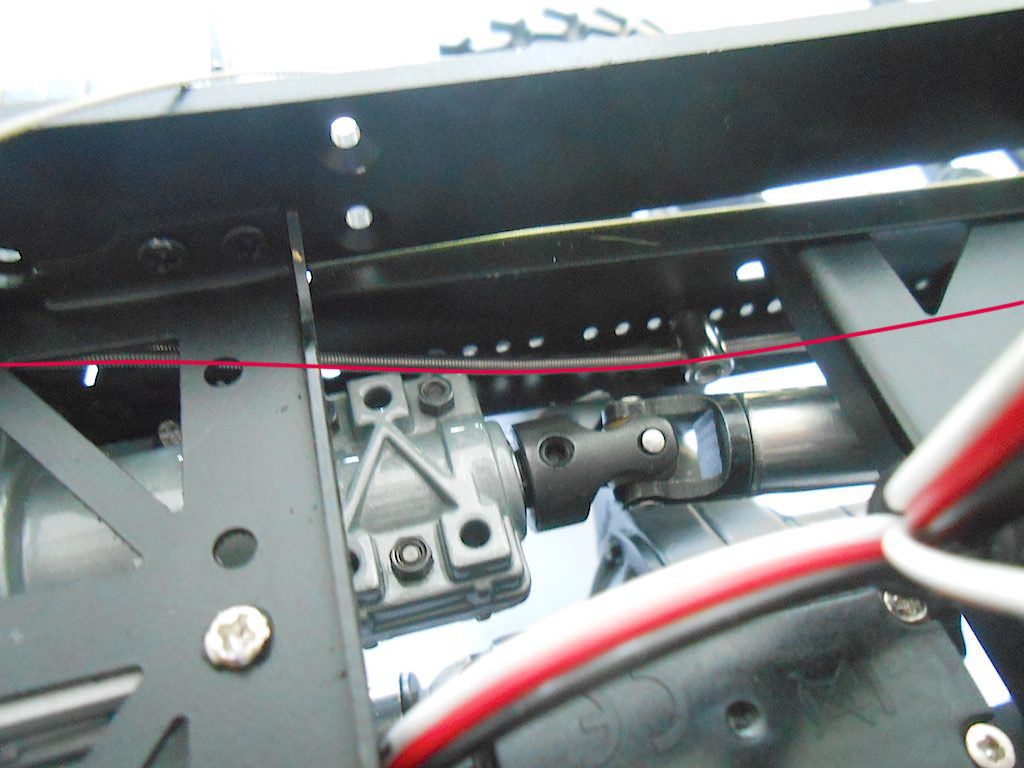
And then down again to the clamp near the servo.
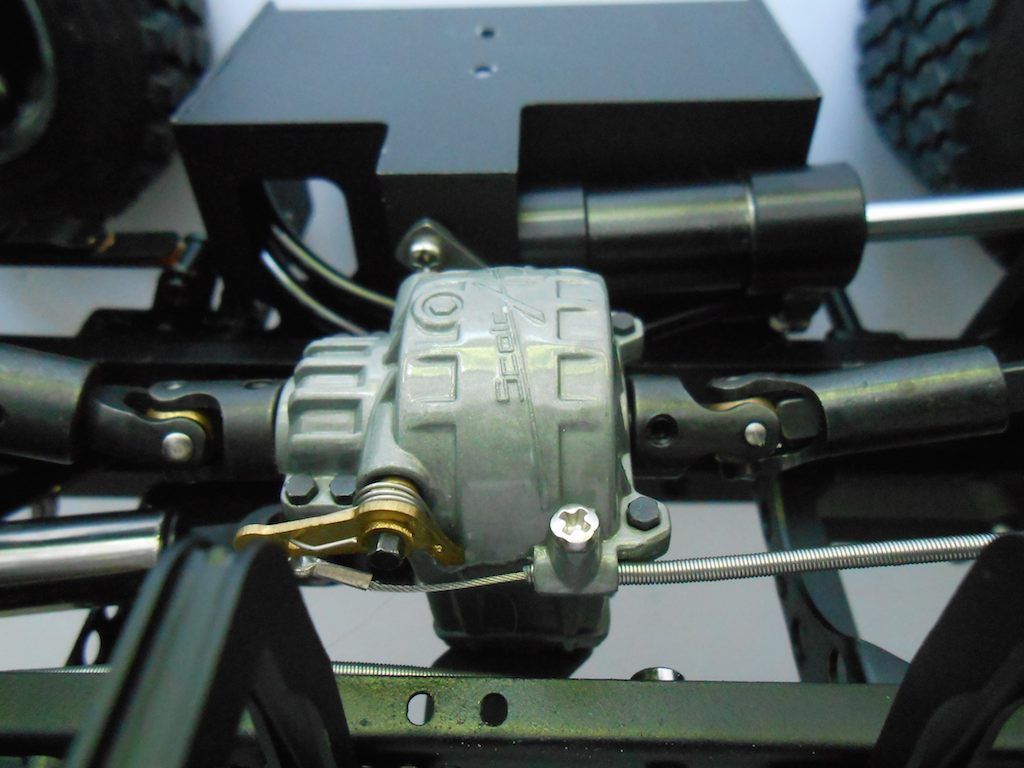
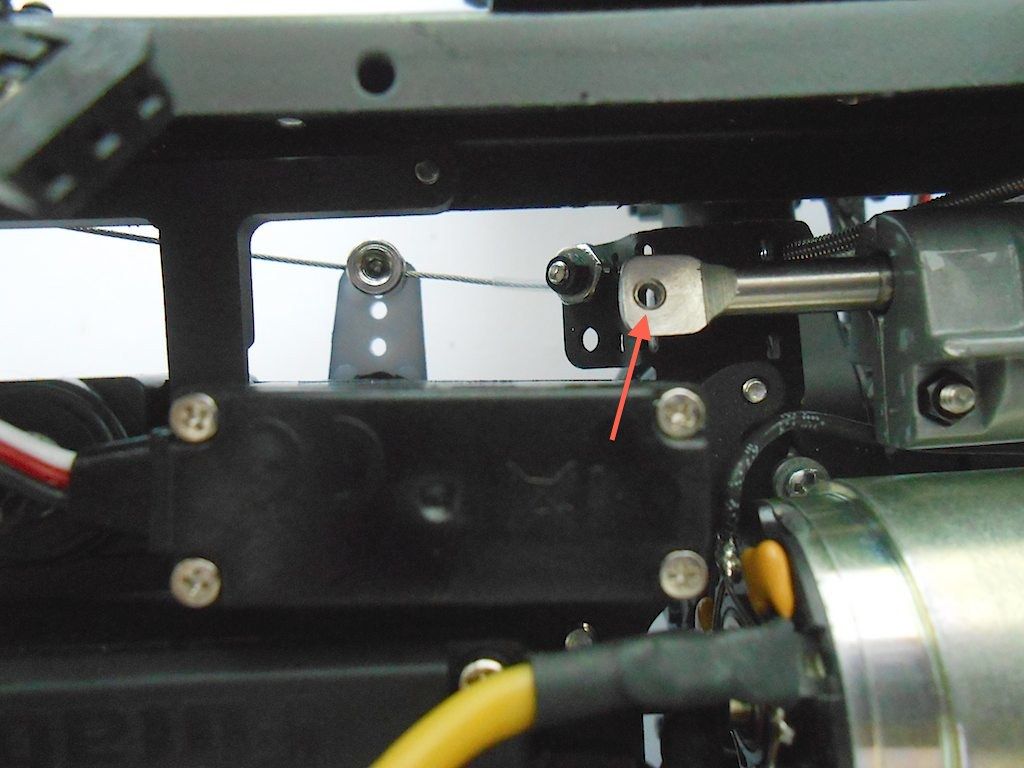
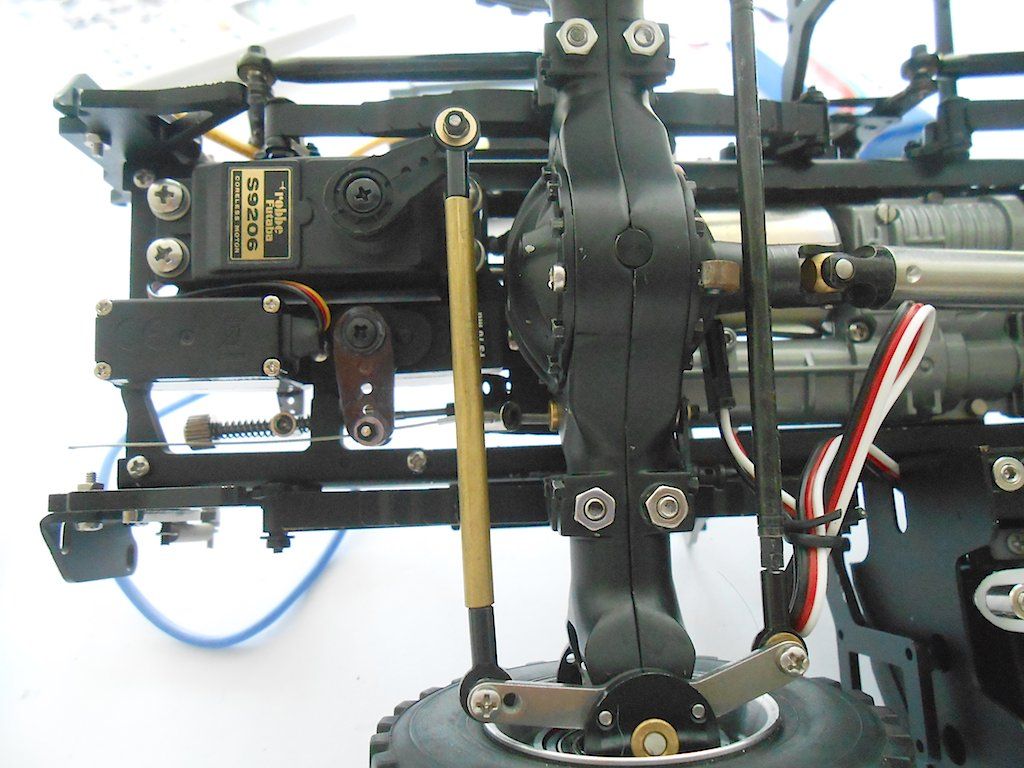
There the metal and teflon hose are cut to size and the steel cable is then tensioned and attached to the servo. I haven yet cut the steel cable to size because I might need to make some adjustments once I get the radio control hooked up. The red arrow points toward where the next step - gearshift - will attach.
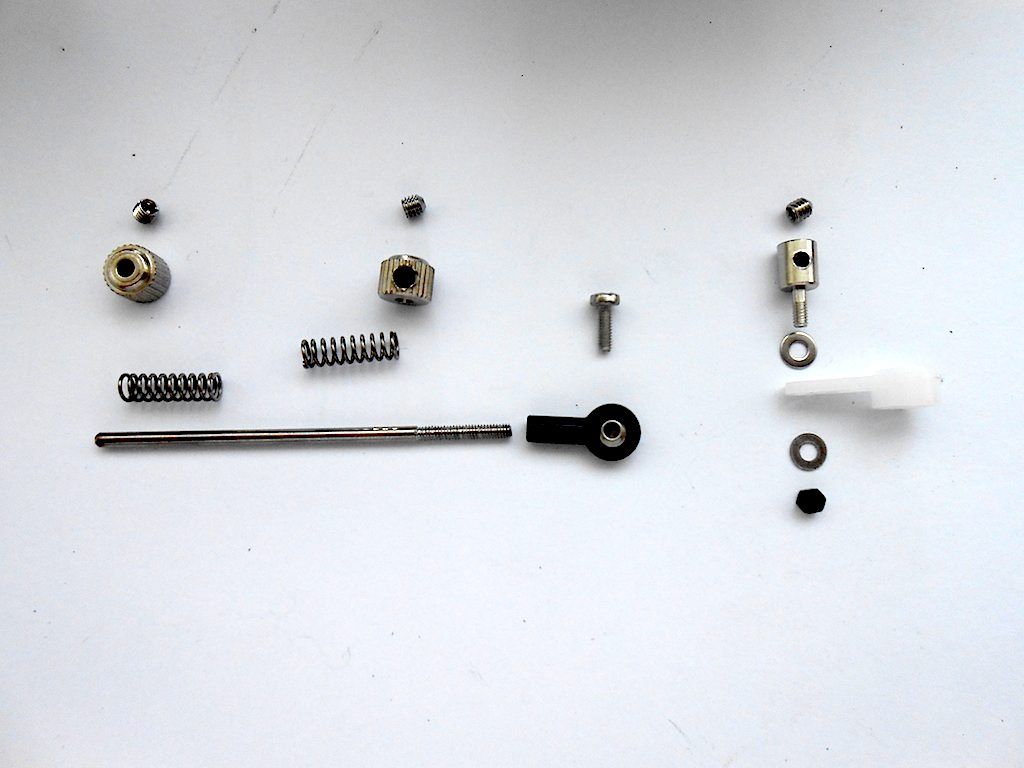
Gearshift - the parts
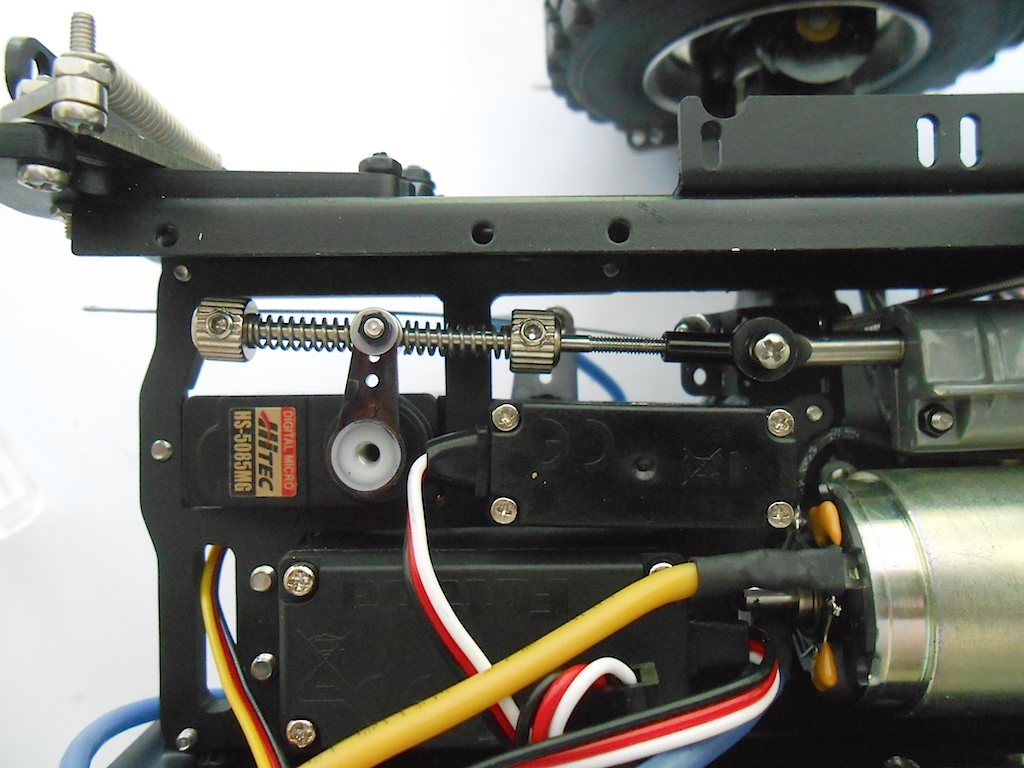
Easiest to first attach the pull bar (tried some other approaches first)
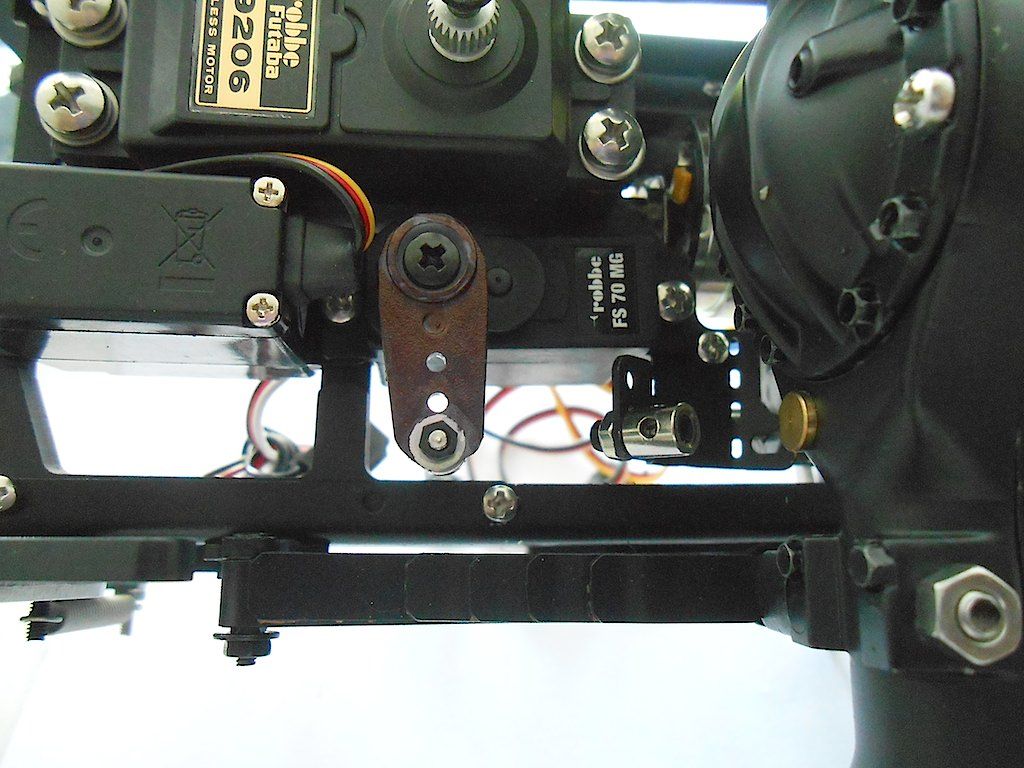
And then mount these bits. The clamp attaches to the servo horn pointing downwards. They show it mounted both ways in the manual.

Installed. There is a mark on the bit sticking out from the gearbox that indicates 2nd gear. (This is installed with the box in second gear) The springs are supposed to be only lightly compressed. (careful, I spend about 10 minutes looking for the one that sprung away)
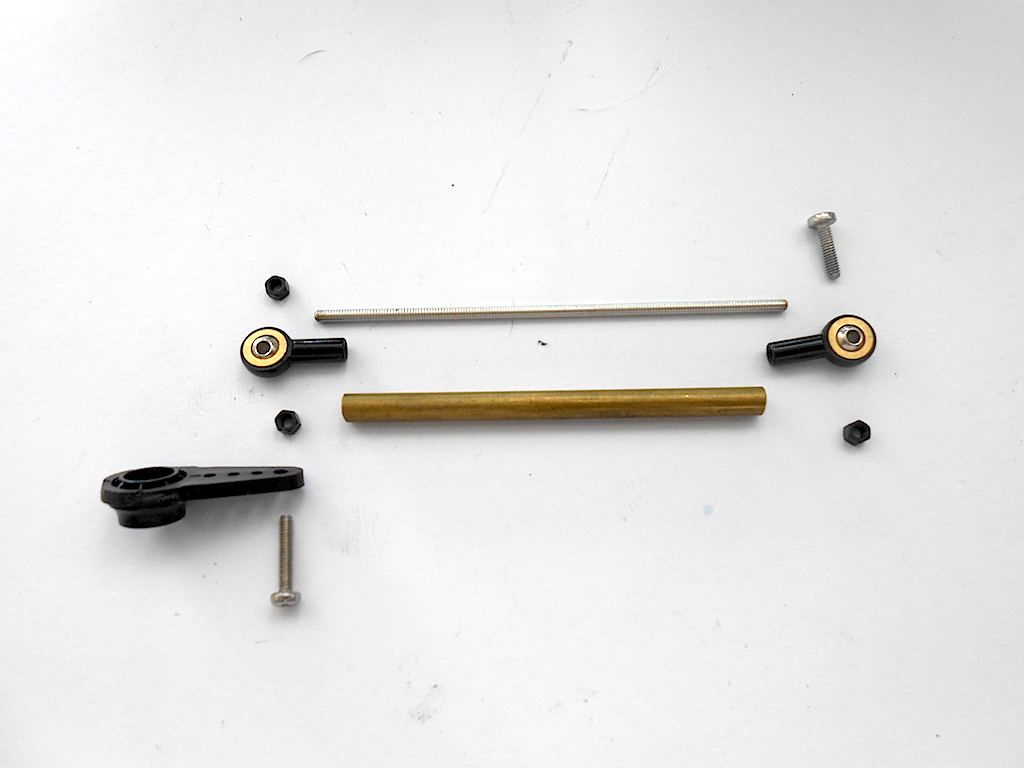
And last the steering linkage
Now next would be the bowden cables of the diff locks of the axles. Hope they go in easier than the transferbox one.