Had the reason for my little mishap explained by a person way more proficient in mechanical matters. When I screwed in the bolts, the last couple of turns were not smooth. Most probably this was caused by the black stuff or contamination on the threads. I had previously installed the Roll on / off stuff but never completely tightened the bolts. I should have stopped at once tightening the bolts and taken them back out. Then chase the threads with a tap or else put some copper grease on the bolts. Oh well water under the bridge.
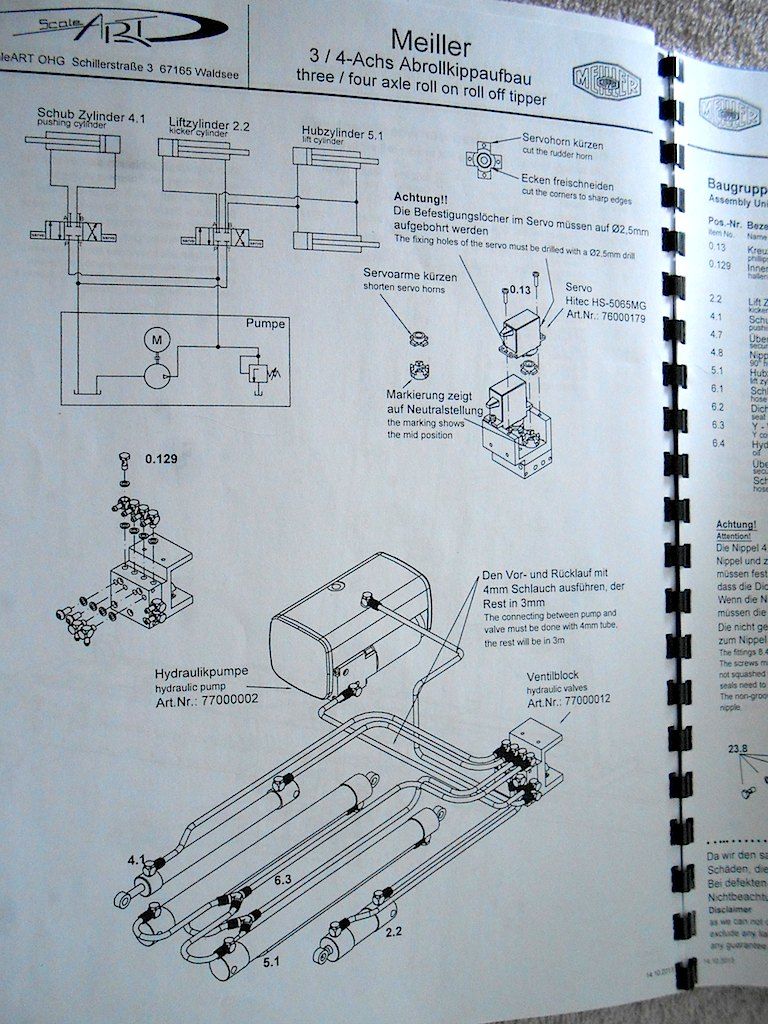
Before I continue here a picture of page in the manual. Makes it easier to follow this posting.
Spend yesterday evening messing with the placement of my holders and got it all kind of figured out. Glued them on last night and let them cure overnight.
This is where I glued them. top one about 1 inch (2.5cm) from the top and the bottom one about 4.5 inch (11.5 cm) from the top.

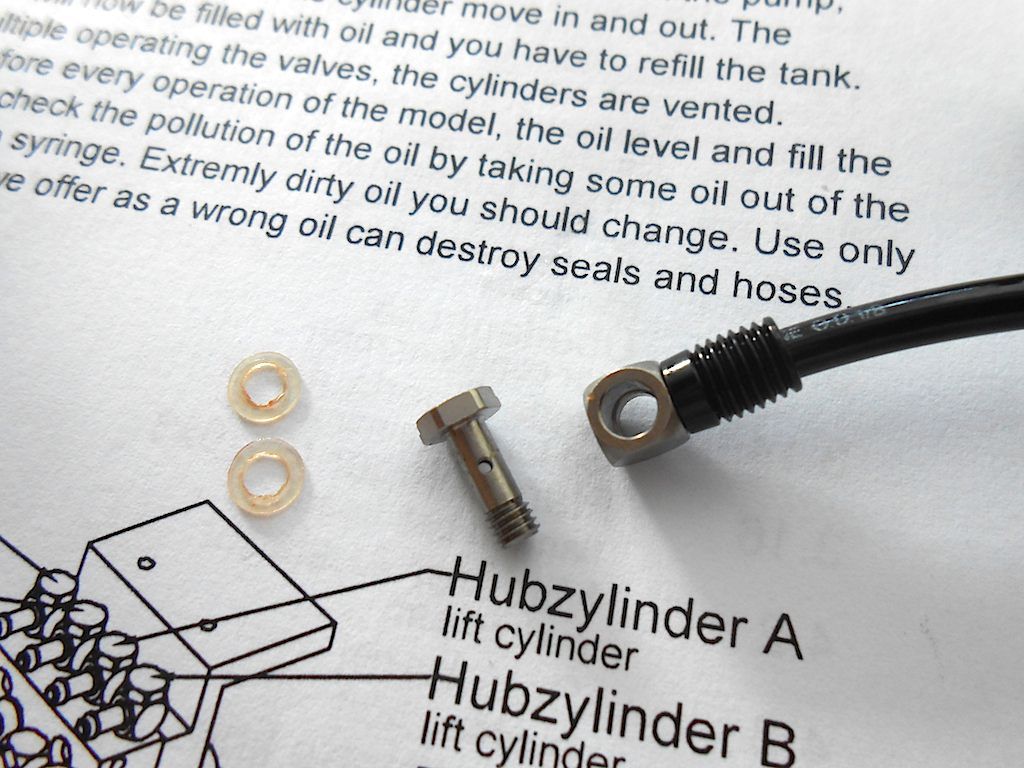
The top one should have been further out. Had to unscrew the nipple to be able to attach the hydraulic hose. Which meant I had to replace the 2 seals also. (Plenty of spare ones supplied)
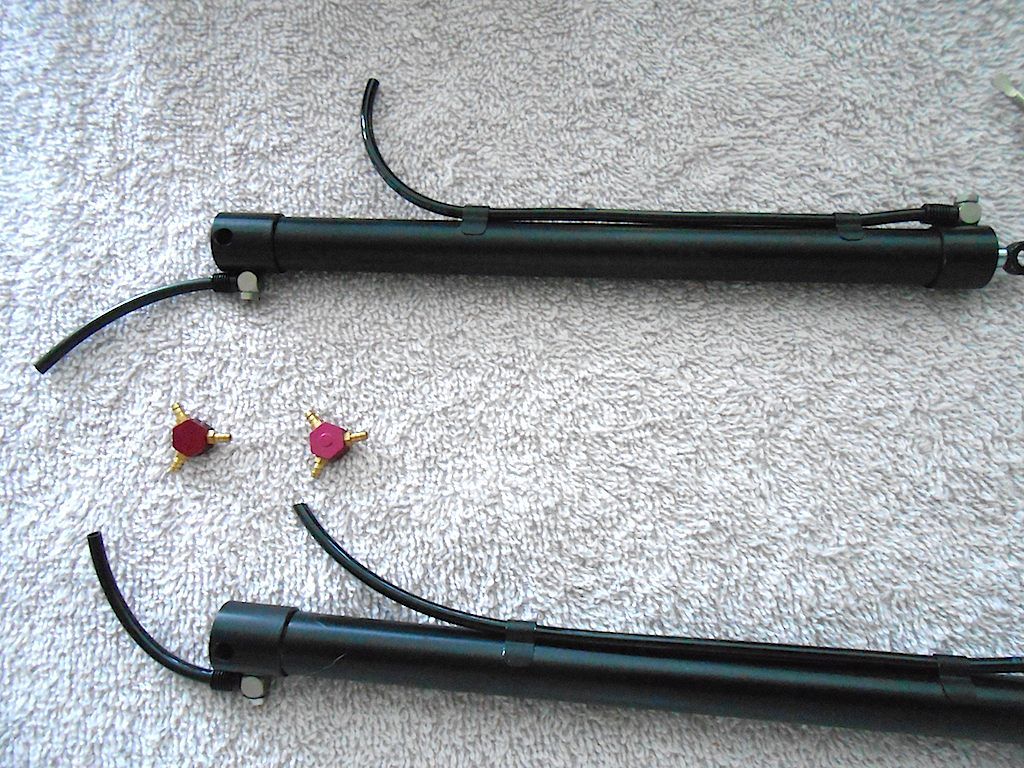
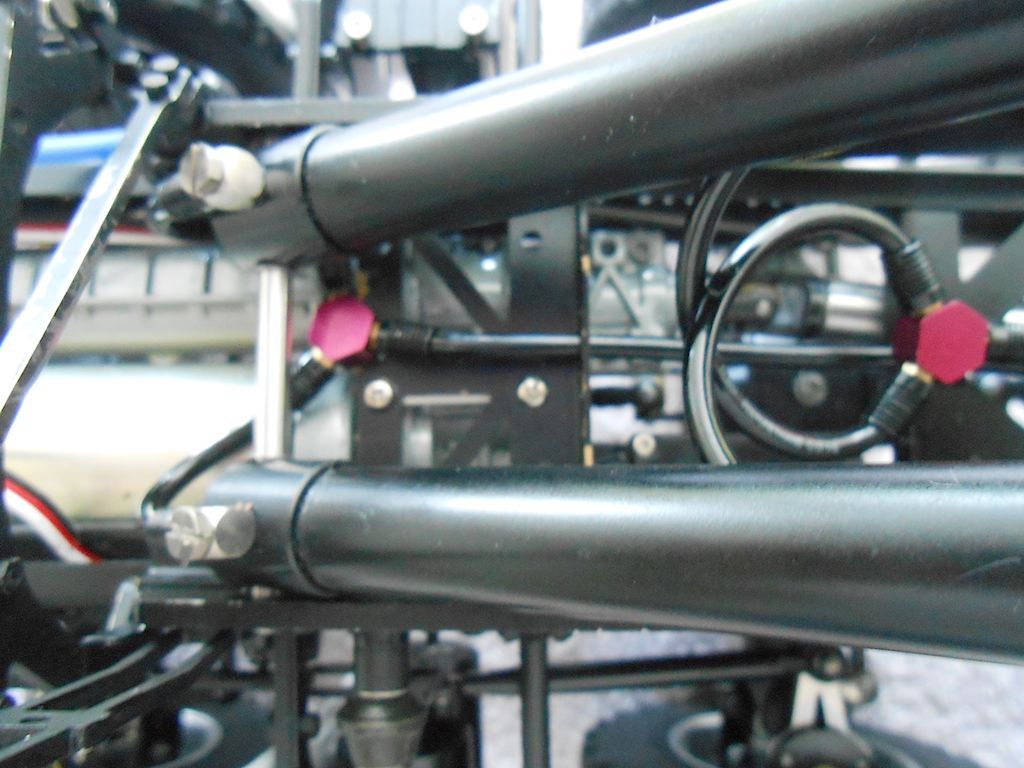
Both cylinders with hoses attached. I make a bit of an error ... the one on the op the hose should point inside. Had to redo that one later in the game. The hose comes rolled up and it does pay to work with the way it is curled.
Following the manual, the small ones are 5 cm and the long ones about 17.5 cm.
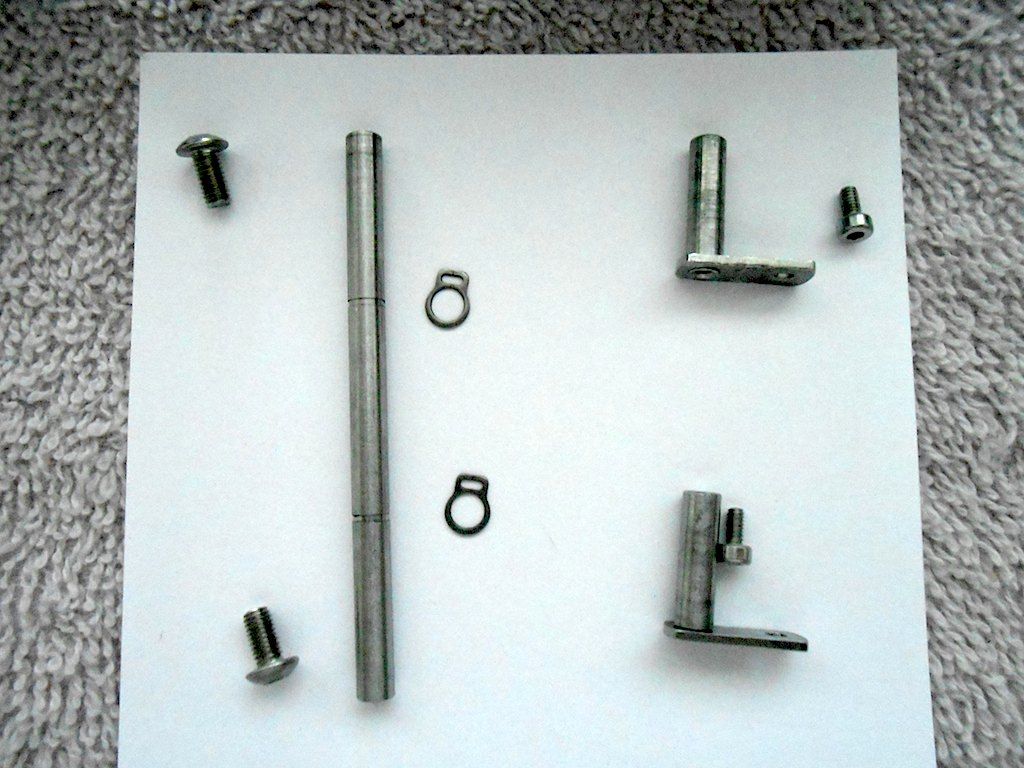
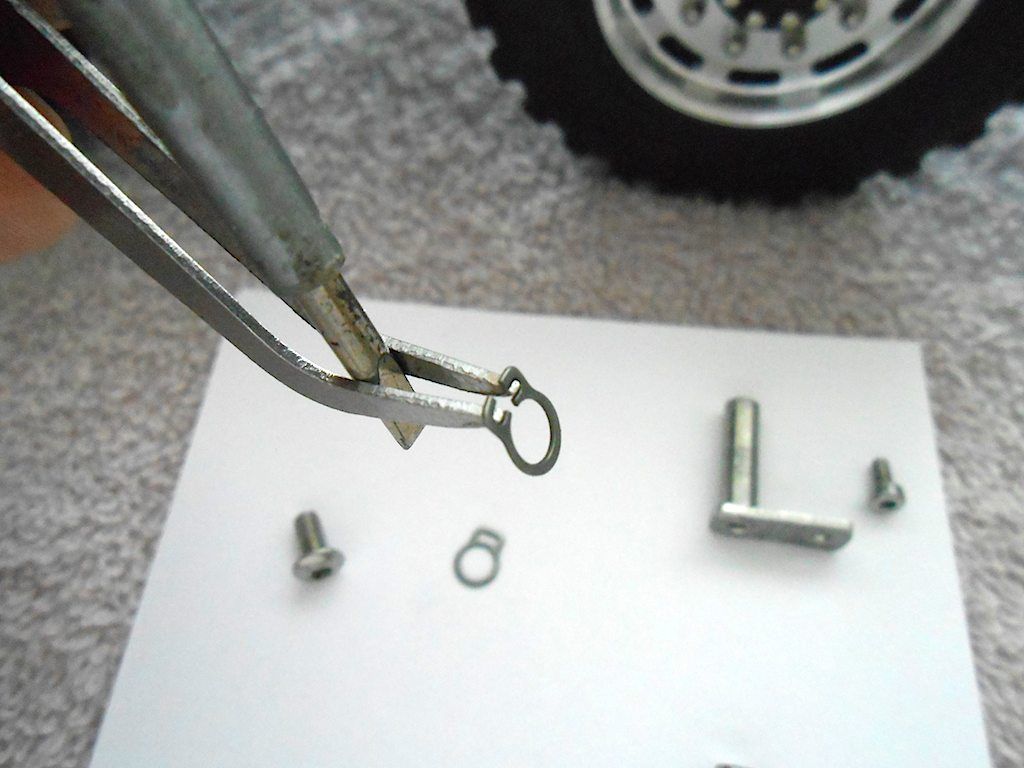
Now time to fasten the cylinders to the frame and the rest of the mechanism. I had forgotten about those cir-clips.
Found a way to get them on without too much trouble. Got tweezers that fitted in the opening, and then just stuck in a flat screwdriver and slowly turned the blade opening the clip - did have a couple fly off though, but there are a spares.
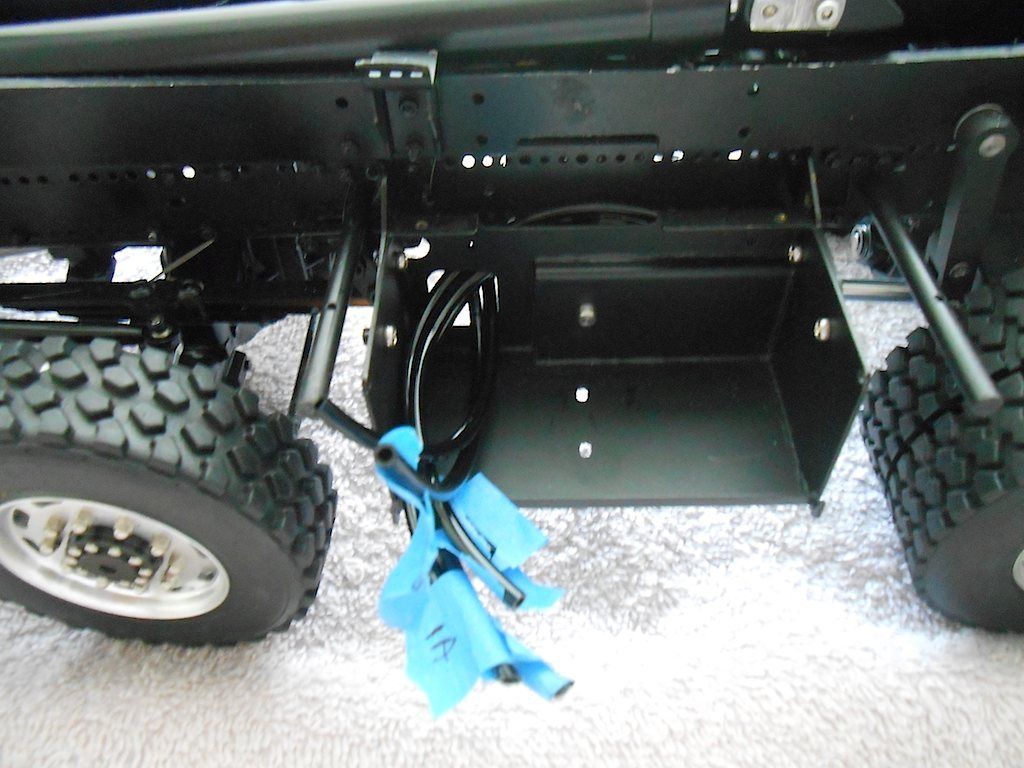
Cylinders installed, and connected the short hoses. Immediately I got a knick

Bugger ... replaced it and same story. Ended up with a piece of only 4cm before it behaved itself. It is a pain getting the hoses and the holder on the nipple, but it is even harder getting the bleeding thing off again. Do hope I never have a hose failure.
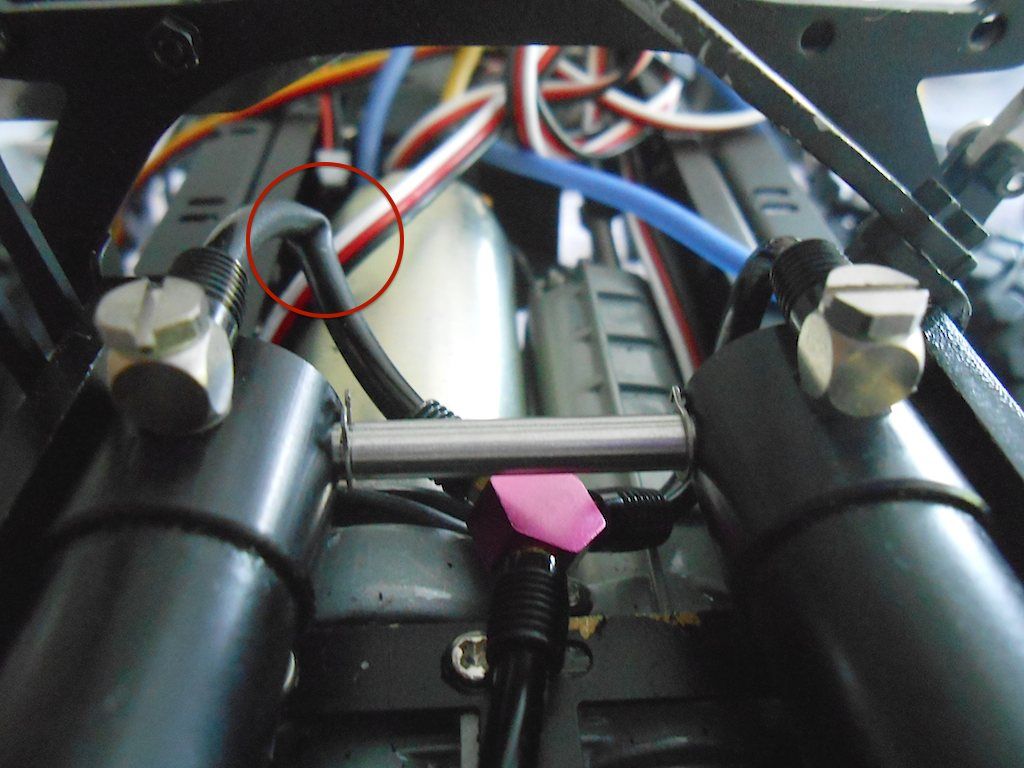
Here a view from the other side after finally (4 tries!) getting the bit of hose to stay in shape.
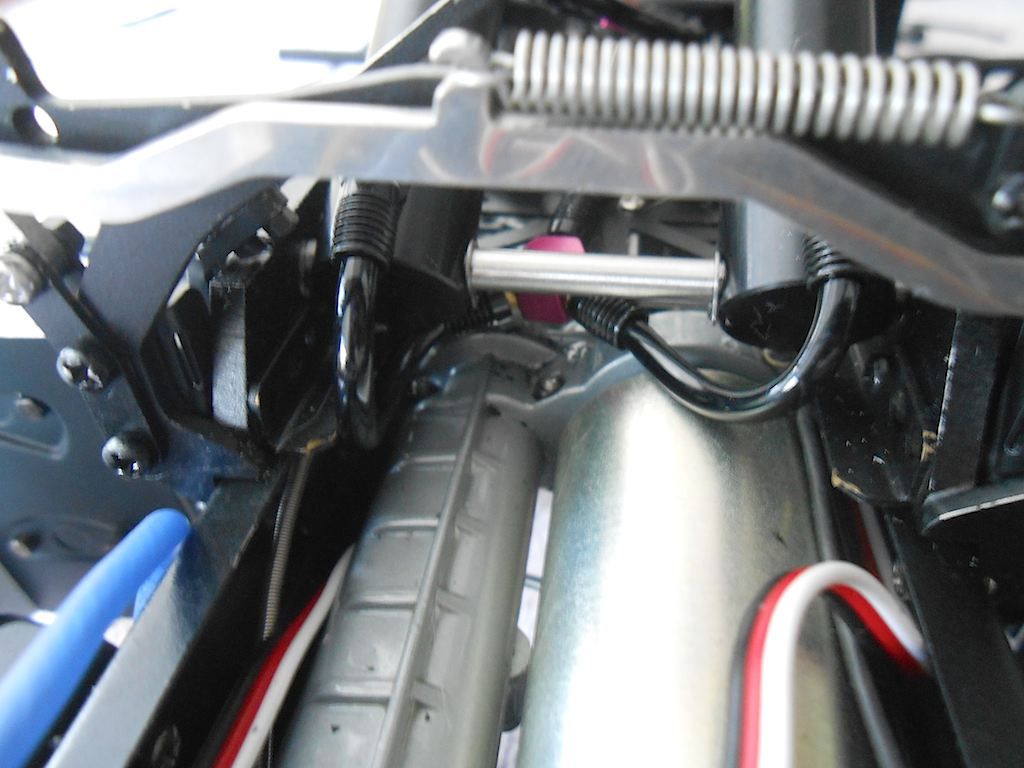
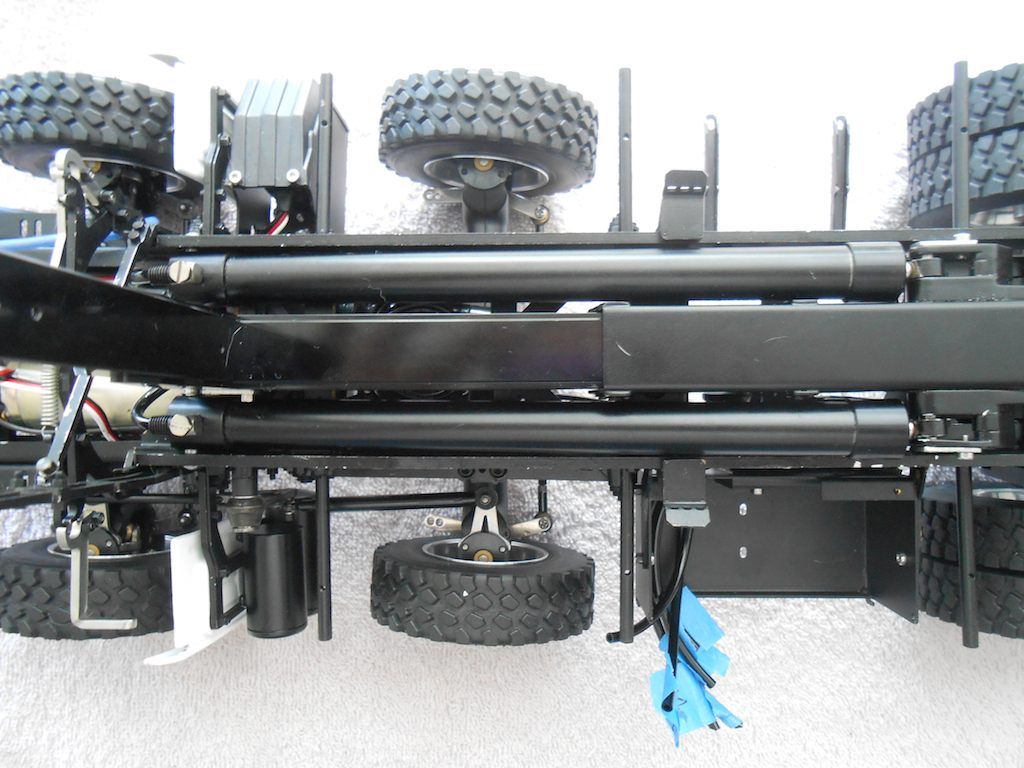
The longer hoses have to cross over to fit. Here is where the natural curve of the hose comes into play. By having one of the hoses bending the "wrong" way the whole thing got skewed.
Connector towards the valves of the short hoses and the longer one after replacement now giving a better curve and not trying to twist away when the cylinders go up.
and the long ones joined to the line for the valves.
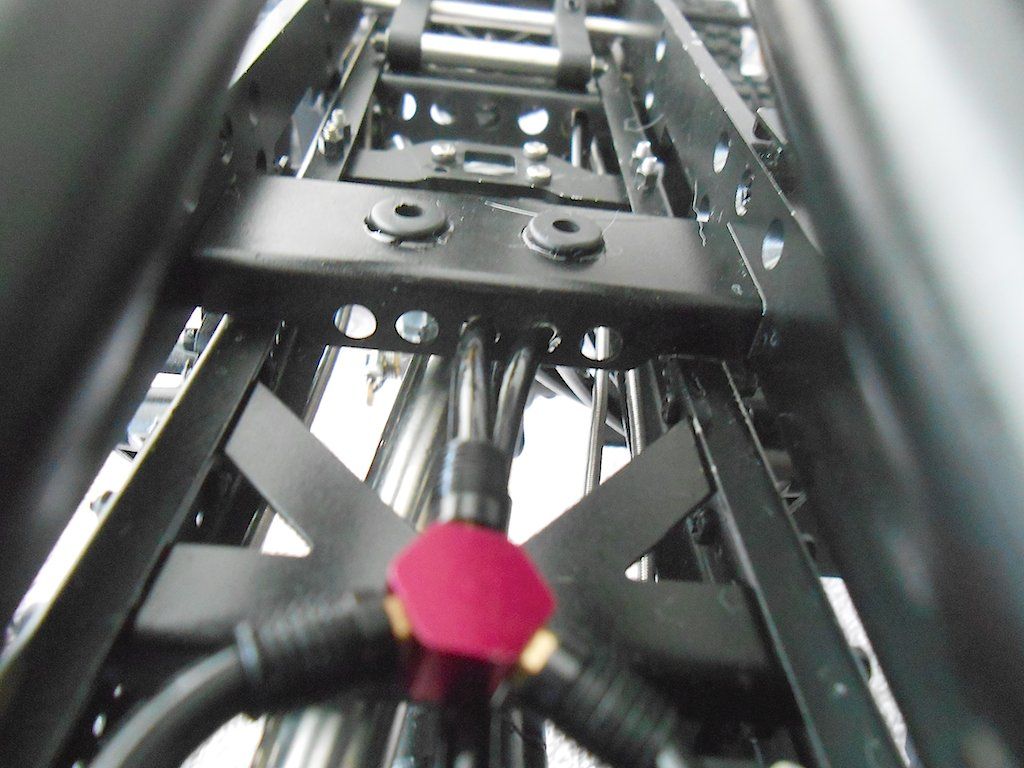
The rear ones just cross over and run through the holes in the cross members of the frame towards the valves
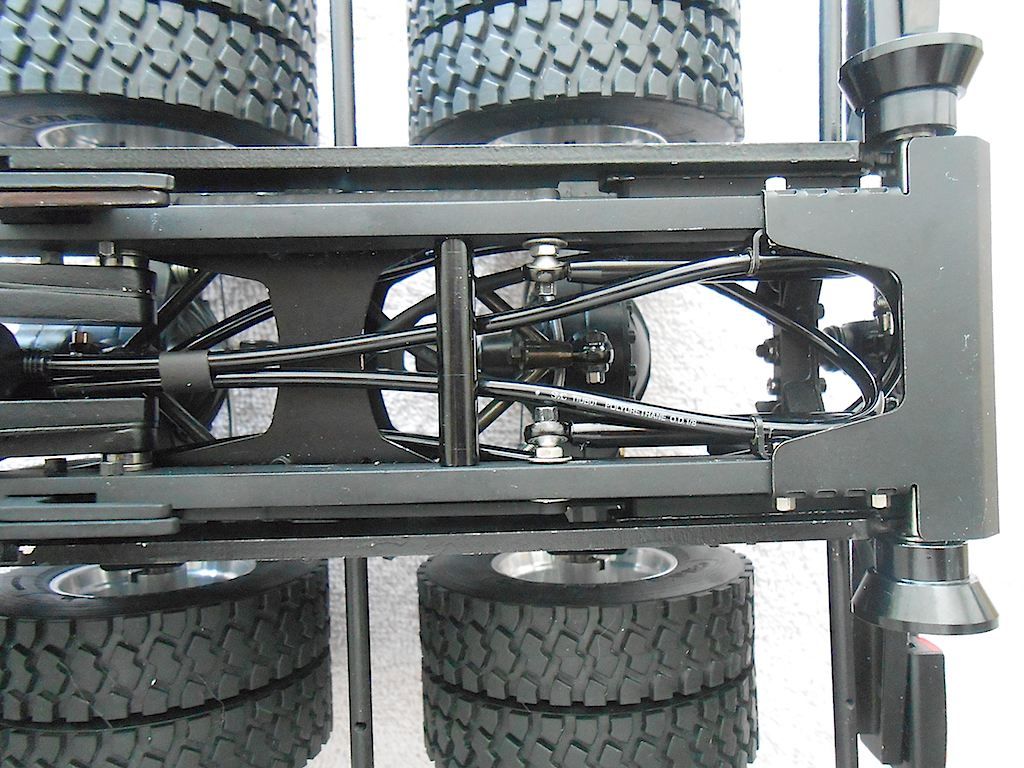
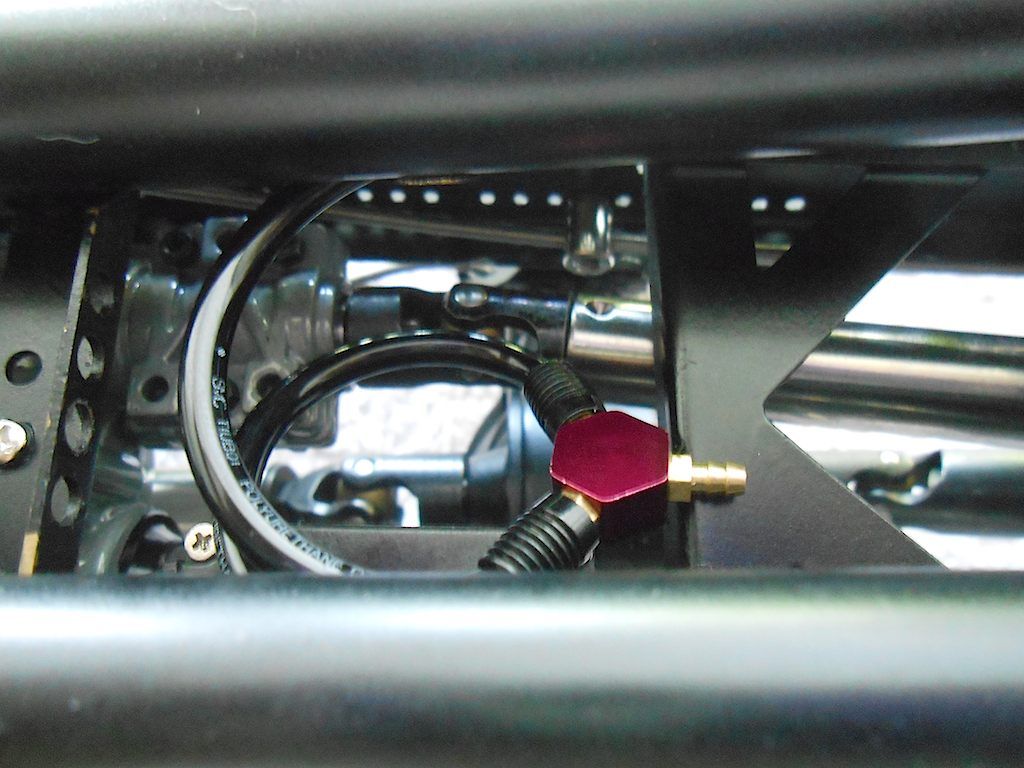
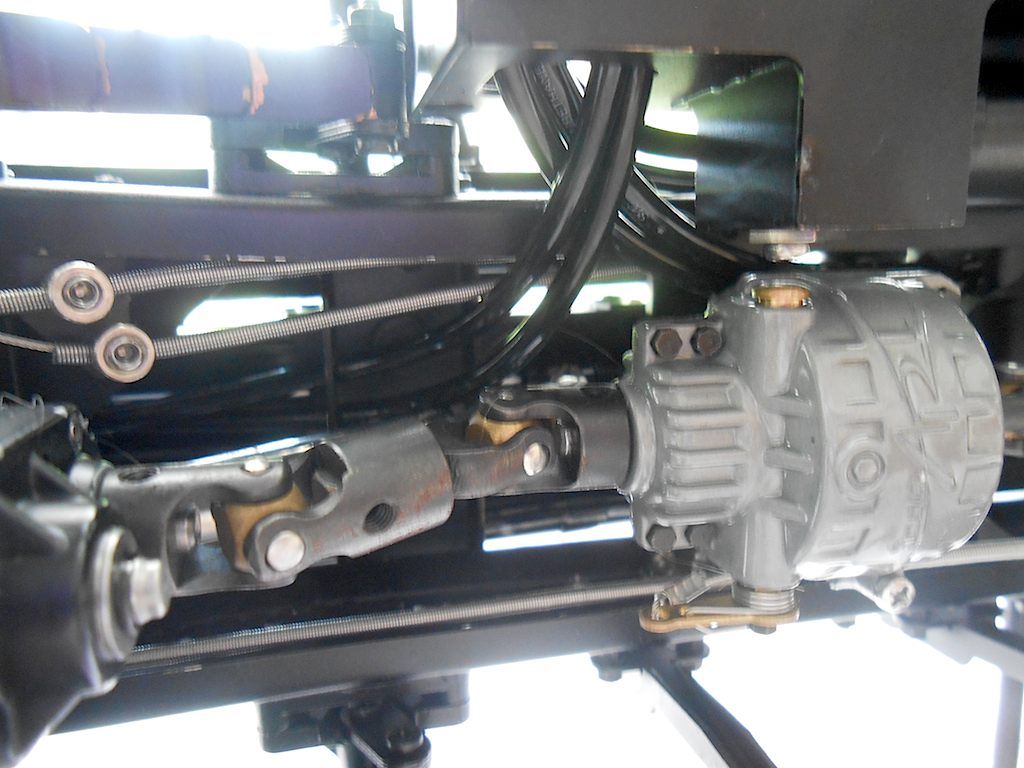
Gets a bit busy at the transfer box. The hoses are far enough from the shaft. Only look close in the picture. Might run the 2 hoses coming from the main cylinder over the ones coming from the back though. (noticed I already have surface rust ... sub tropical climate and sea air takes it's toll!)
All end up here labelled and waiting to be hooked up to the valve body. Sill have to do the lines coming from the tank.
ScaleART delivers the truck with 2.5 meter of hydraulic hose. I had ordered an extra meter just for safety sake. That meter turned out to be 1.25 meter. After finishing this part I measured the left over hose and have about 1.30 meter left. I made some extra pieces so there is enough hose with the kit.
Now nursing my sore fingertips. Getting those metal locks on the hoses sure takes its toll.

Next would be the oil tank and it's lines. According to the drawing they seem to indicate to run the pressure line underneath? Seems a tad weird because that way prone to getting stuck to things when in "rough" terrain.
Stephan