Today I bolted on the Rockinger Trailer Coupling. Easy I thought ... only took about 2 hours. (got a bit carried away with pictures here too)
Because there was only €26 (without tax) difference between the manual and the remote controlled one, I decided to go for the radio controlled one.
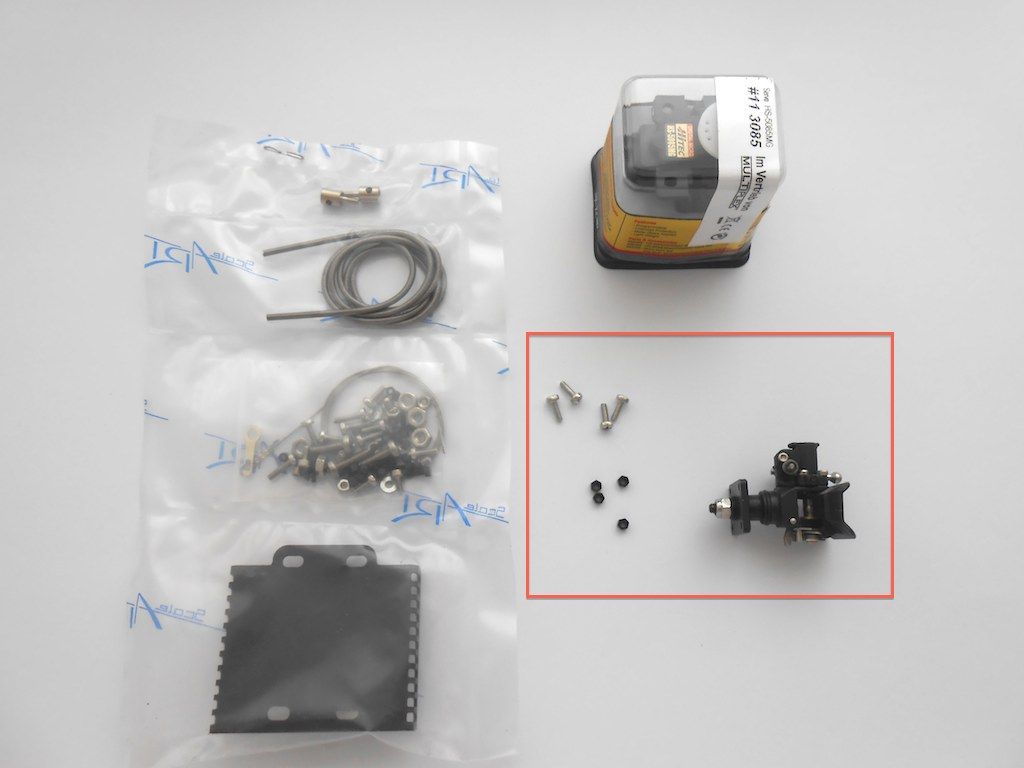
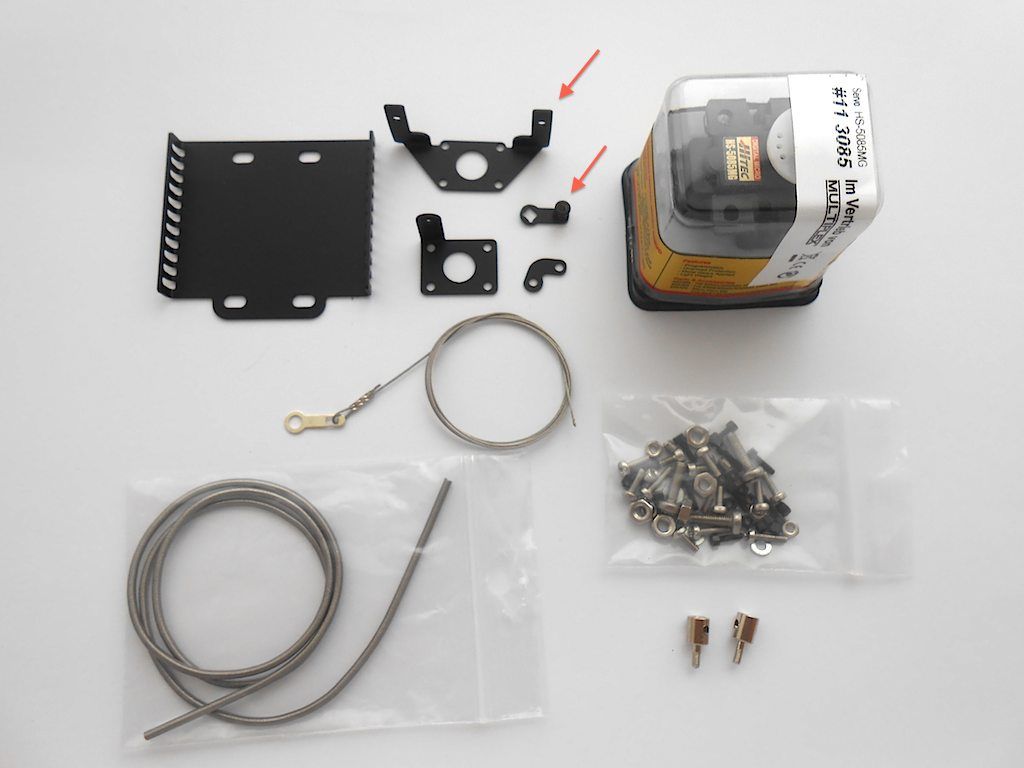
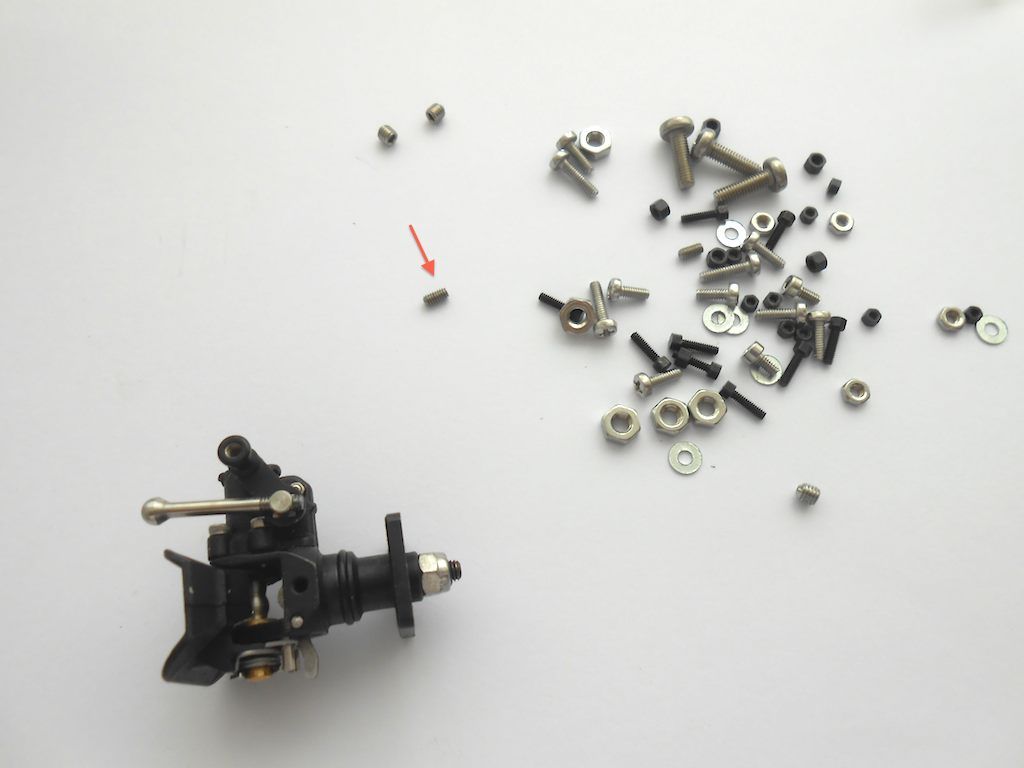
What is in the red square is the manual version, the rest is with the radio controlled one.
This coupling is truly a masterpiece. Here some pictures
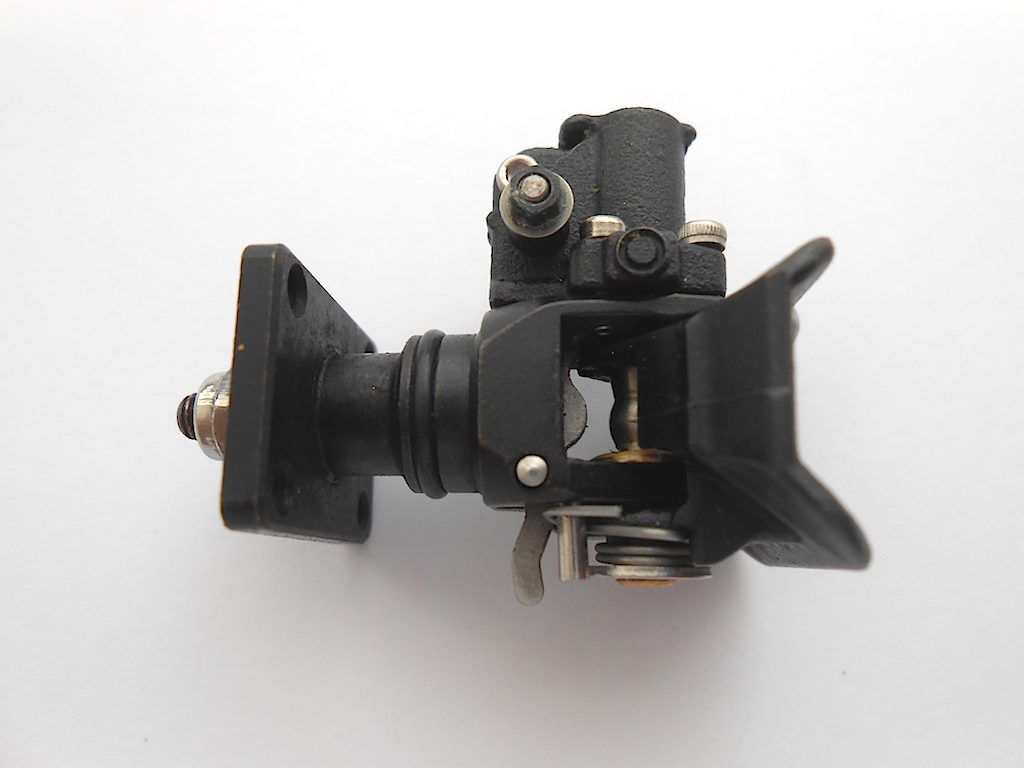
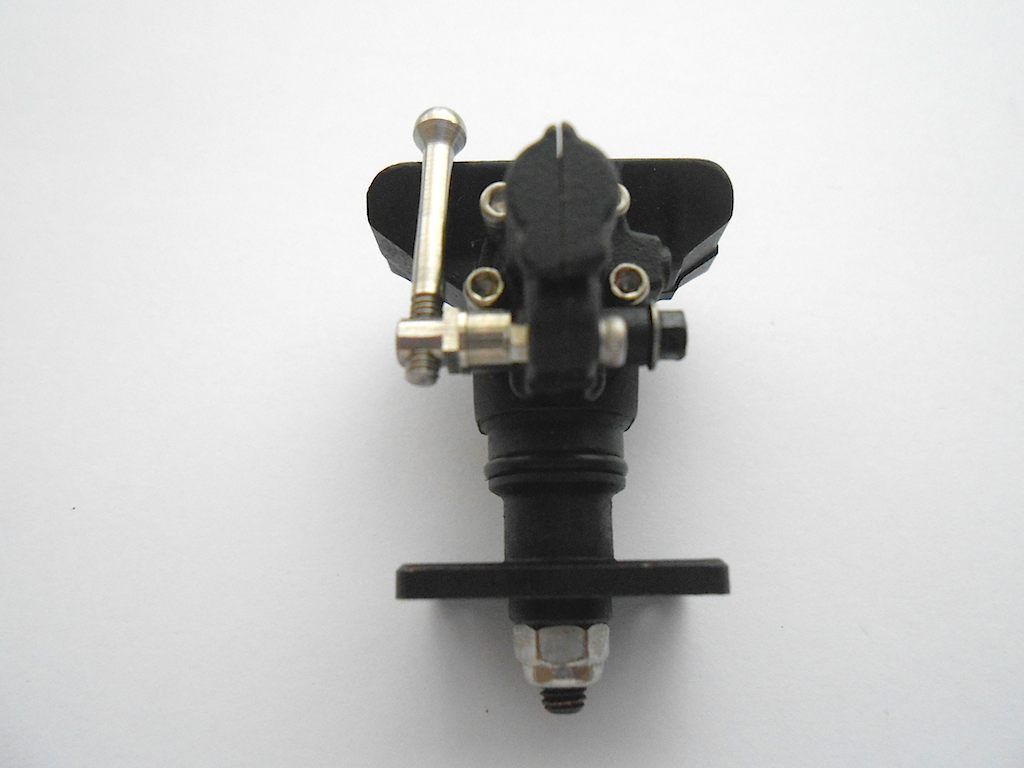
Left side
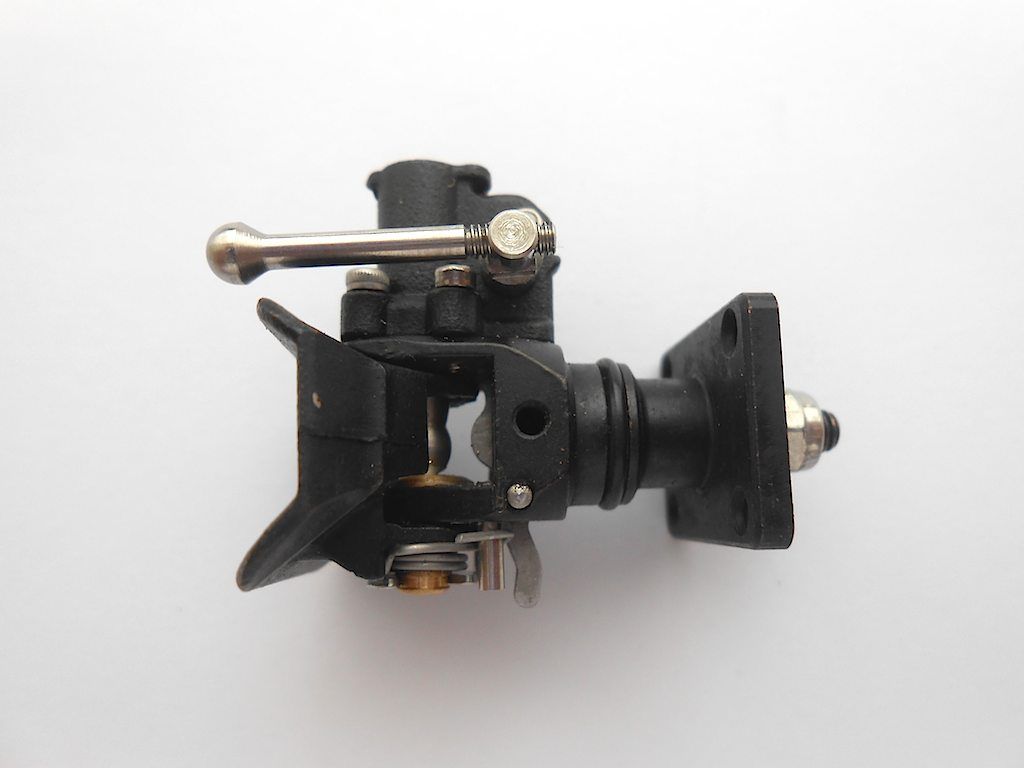
Right side - closed
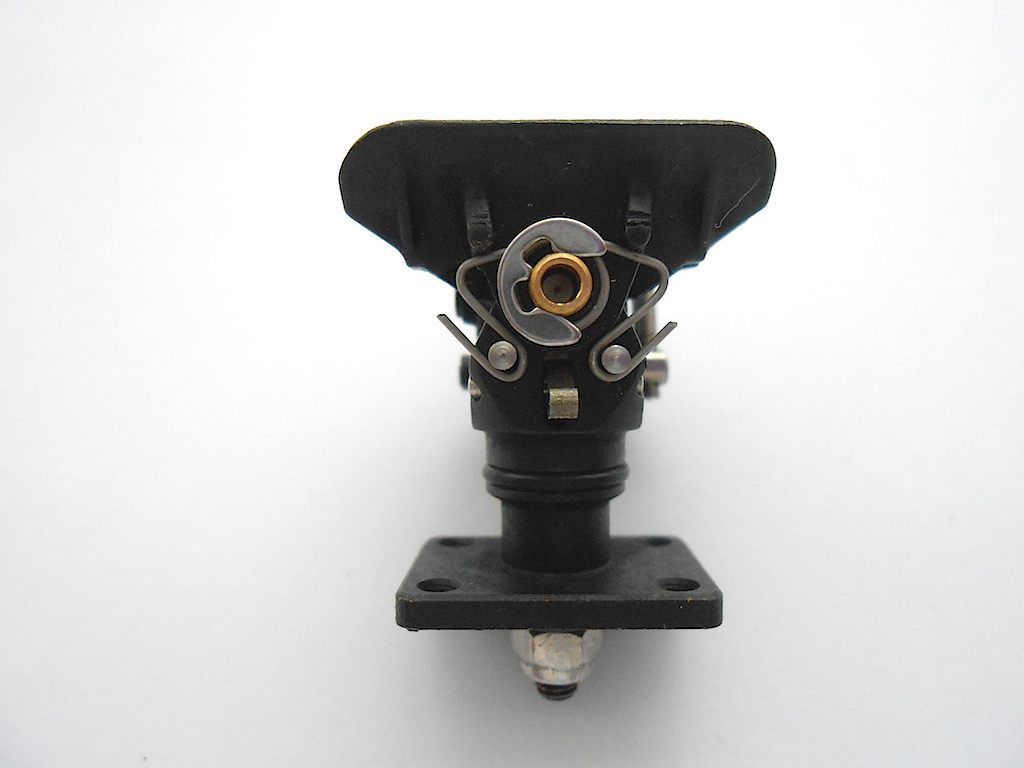
Right side - open (closes automatically when the tongue of the trailer hits the back part - manually with the little lever at the bottom)
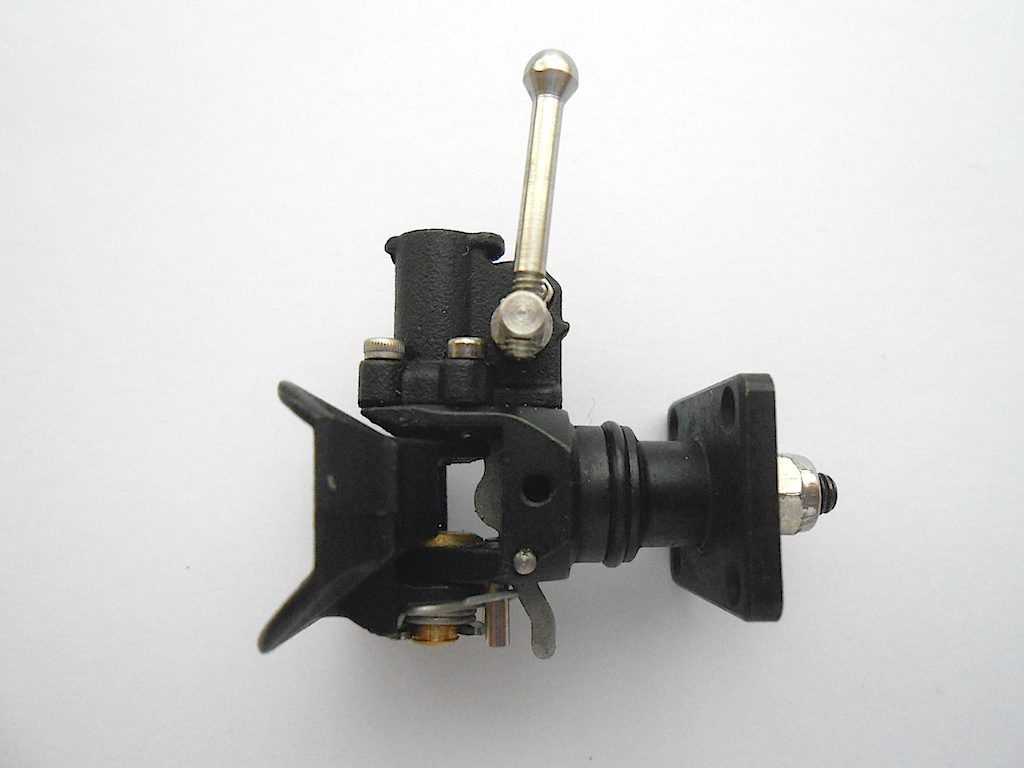
Here a link to a short movie I found on YouTube that shows this:
https://www.youtube.com/watch?v=YyJbYVeywP0
Bottom - the spring allows movement to the left and right (no movement when coupling is open)
Top
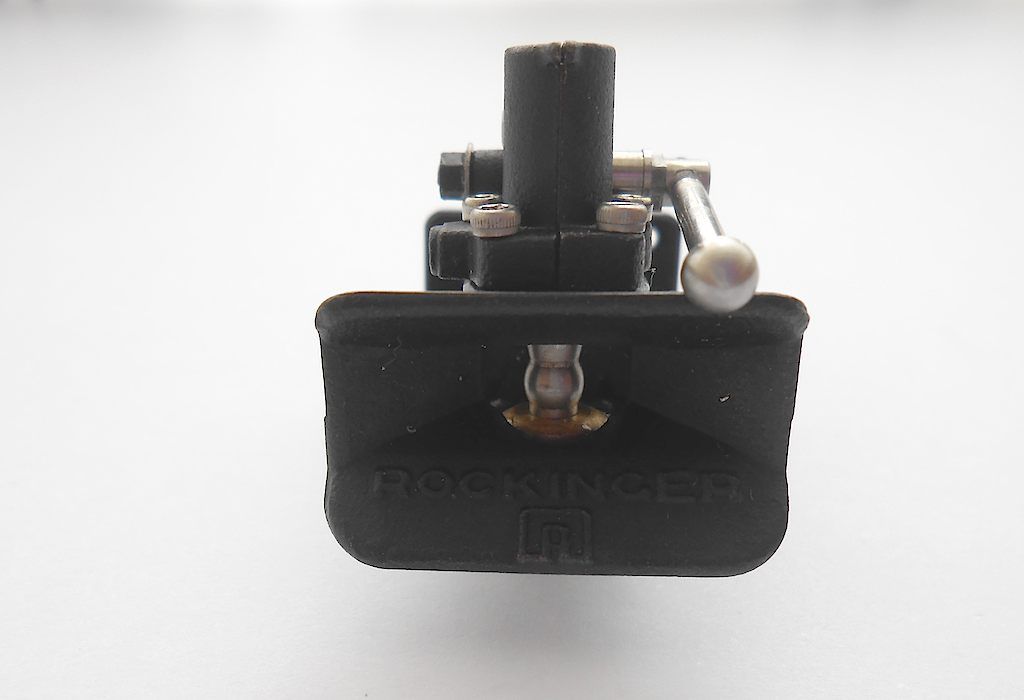
Front
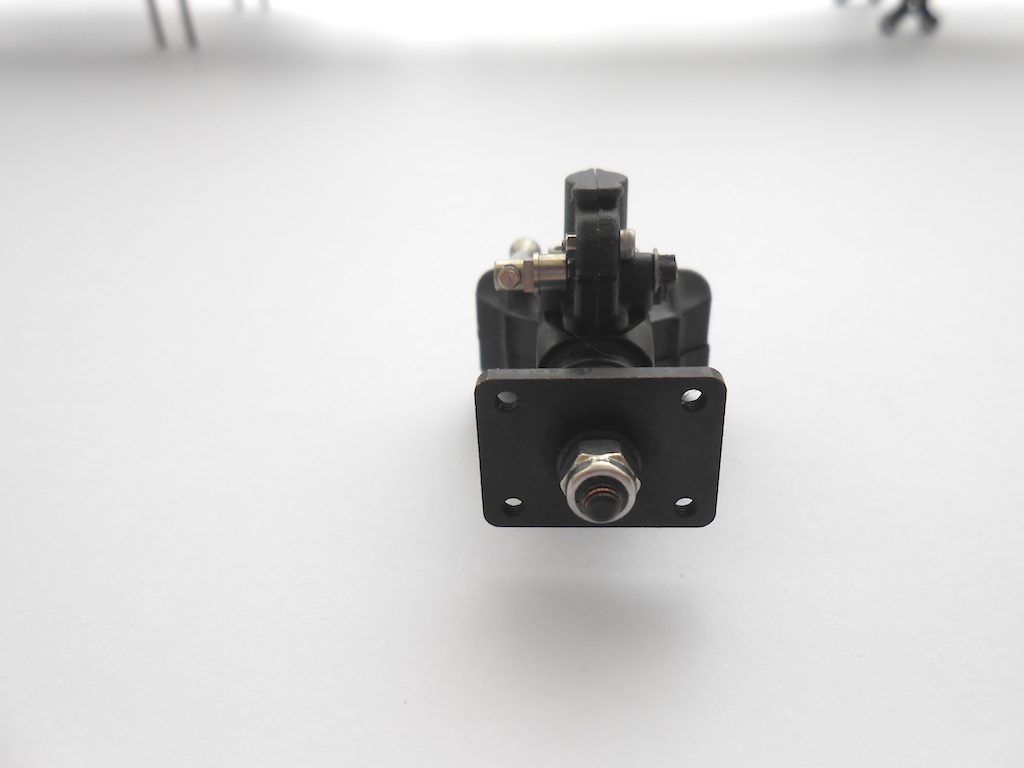
Back
So unpacked the lot and all I really needed was the 2 black bits with the arrow pointing to it, the cable and the servo. The rest are for every possible truck ScaleART produces. So lots of spare screws, washers etc.
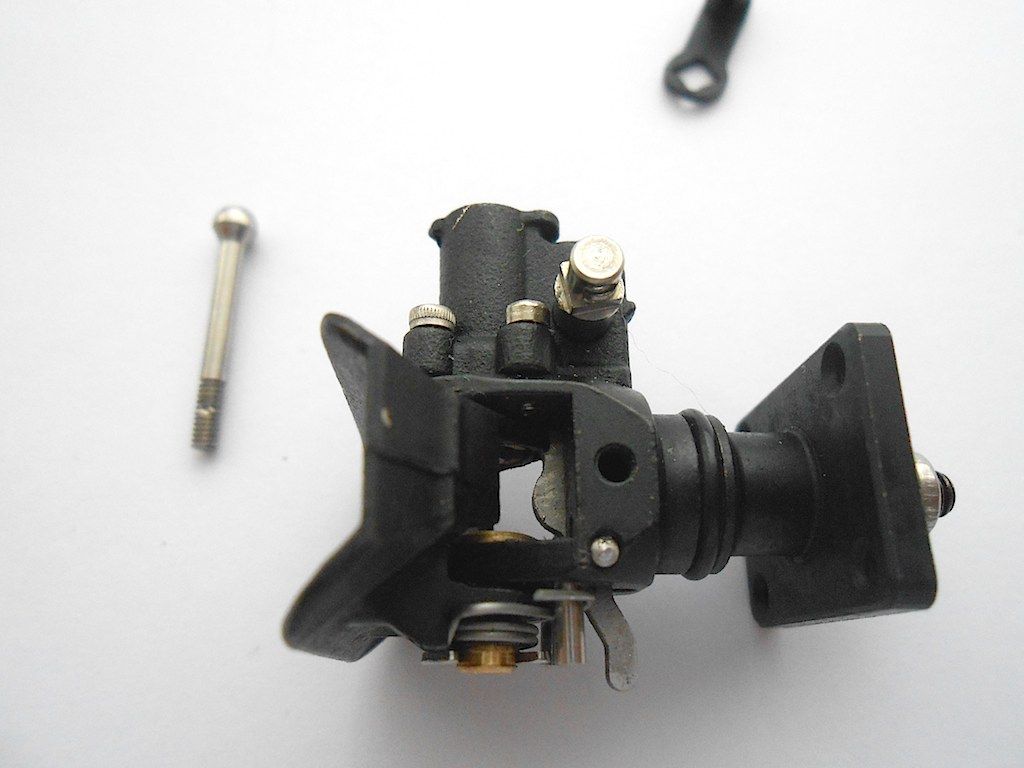
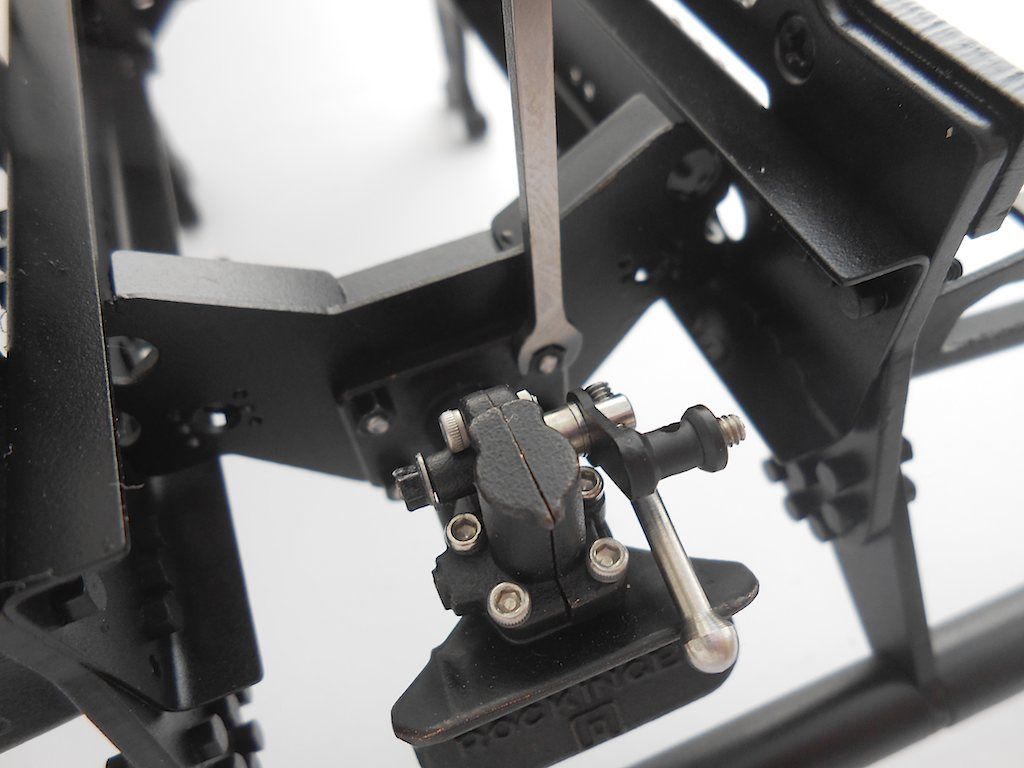
To get the little black lever on, one needs to remove the big stainless one.
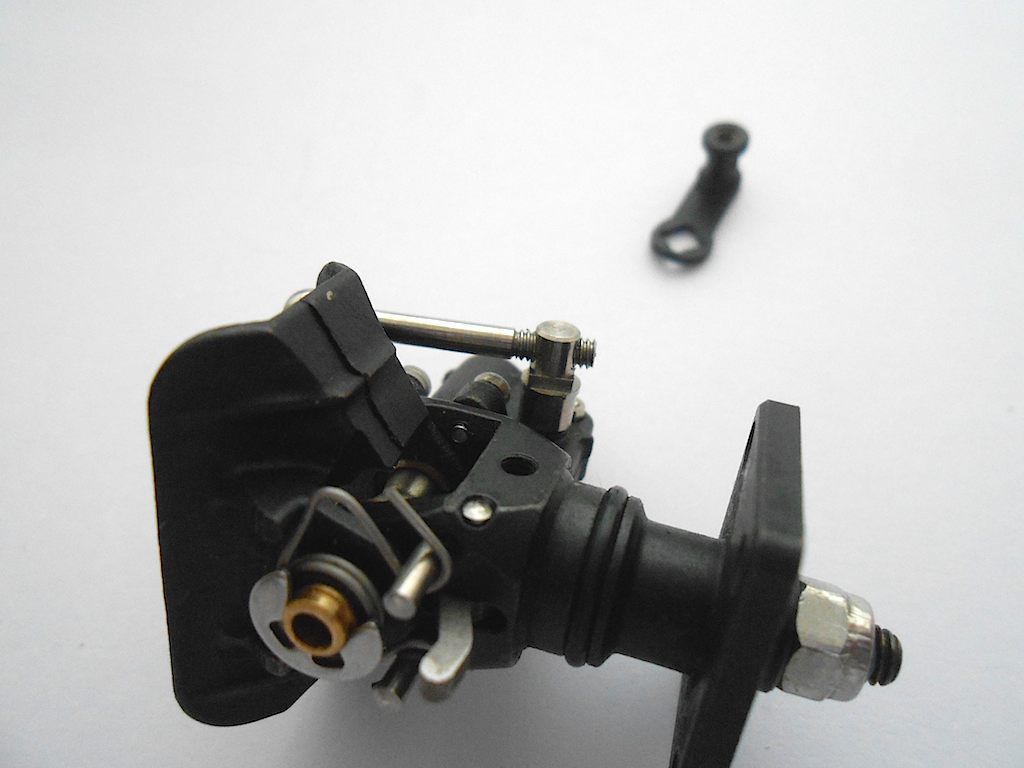
This was not as easy as it sounds, but a bit of scrap rubber to protect the polished metal and pliers took care of it.
The black lever pressed in place (used a box driver) on the square protrusion. Looks like a grub screw is needed to hold the cable in place.
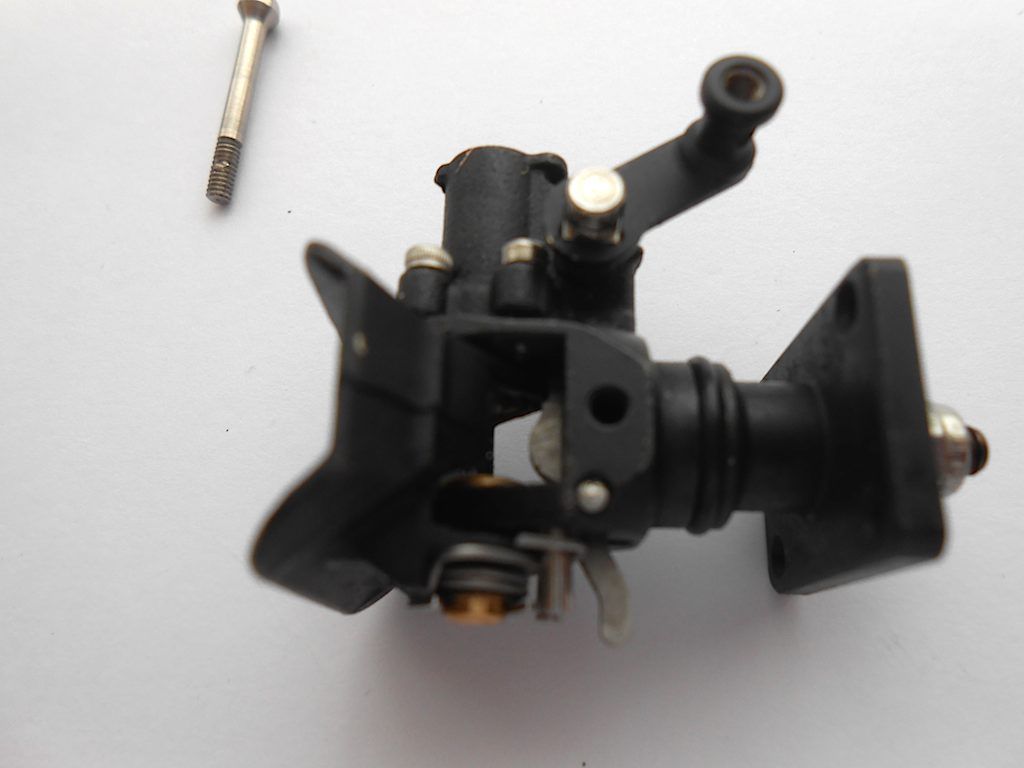
Found in the bag with fasteners.
Next the servo support goes in the back cross member of the frame
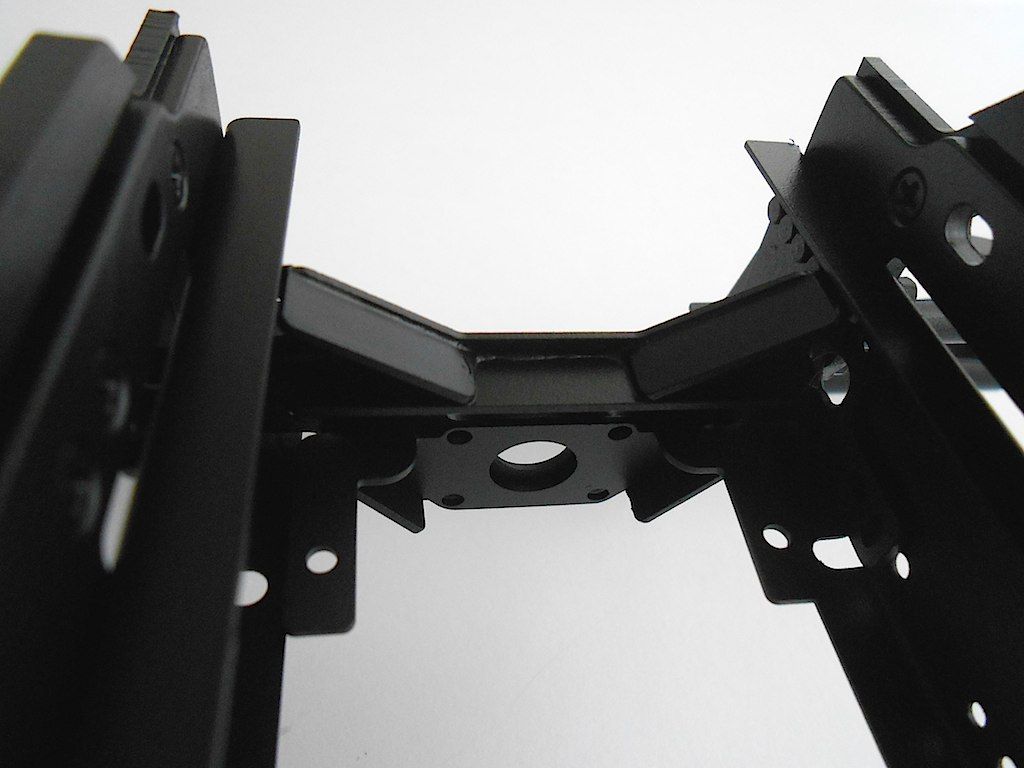
The holes in the trailer coupling have thread in them. Elected not to drill it out. So first screw in the 4 screws.
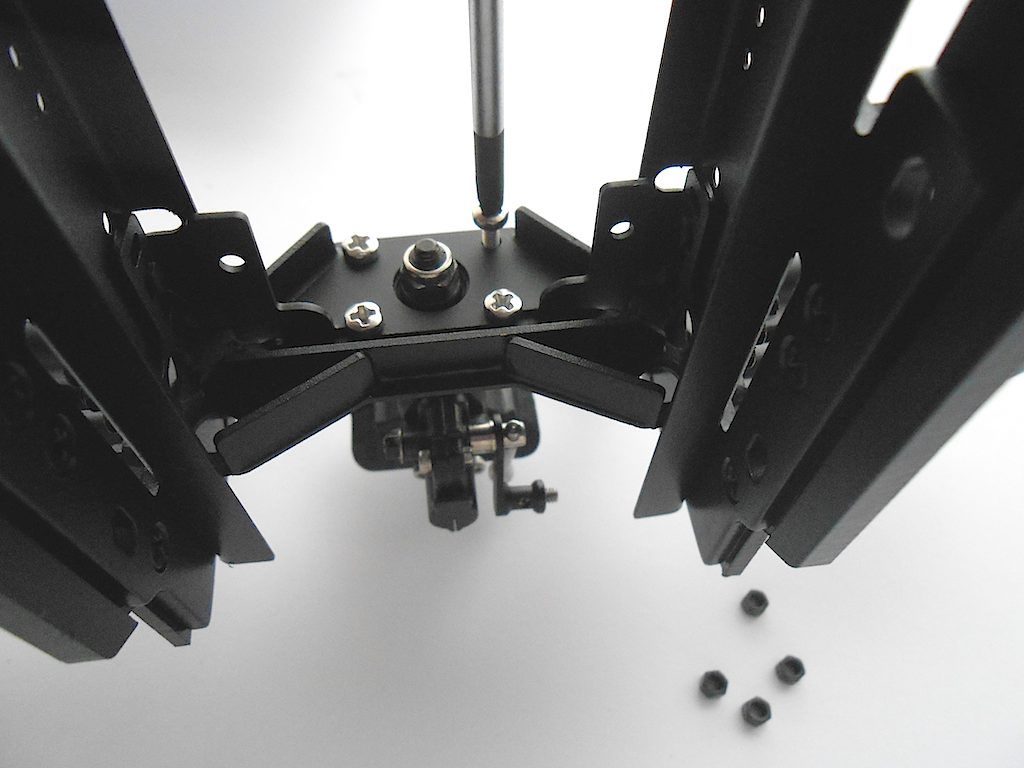
Then loosen each screw in turn and offer up the M2 nut with tweezers (no other way to get to that area)
Then screw the screw back in whilst holding the nut with the tweezers, and tighten nut with 3mm spanner. Loctite applied.
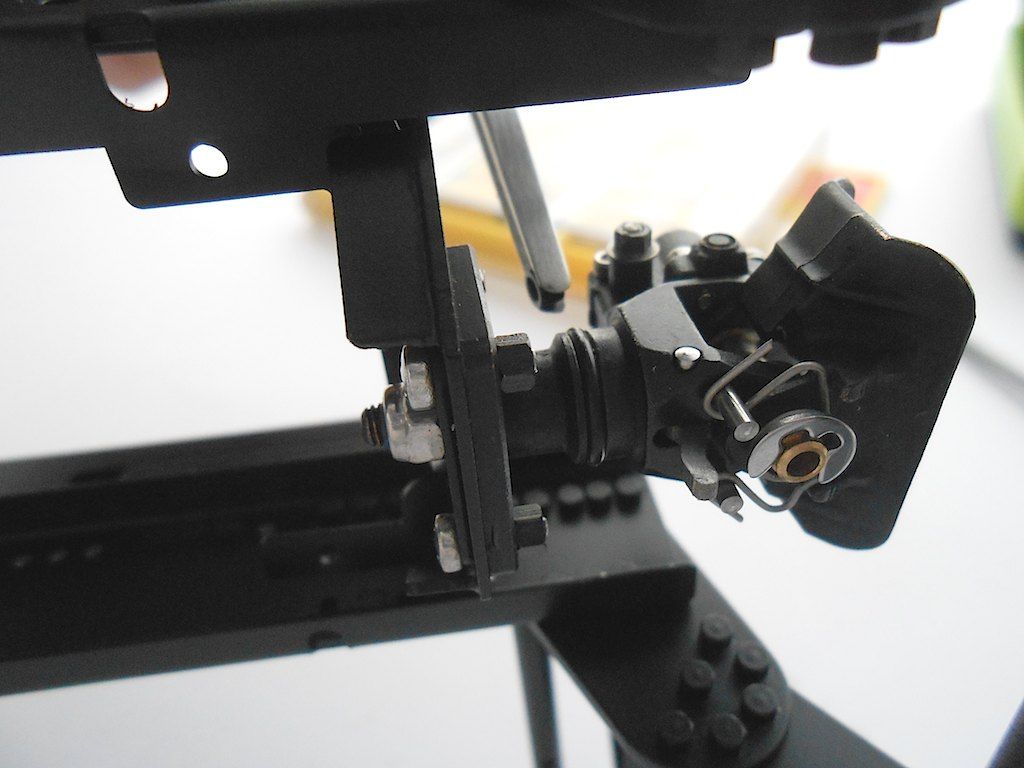
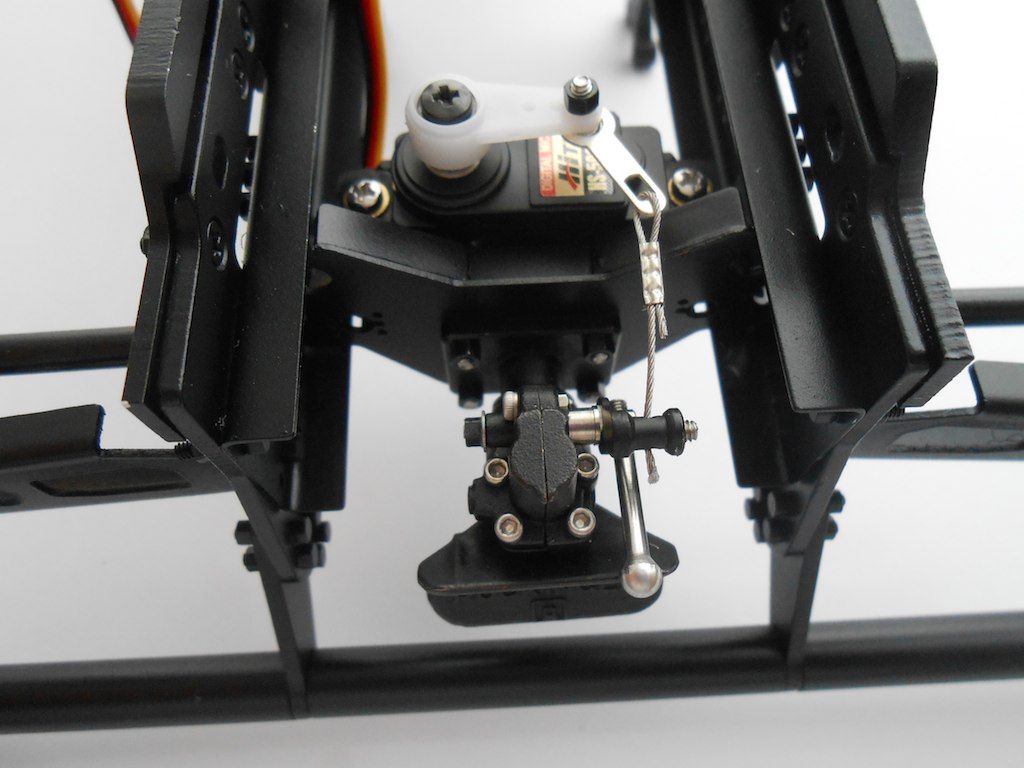
Next up, prepping the servo and servo horn. Temporary attach the cable. I cut the rubber supports in half and filed off a couple of mm of the copper bushings that go in the rubber. I felt that otherwise the servo might sit too high. Can always change this again at a later date.

Servo bolted in place and cable trimmed to right size. A blob a glue added to where I cut the cable to prevent fraying. The servo horn is just loosely attached for the moment. I still need to centre the servo.

Cheers!
Stephan