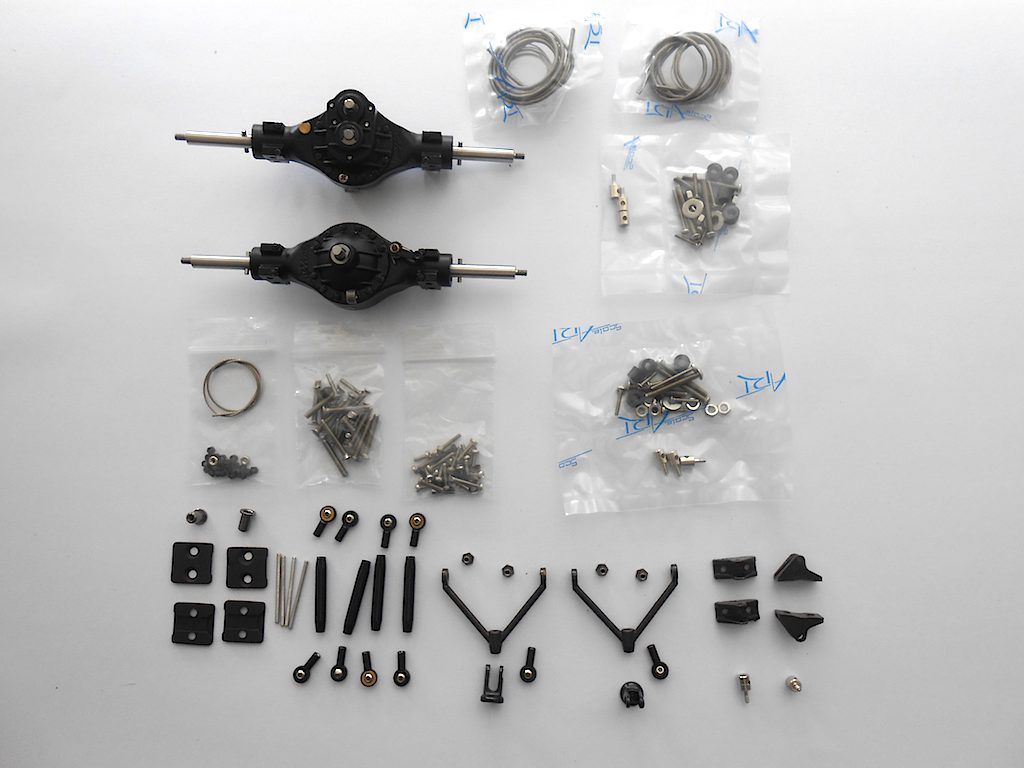
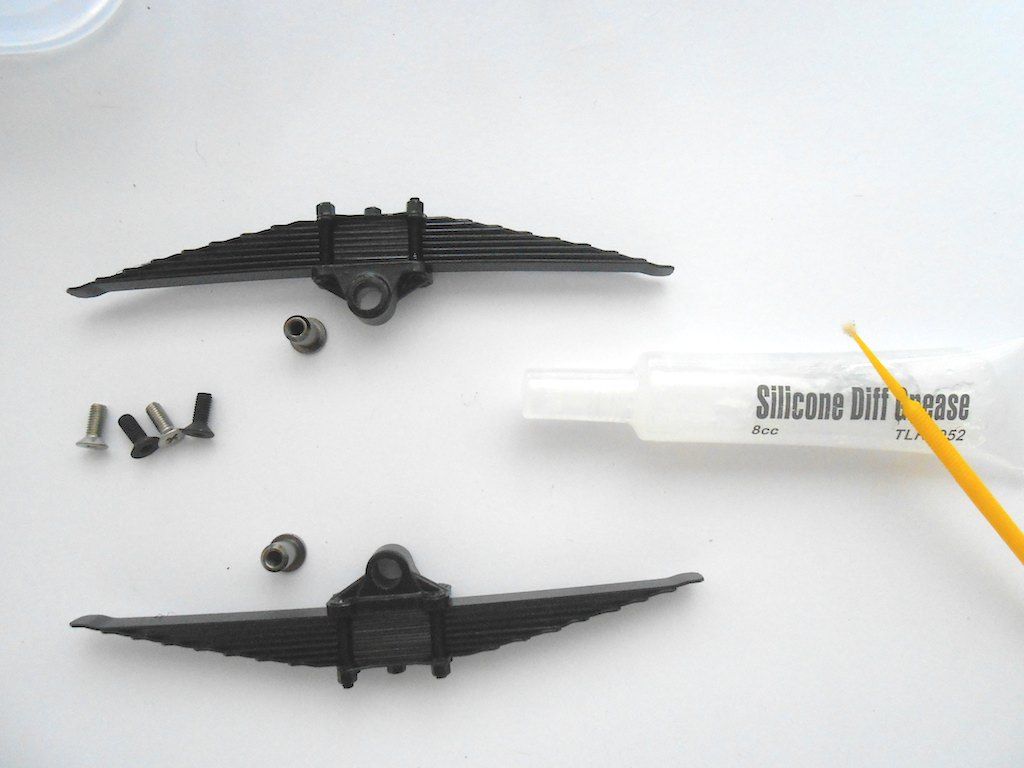
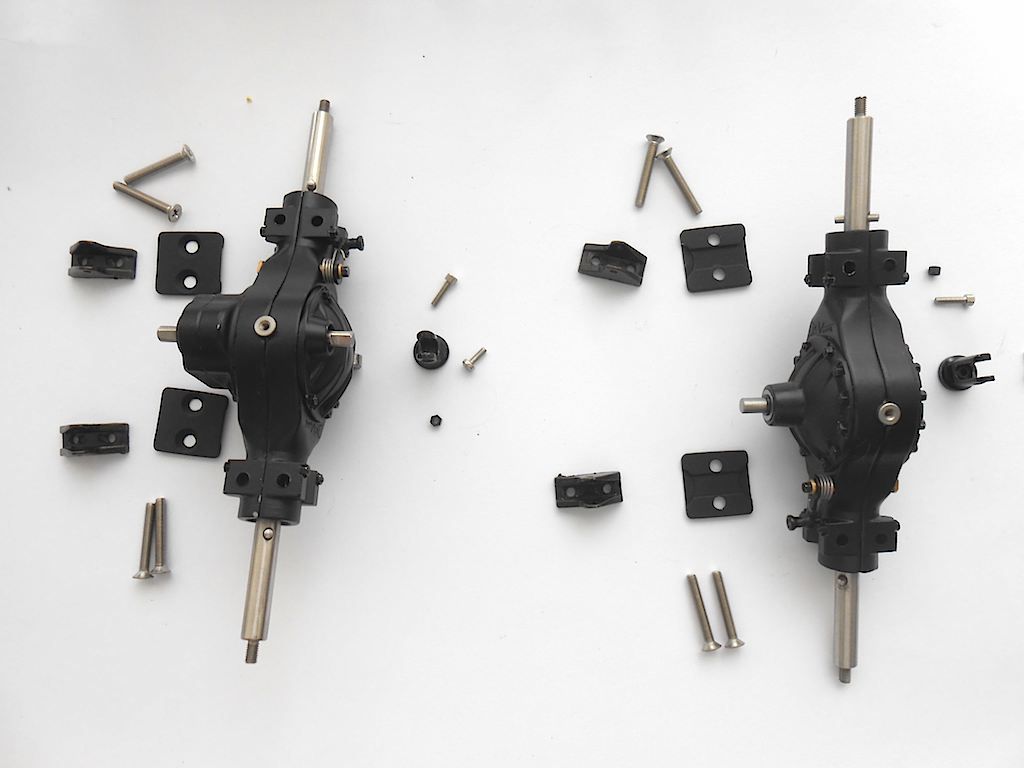
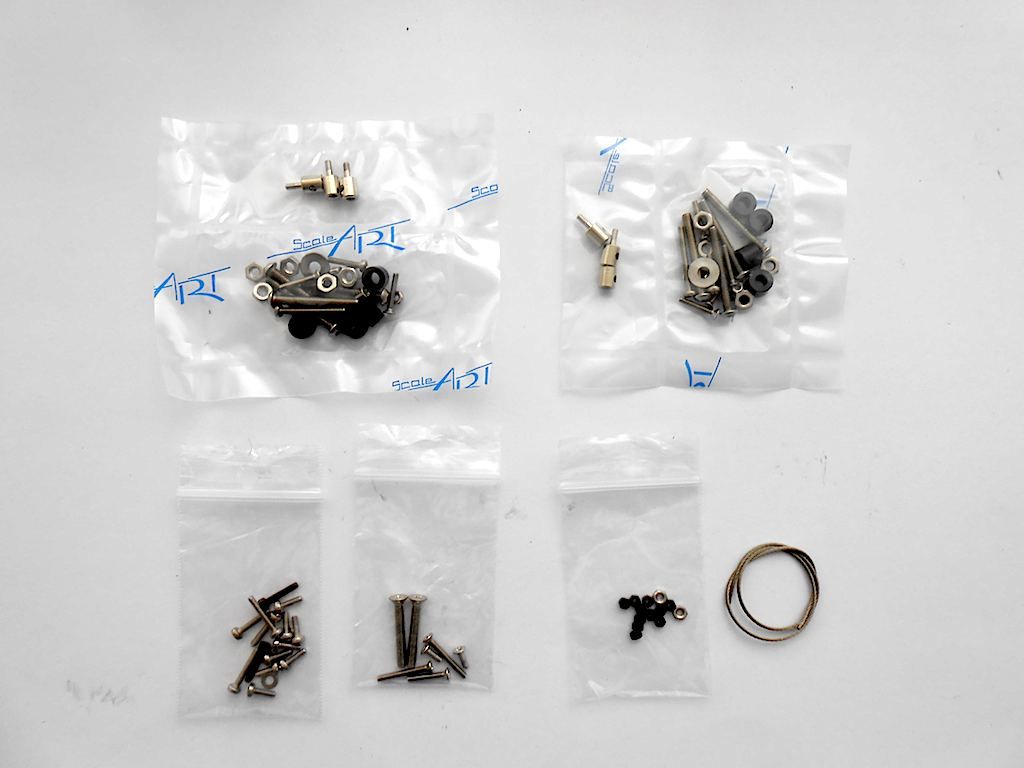
Rear axles .. here a picture of all the parts. (forgot the leaf spring bits)
The bits in the "ScaleART" plastic were in the boxes with the axles. The other parts were in the "rear suspension" package.
Note: this whole assembly was done with the frame upside down - just to make it more interesting.
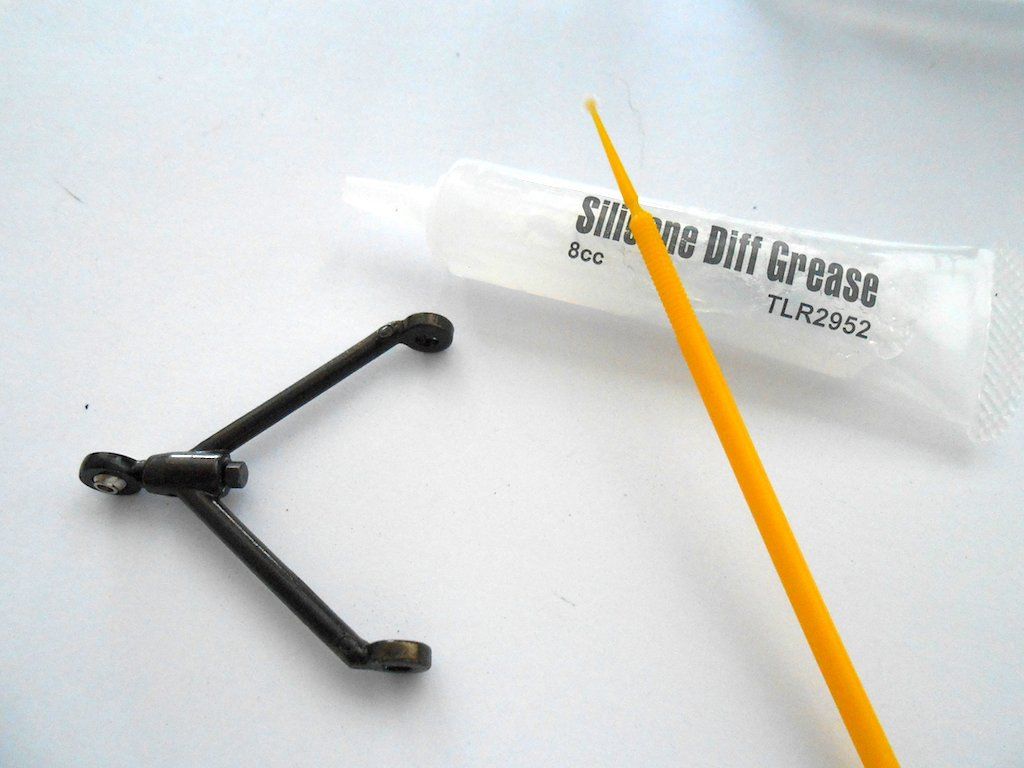
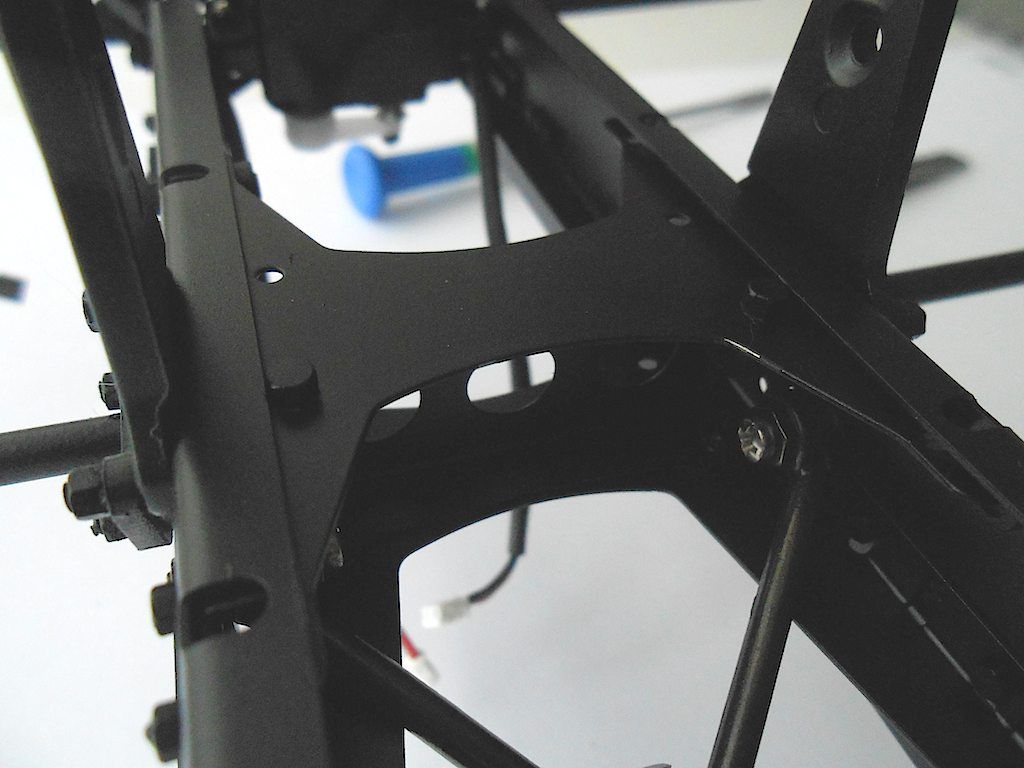
First we assemble both triangular parts. Turns out the everything (marked with arrow) is threaded. So a bit of thought has to go in the assembling.

After giving it a couple of trail fittings in the chassis, found out it was not going to be that easy. The triangles have to be installed so they can still easily move up and down. It takes some fiddling to get it just so. A bit of grease where the bushing is going is a great help. Before the bushing, screw and nut would move together. After applying the grease, at least the bushing, screw and nut didn't budge when moving the triangle.
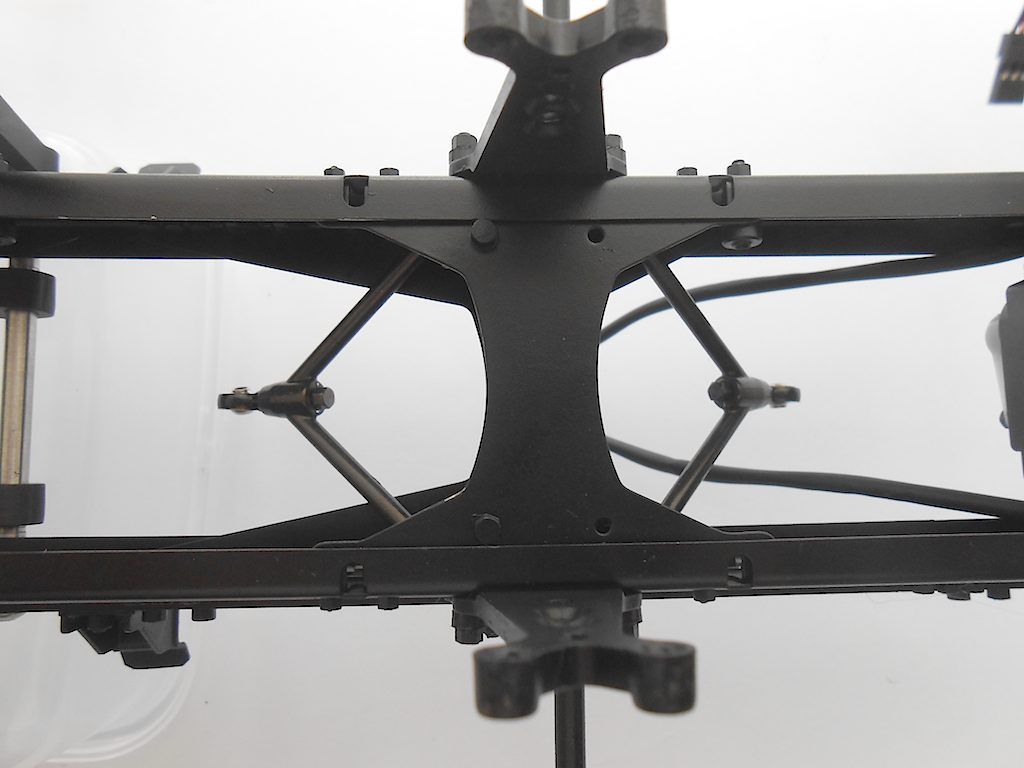
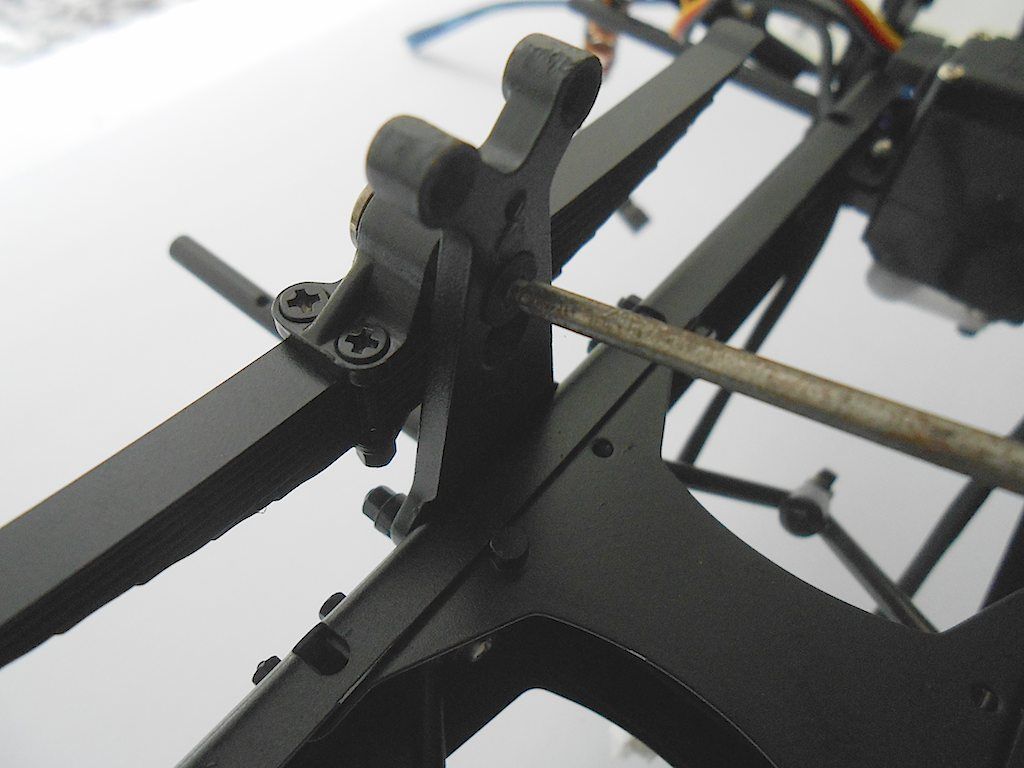
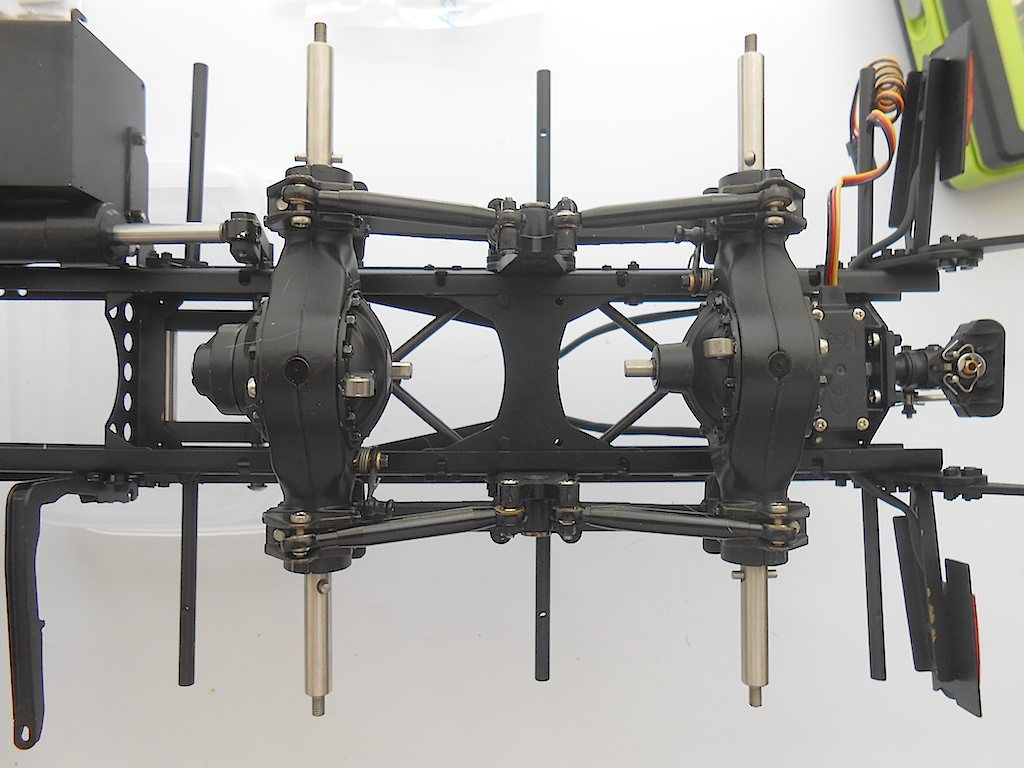
Here they are installed. (Loctite applied to about everything)
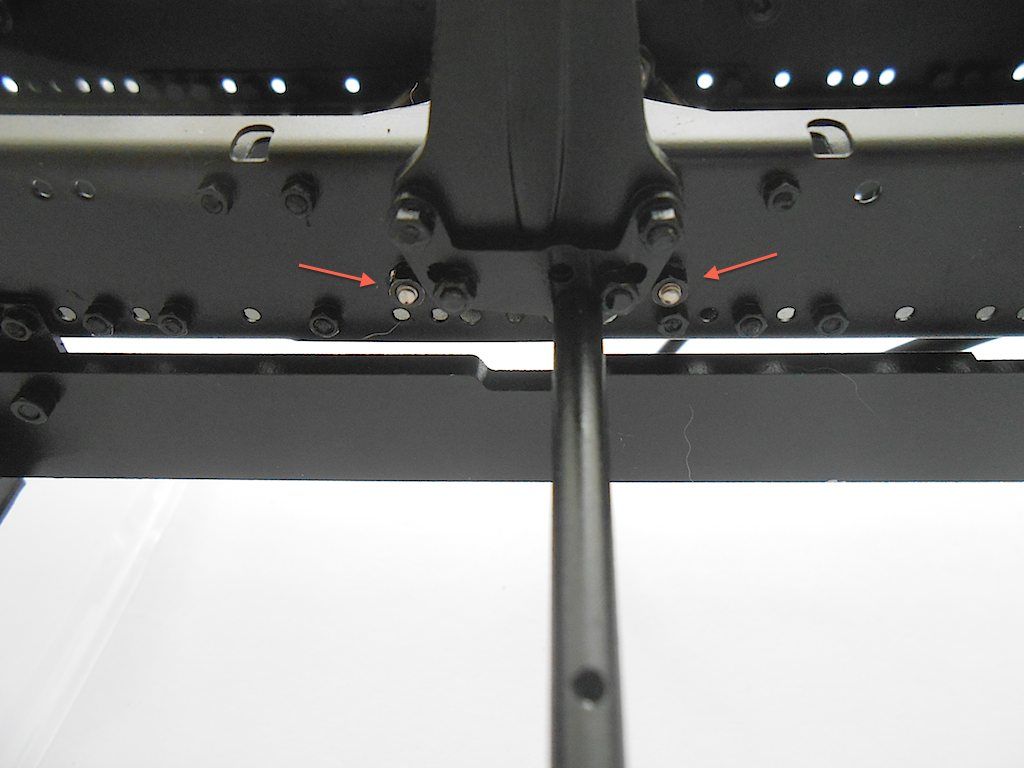
Next the leaf spring packages. I replaced the silver phillips screws with hex head ones I had lying around from the Capo. (easier to install with a ball head driver than a philips screwdriver) Apply grease to the inside of the hole where the bushing goes and attach to the lower of the 2 holes (or higher when working upside down). Loctite applied to the inside of the threaded bushing.
Next prepping the actual rear axles for installation.
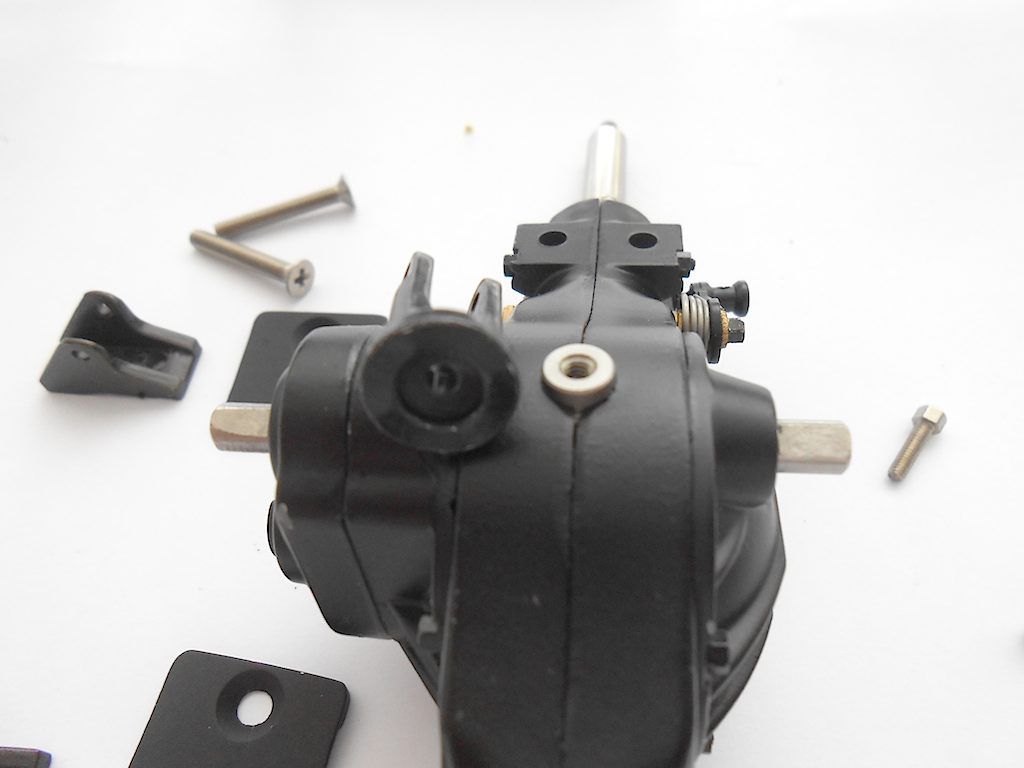
First connect the bit that will attach the axle to the triangle. This part has a cut out in the centre that fits over the stainless steel part and the bottom is also slightly rounded so it sits perfectly on the axle casing. On top, one of the holes is threaded, the other is not. So 2 little nuts I thought I would need are extras.
It is also a good idea to first test the fit of this little piece on the triangle (how do I know?) ... One of them needed a bit of widening before it fit.
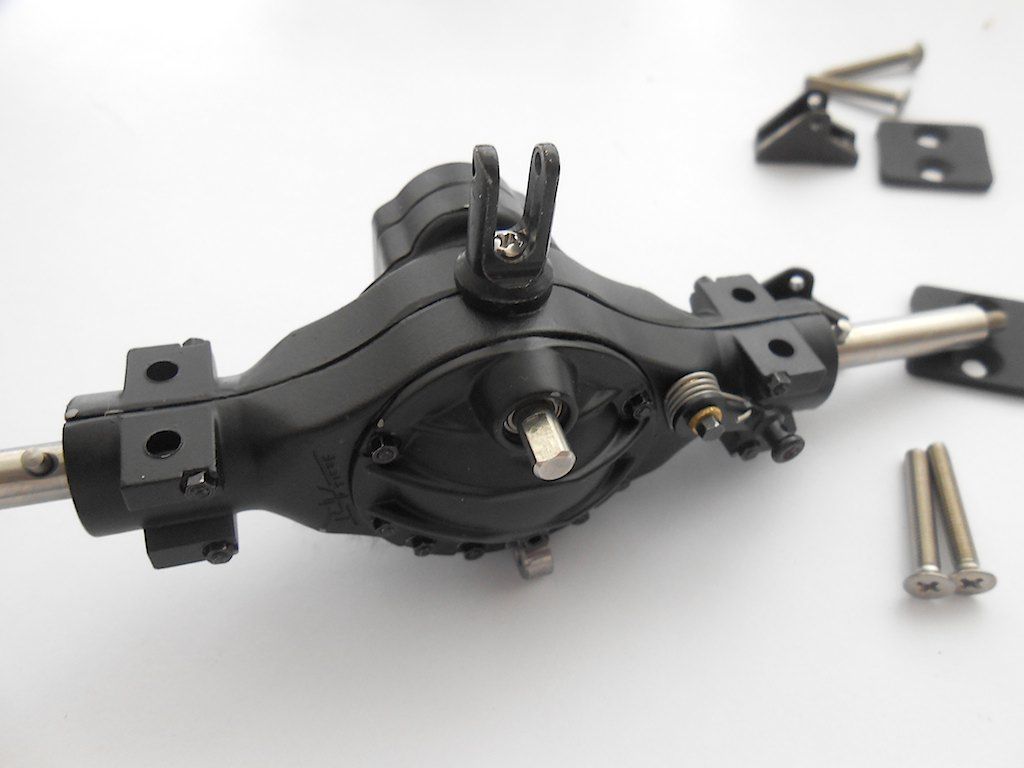
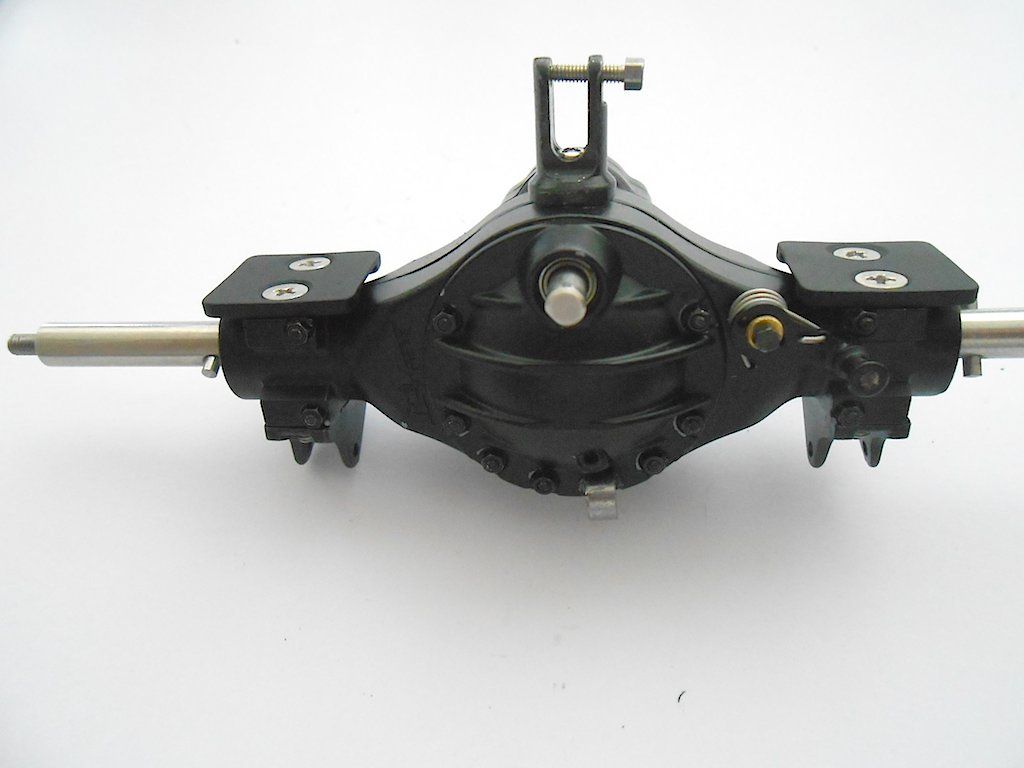
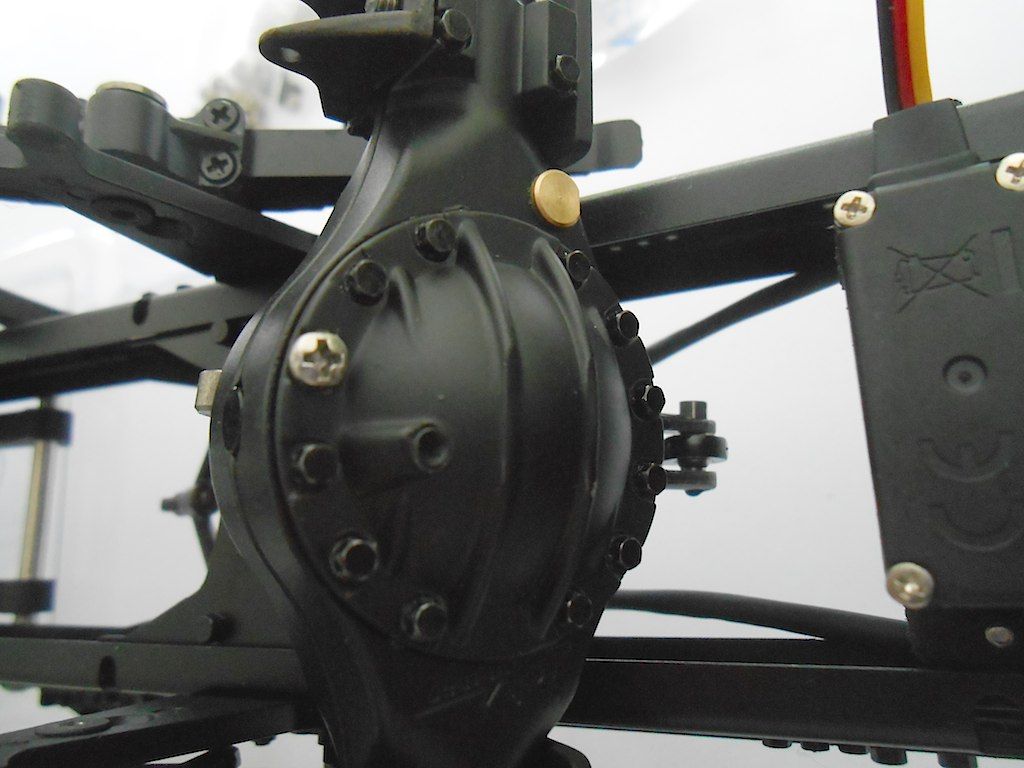
axle ready to install
Rear axle attached to the triangle
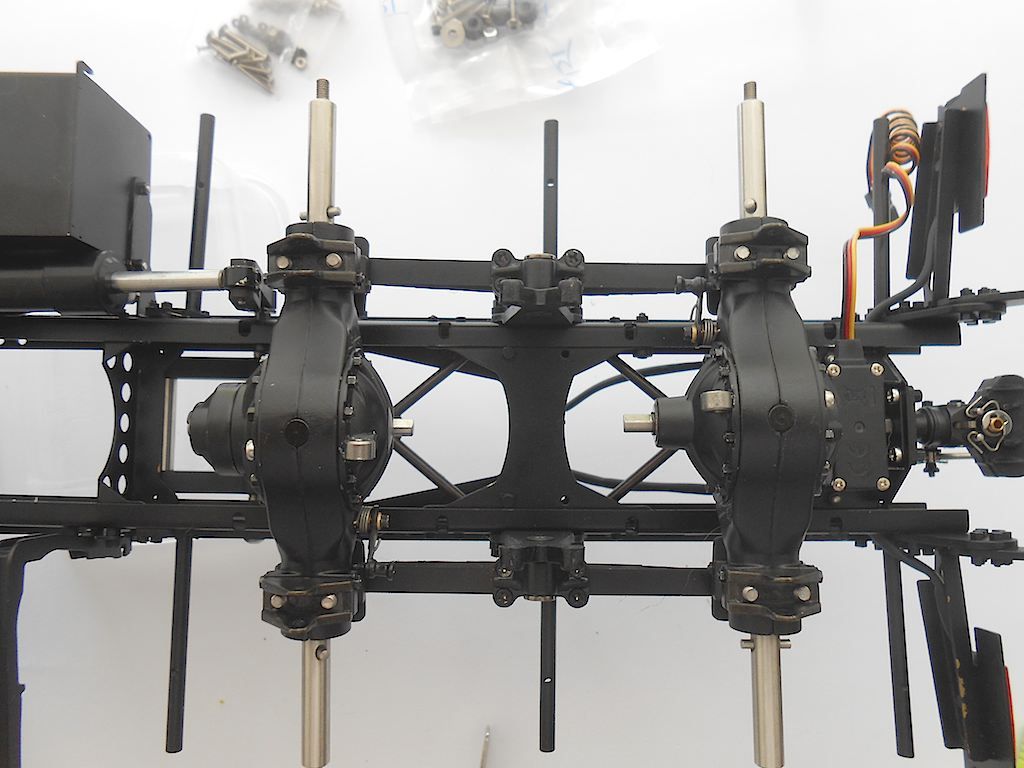
Both installed and balancing on the leaf springs. (connecting the axles to the triangles is another one of those moments that invites the use of colourful language

)
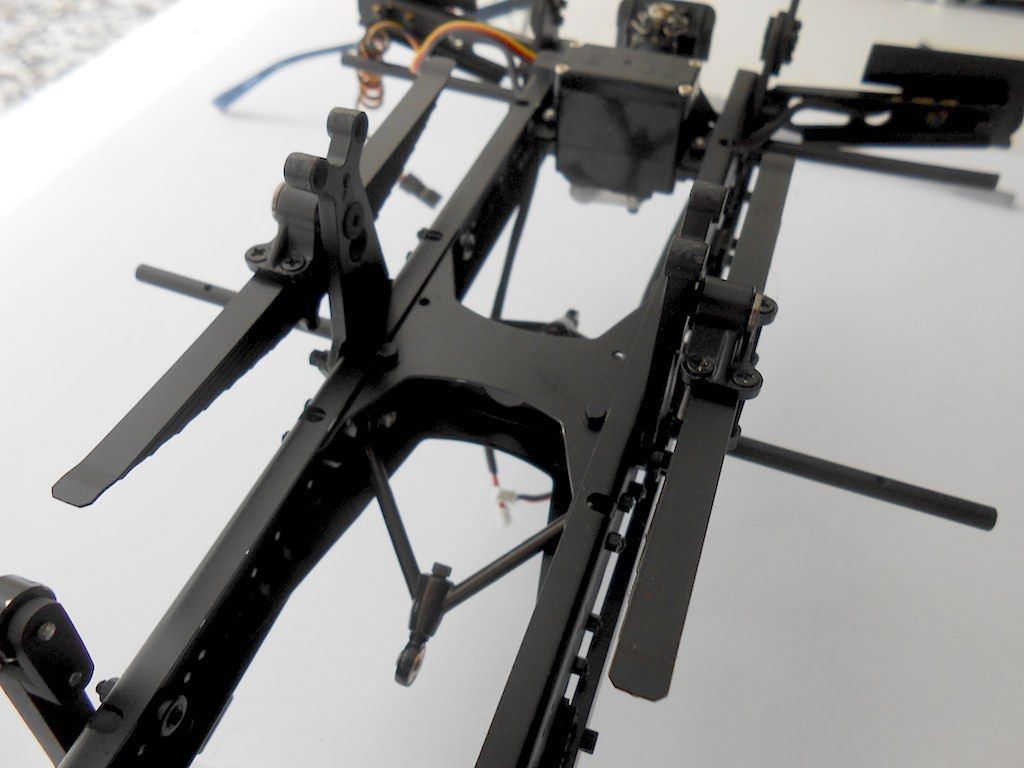
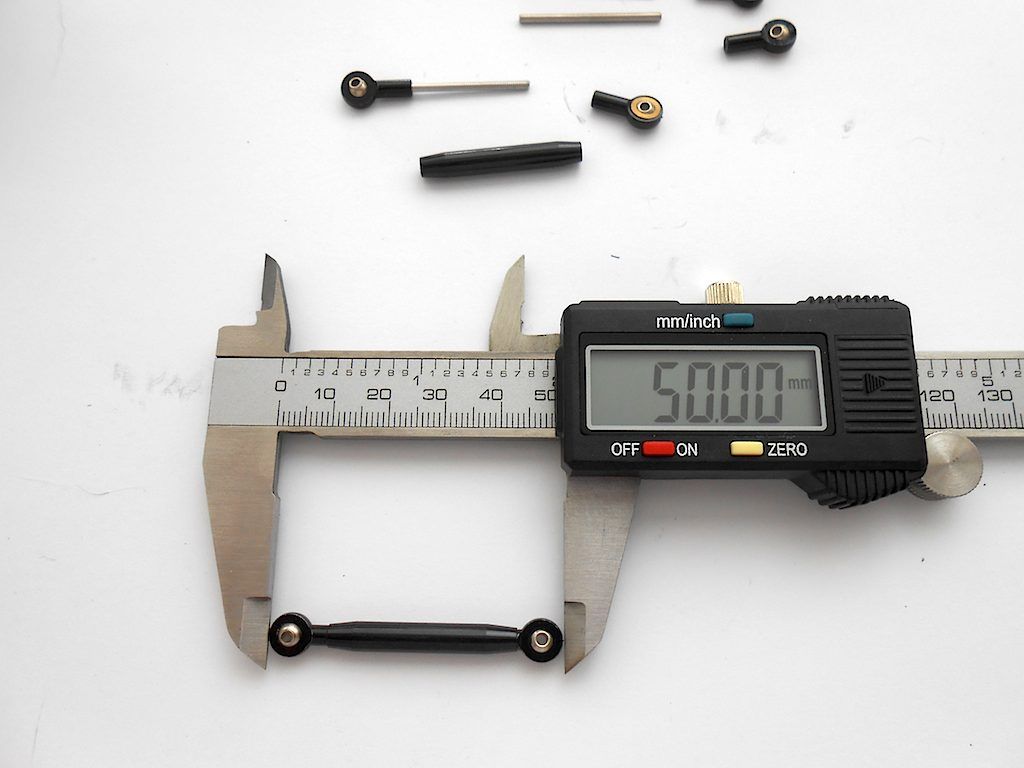
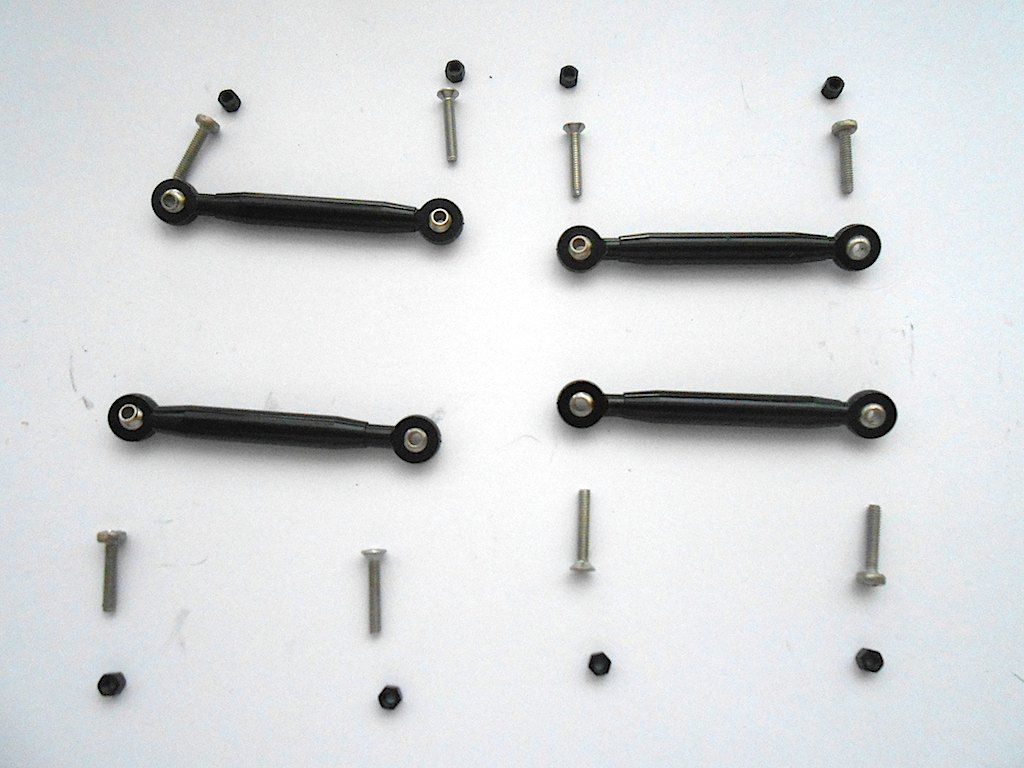
Next we need the 4 track rods. Manual states to set them at 50mm and if needed do adjustments later once wheels and fenders are installed.
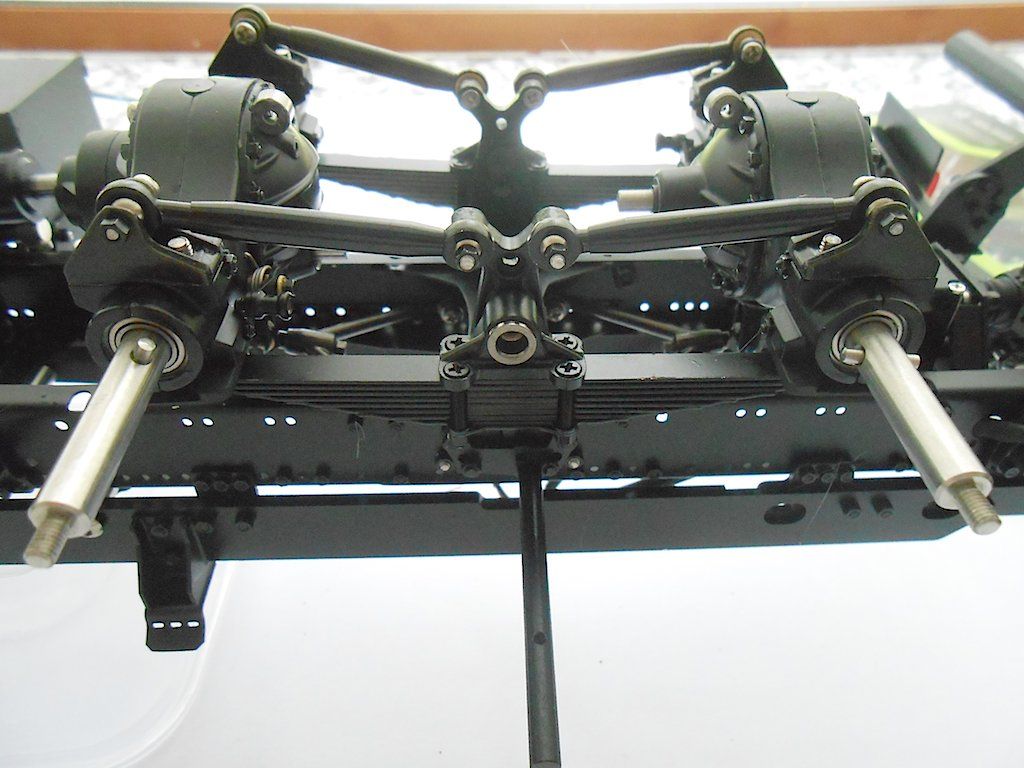
View right side up
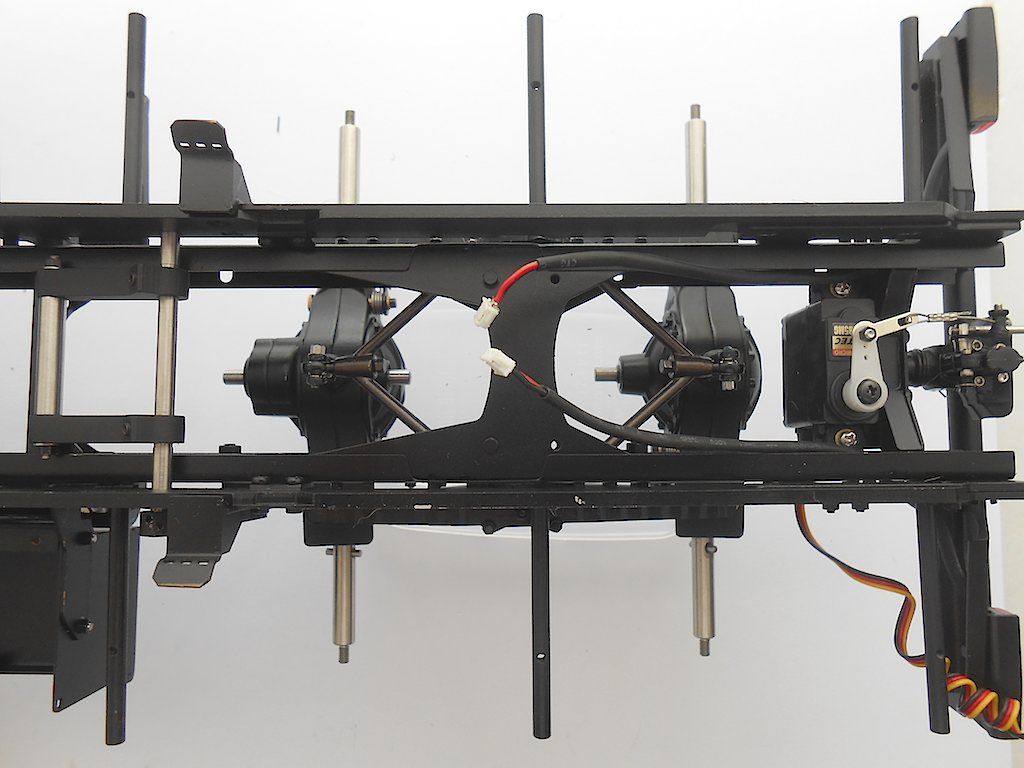
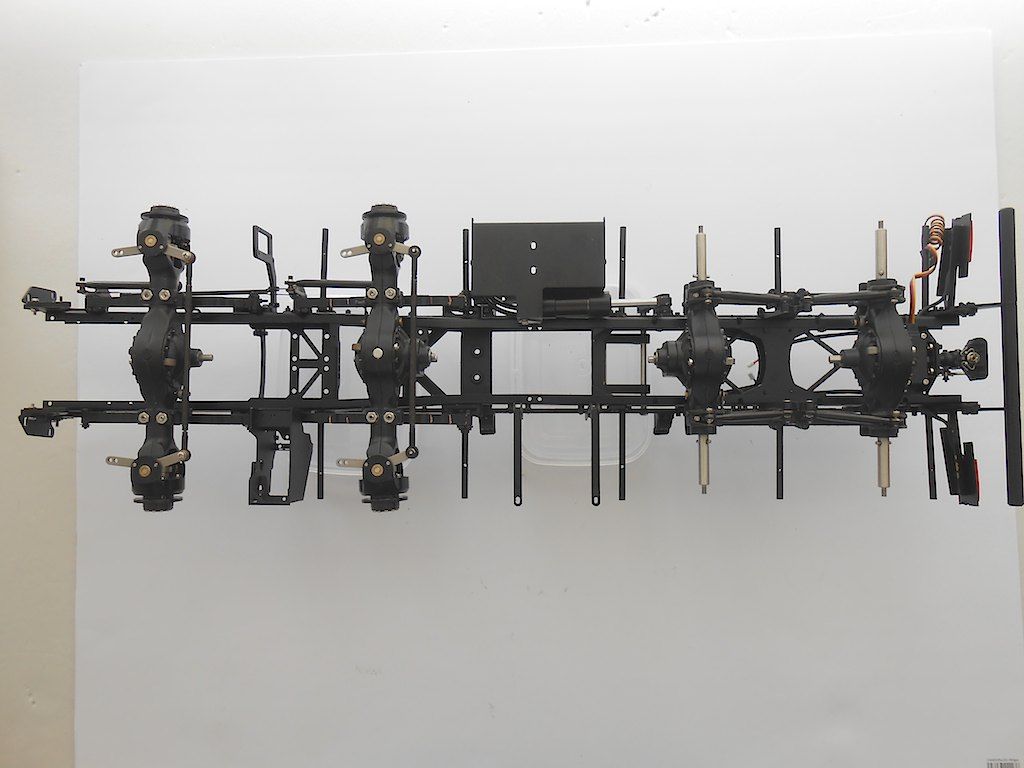
Whole frame from above
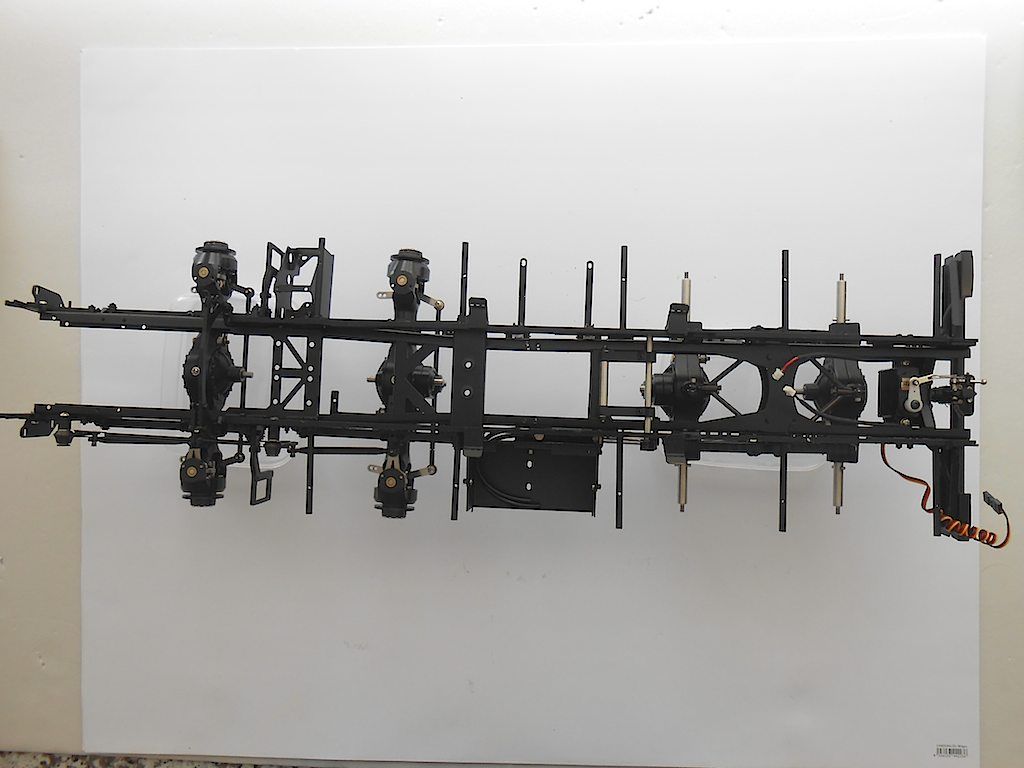
and upside down
And as point of interest ... these are the bits left over from the packages supplied. Never even opened those that came with the axles.
Next supposed to do the servos for the diff lock and the bowden cables, but might put that of for a bit. Probably will assemble the wheels and fenders next. Just to get the thing on wheels.