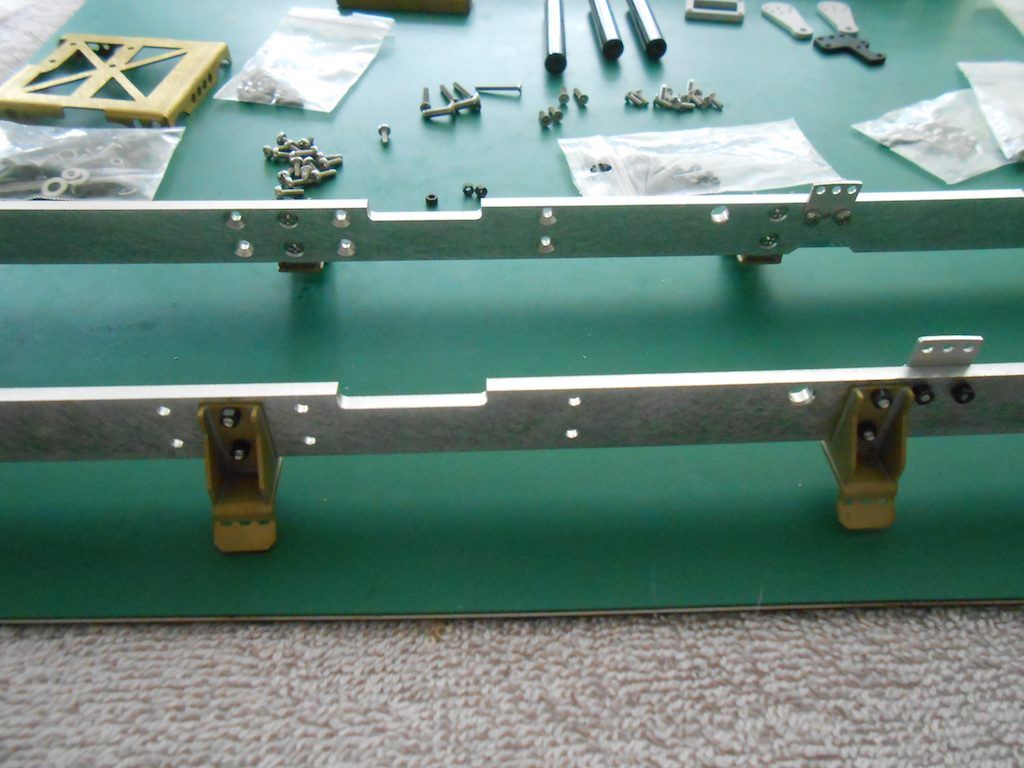
Started on the subframe that will hold the mechanics for the hook lift mechanism.
These are the bits and pieces in that assembly unit:
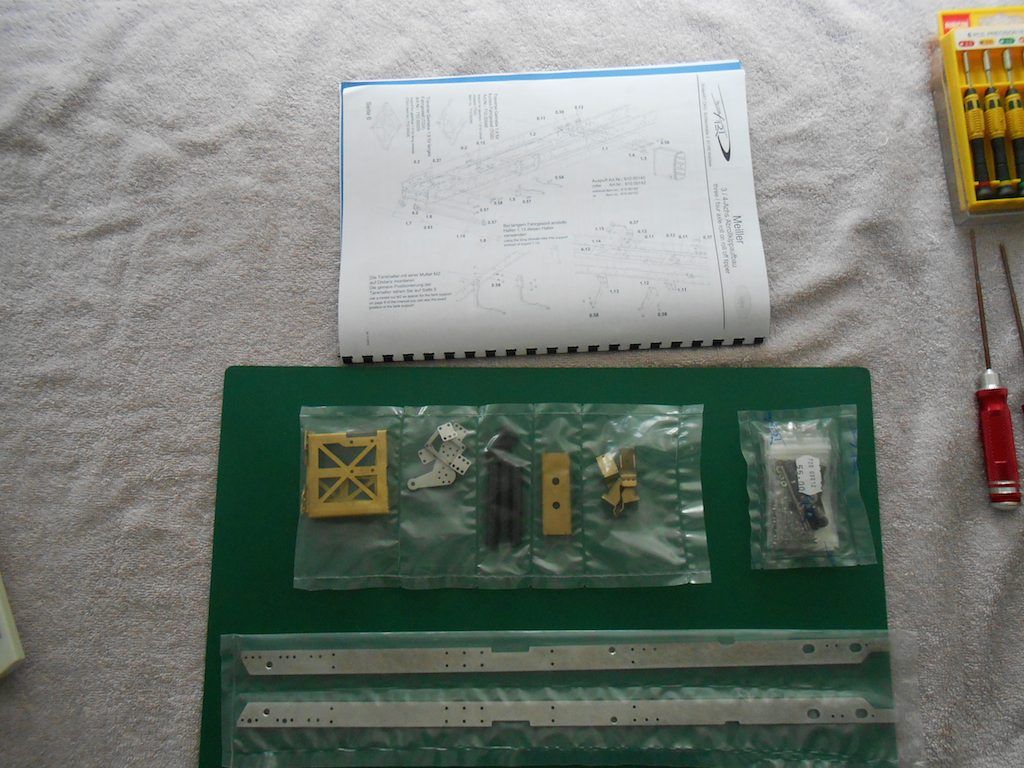
Upon opening, lots of little bags with various nuts and bolts ... (most of those for use in assembling the actual mechanism)
Also some pieces that are not needed, the black bit for example is for the exhaust of the MAN truck., and of the 2 frames on the left, the bottom one is for the long bodied MAN TGX.

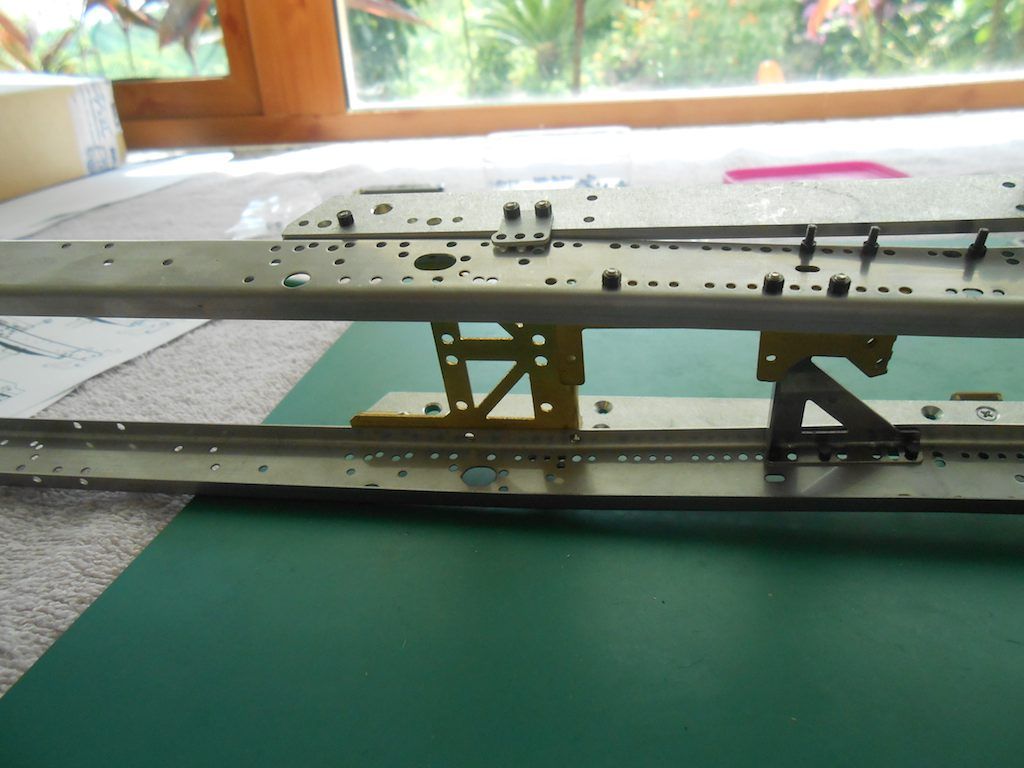
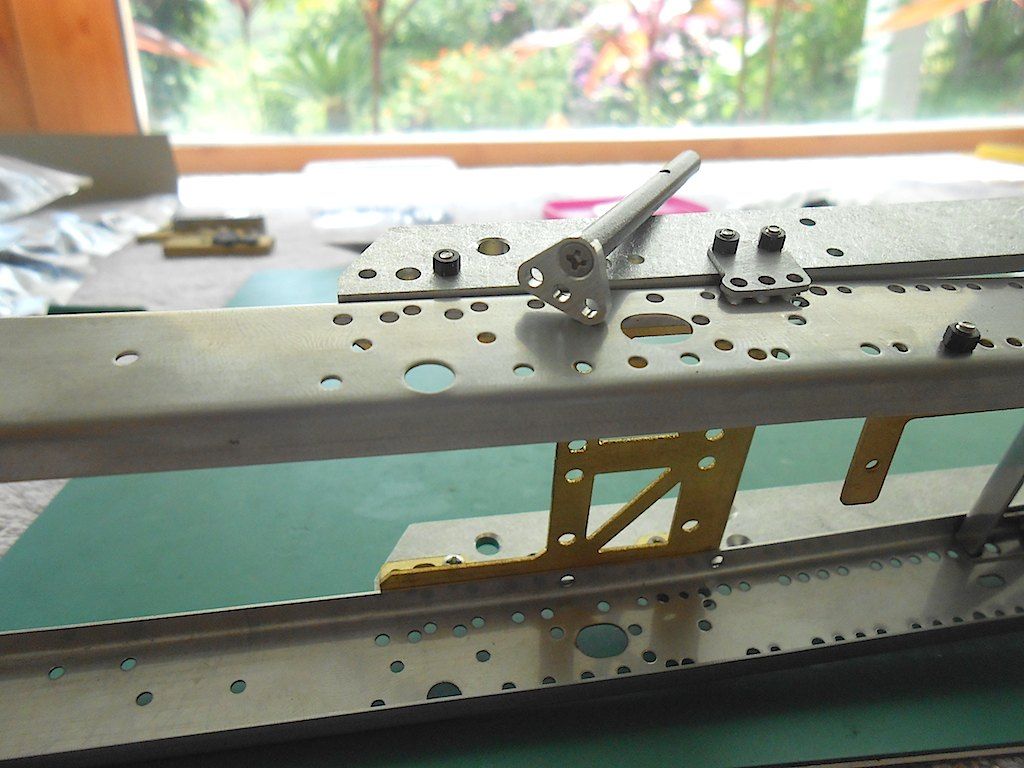
Starting to put it all together. Manual specifies 2 different kinds of screws.
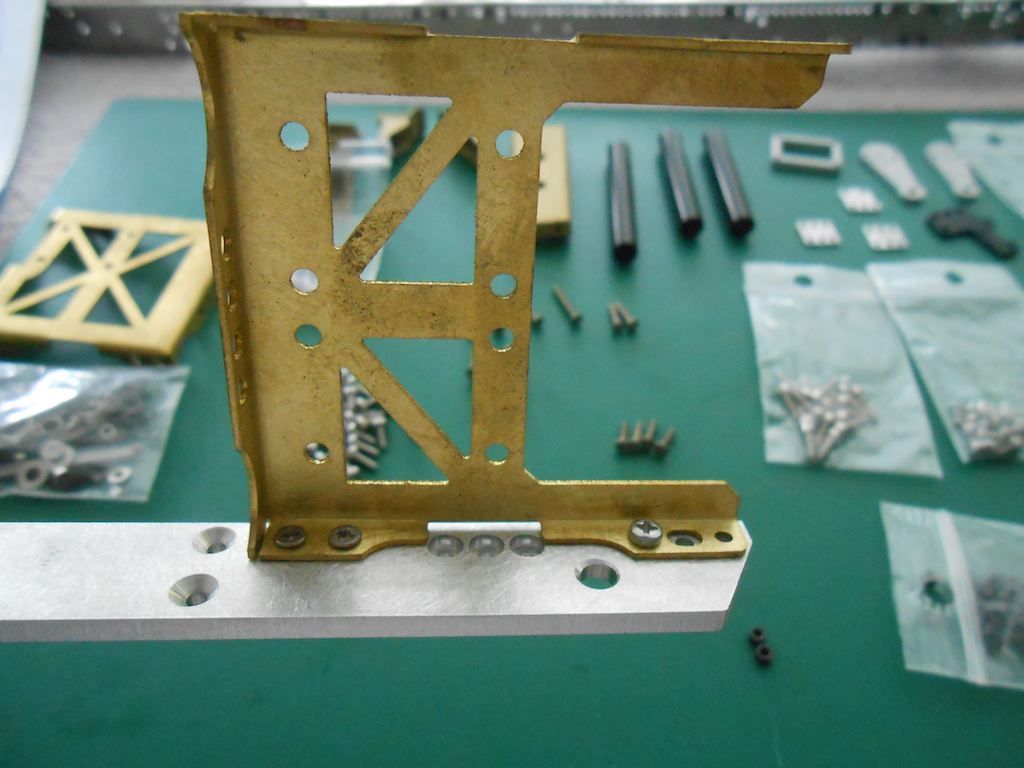
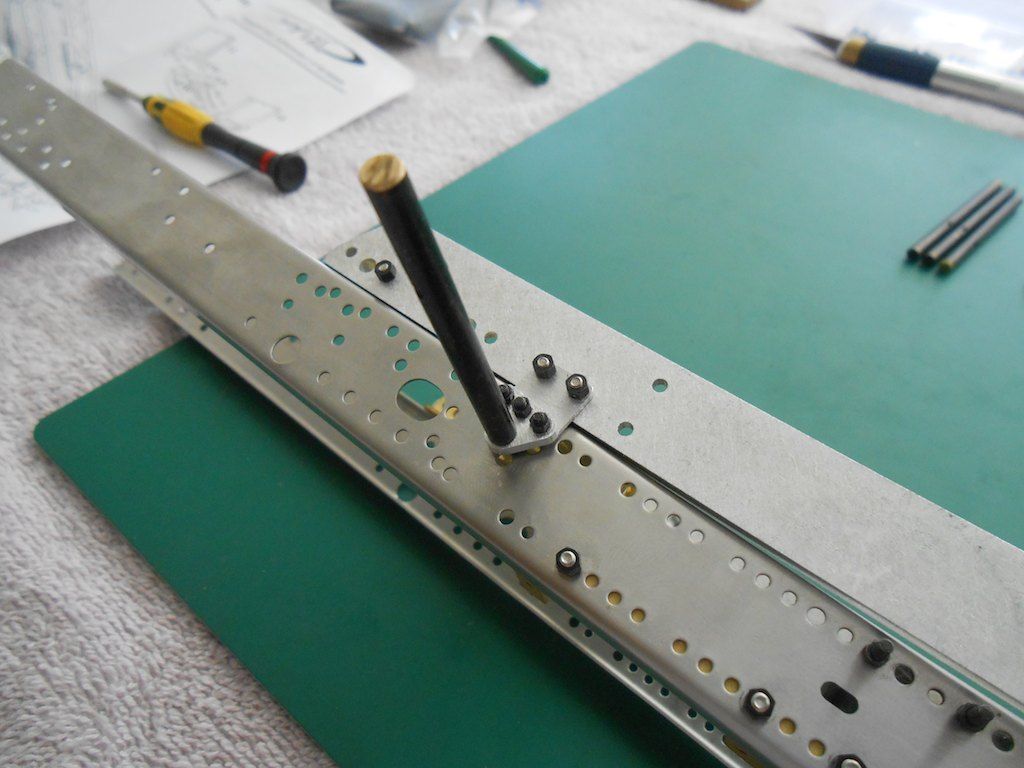
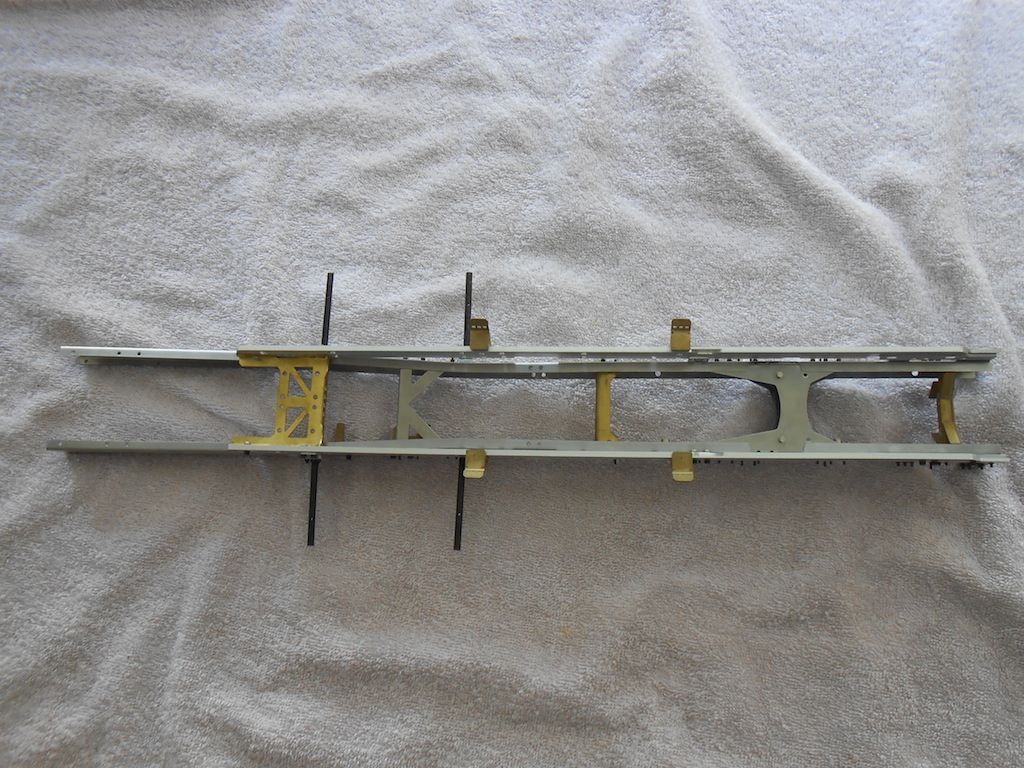
Attaching subframe to the main frame

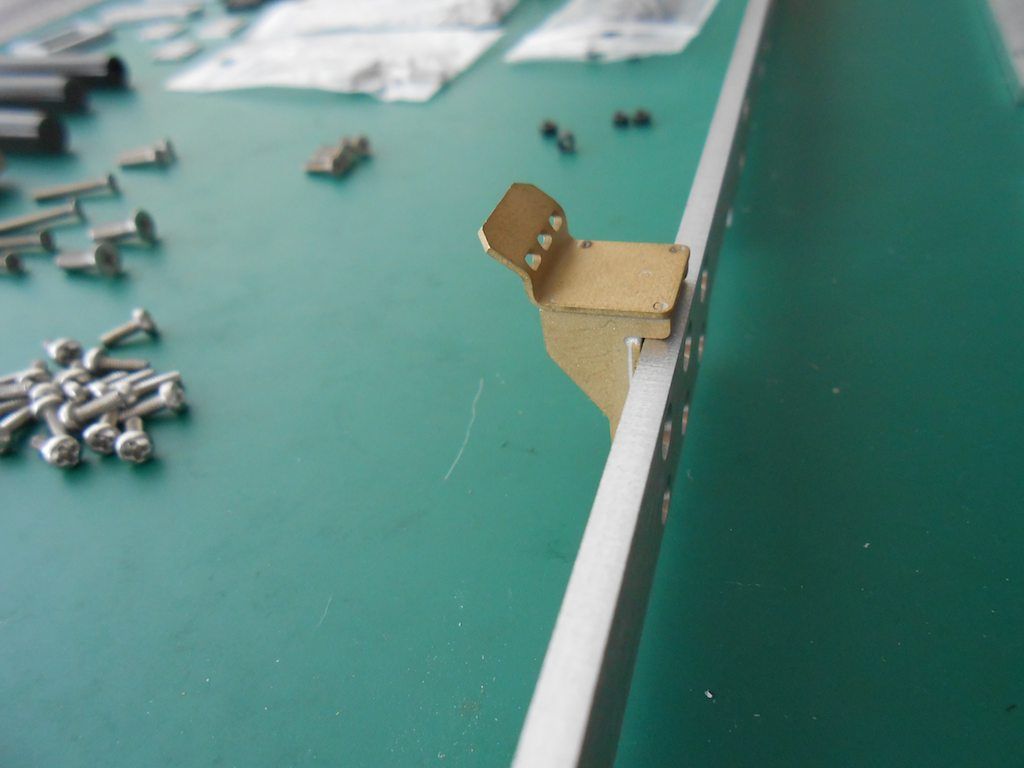
At the front we need to get pieces from another assembly unit, the fender supports.
After some rummaging in the box here are the bits needed for the front fender.
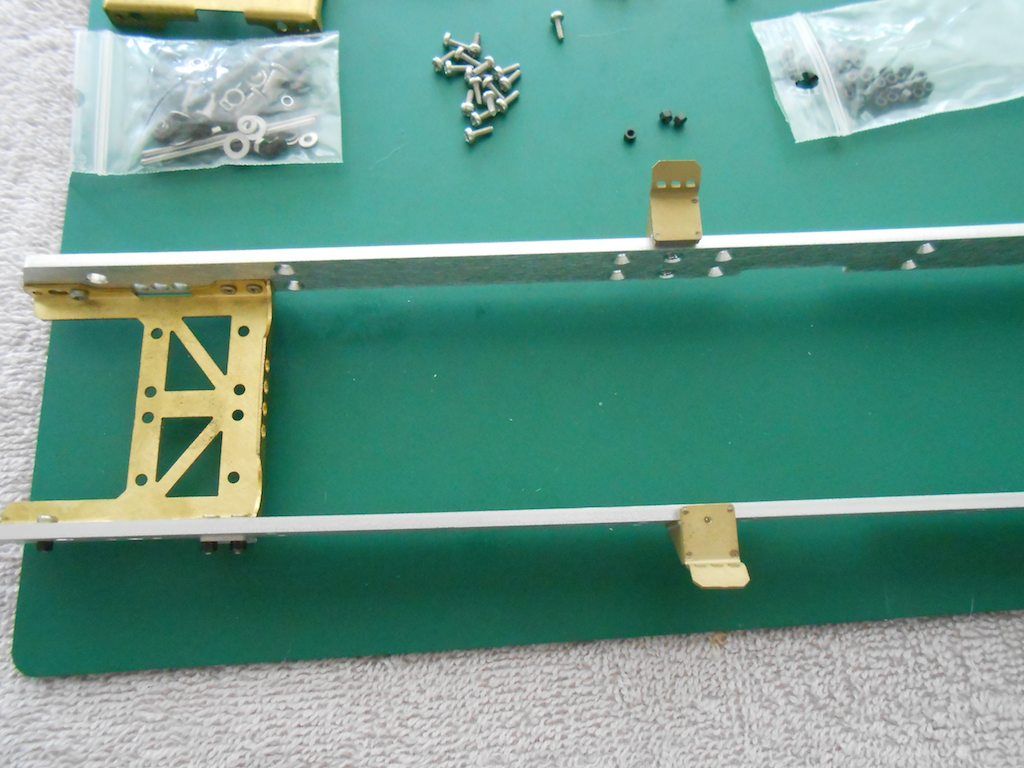
The supports come in 2 different lengths to offset the widening of the frame.

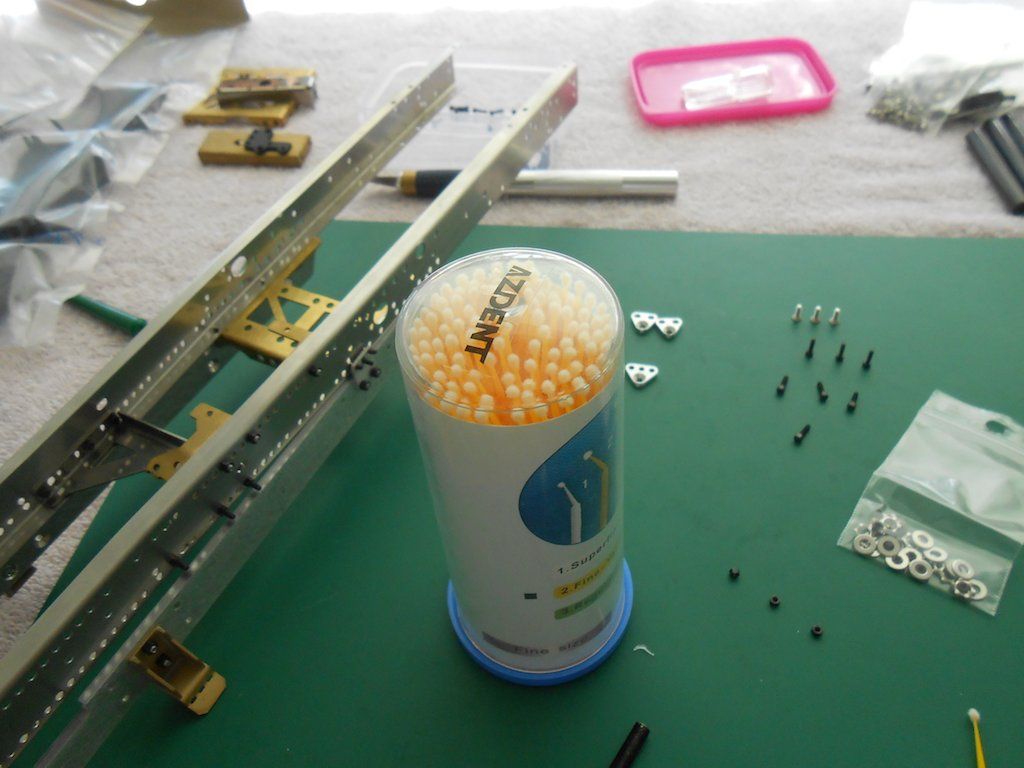
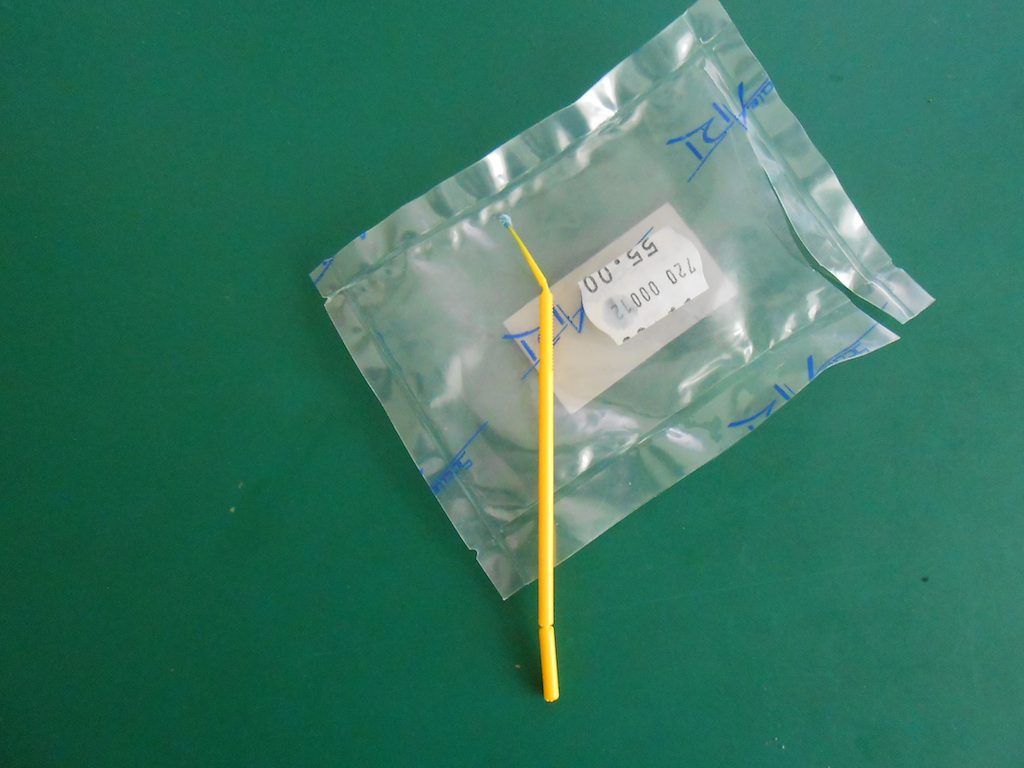
Sidenote - to get the loctite on, I found these dental things priceless. Got them on ebay. one can bend them and they are thin enough to get into thigh spaces. Easy to apply the stuff inside the metal rod and avoid the mess you get when applying to the screw.
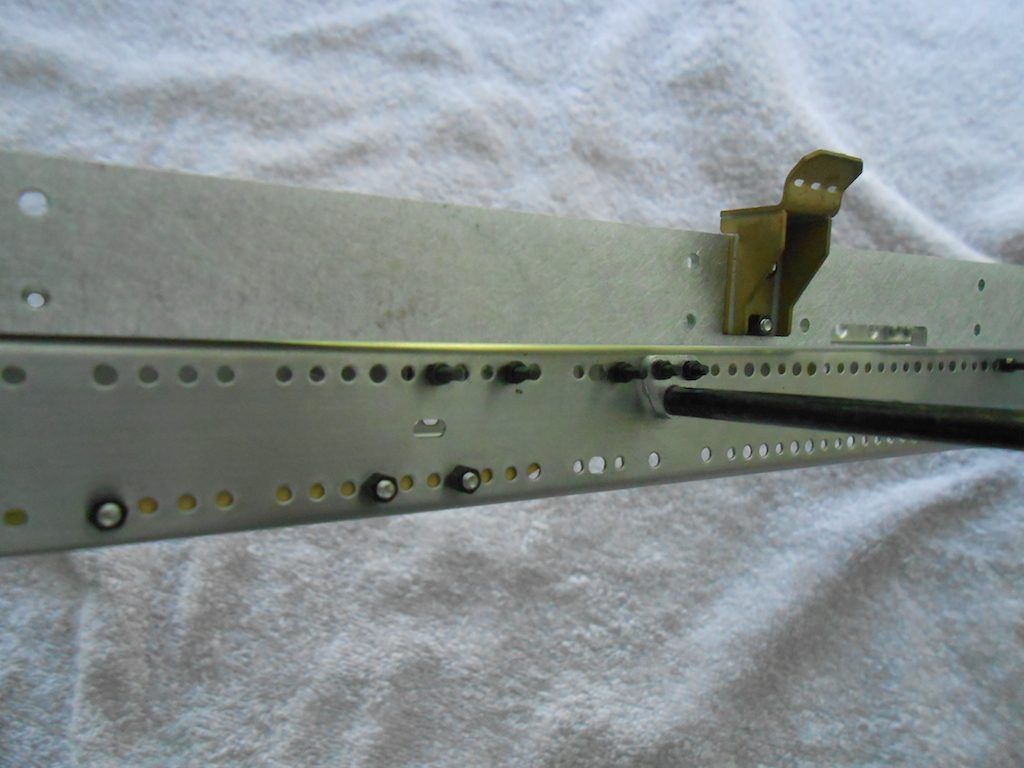
Front fender support installed
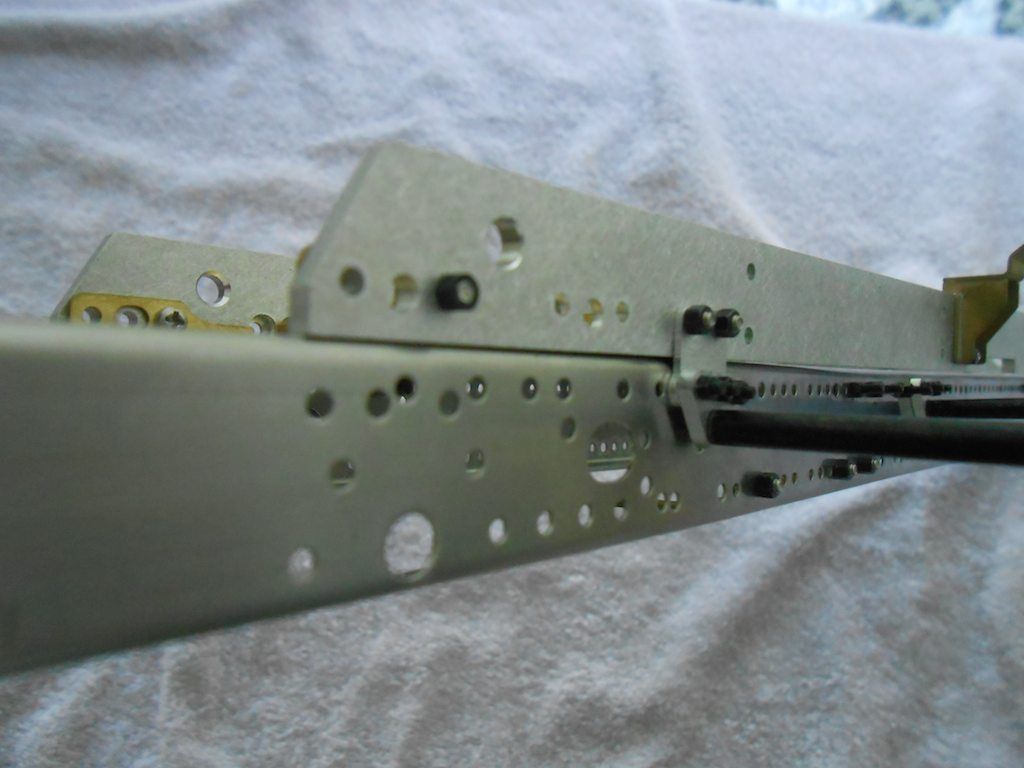
The rear support of the front fender installed
Was going to do the rear fender supports, but here the difference between the AROCS and the TGS becomes obvious ... Totally different arrangement.
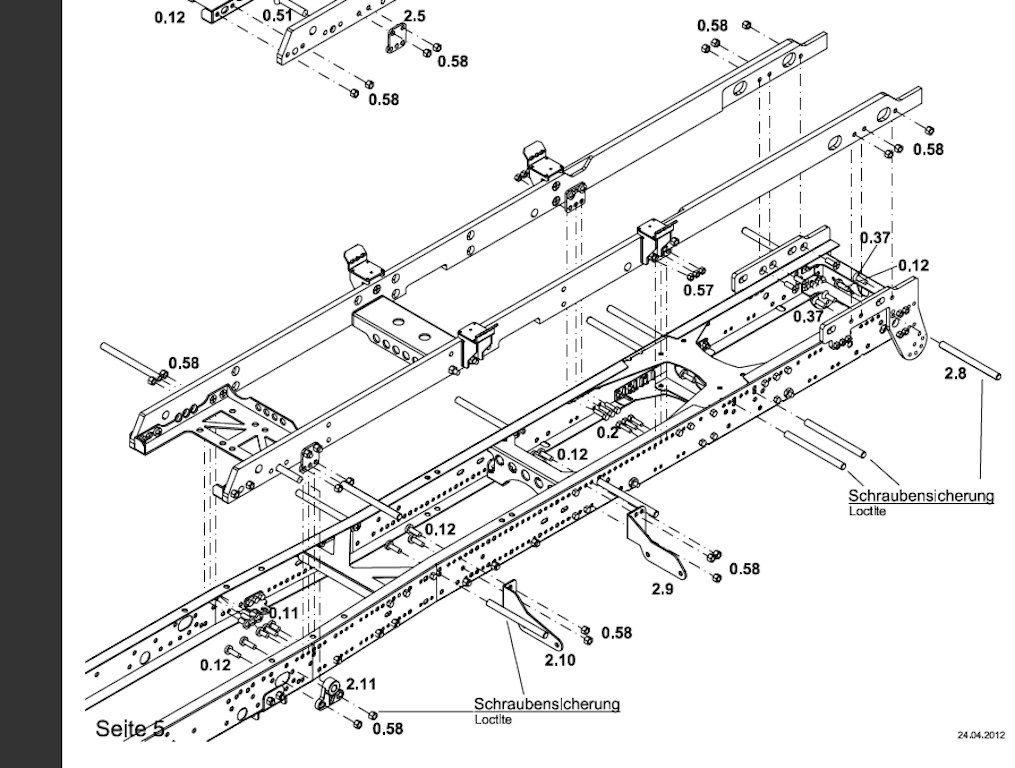
From the TGS Manual:
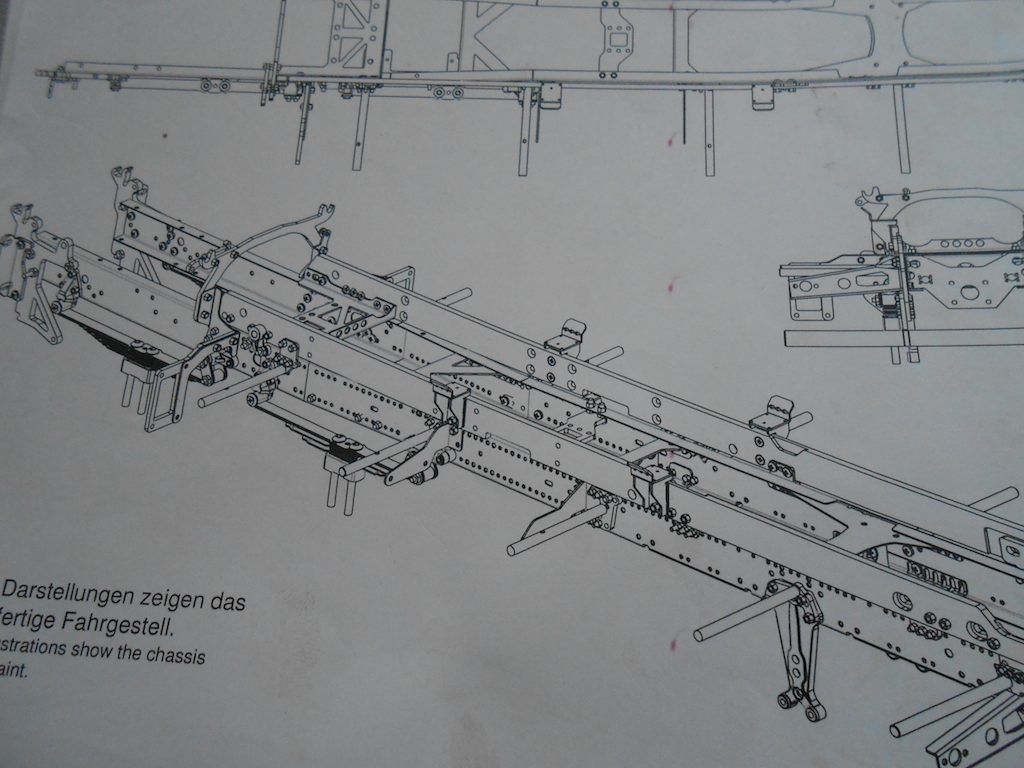
From the AROCS file I was send by Scaleart:
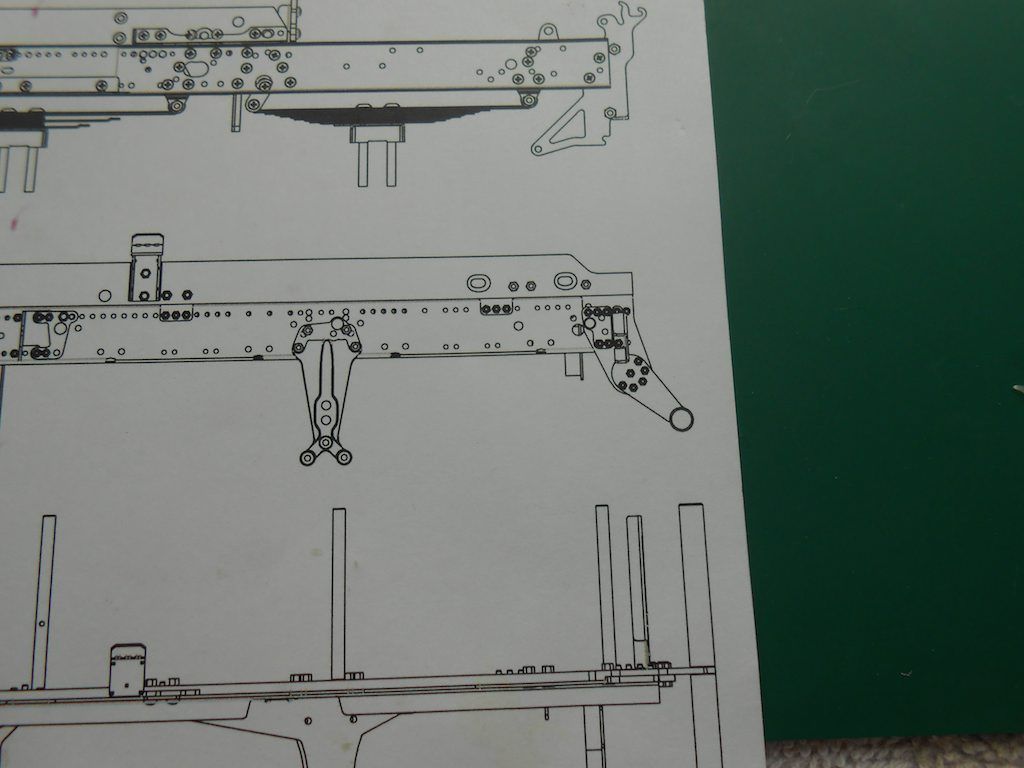
Looks like the AROCS fenders set a bit deeper than those from the MAN TGS. Also will need to install some suspension parts before I can install the fender supports. Will also need to take some parts off to do that.
I better go find some more containers to keep all the needed fasteners and washers of the different assembly units organised.
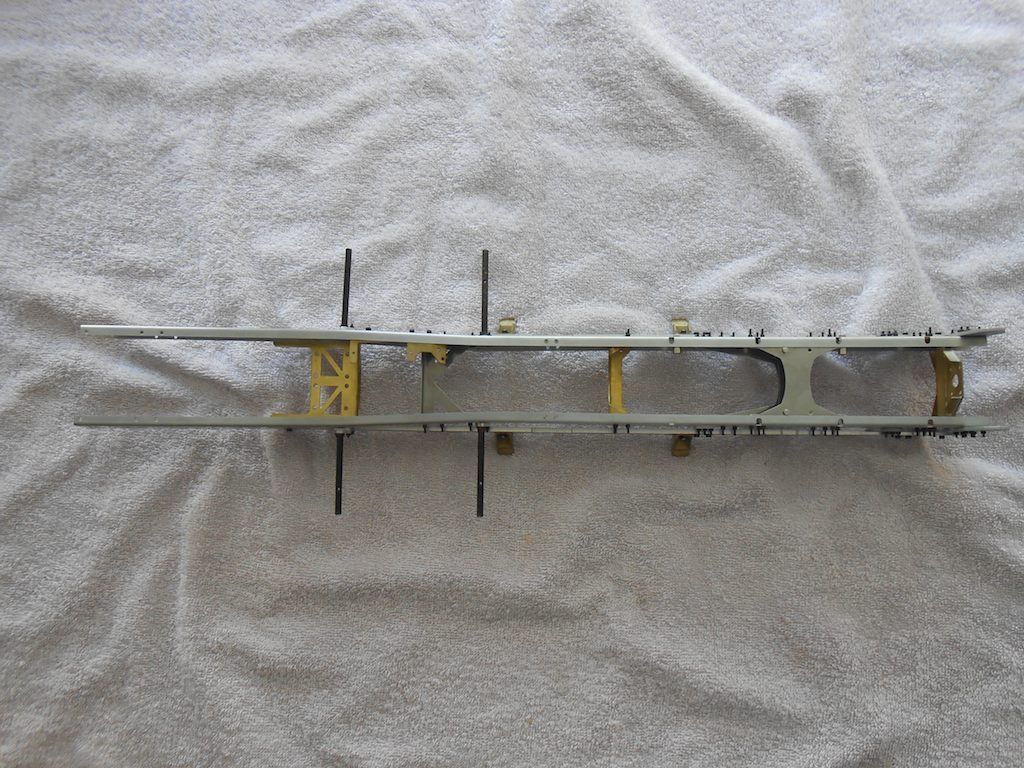
Well here the photos of the current stand of the build:
Top view:
Bottom view
Cheers,
Stephan