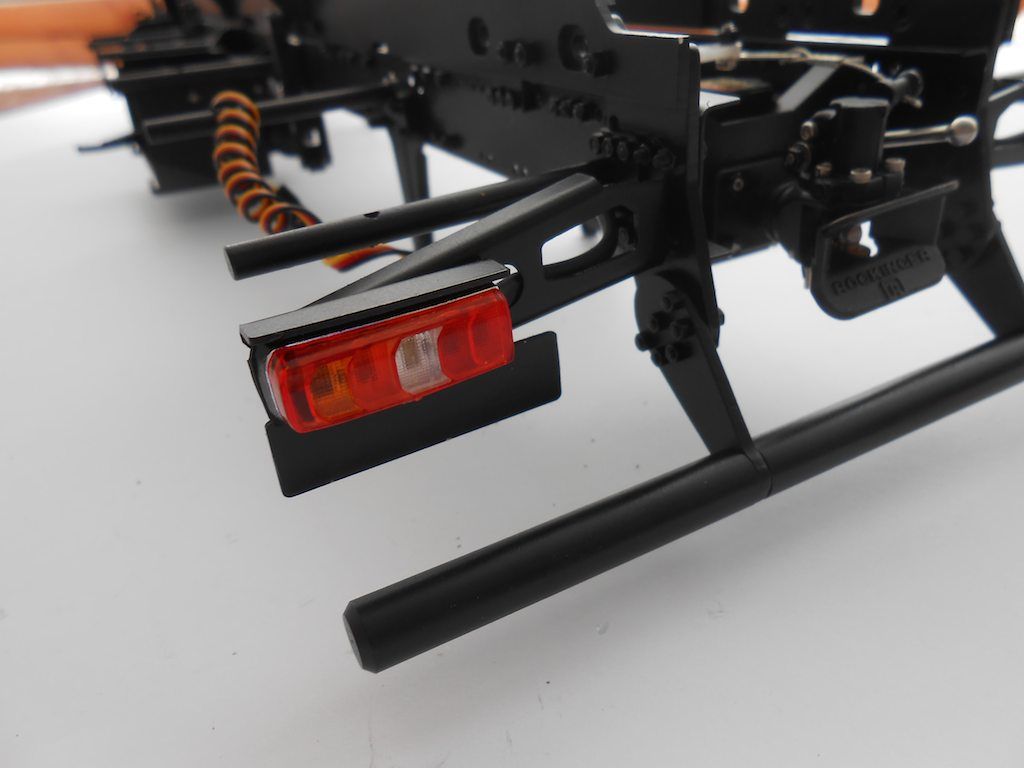
The rear lights are on the program next. (the orange of the indicators has to be painted in - used Tamiya X-26 for that)
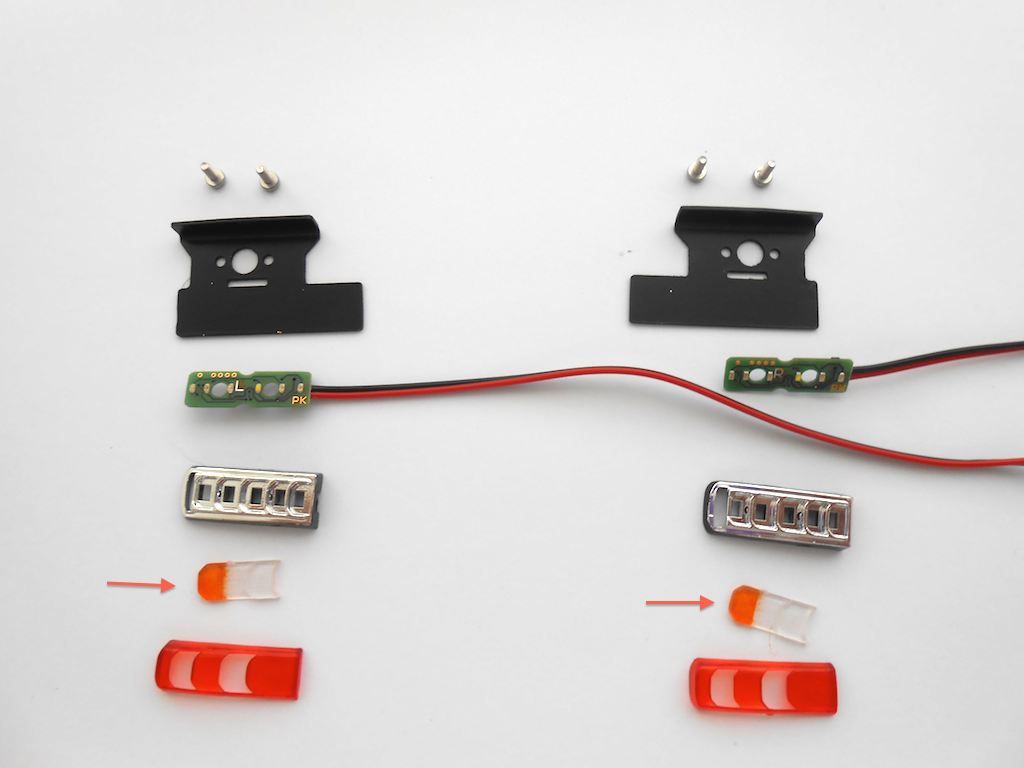
I ordered the kit with the KingBus system, so I only have two cable on each light. The cable is supposed to go in the inside of the frame, however a slight problem:
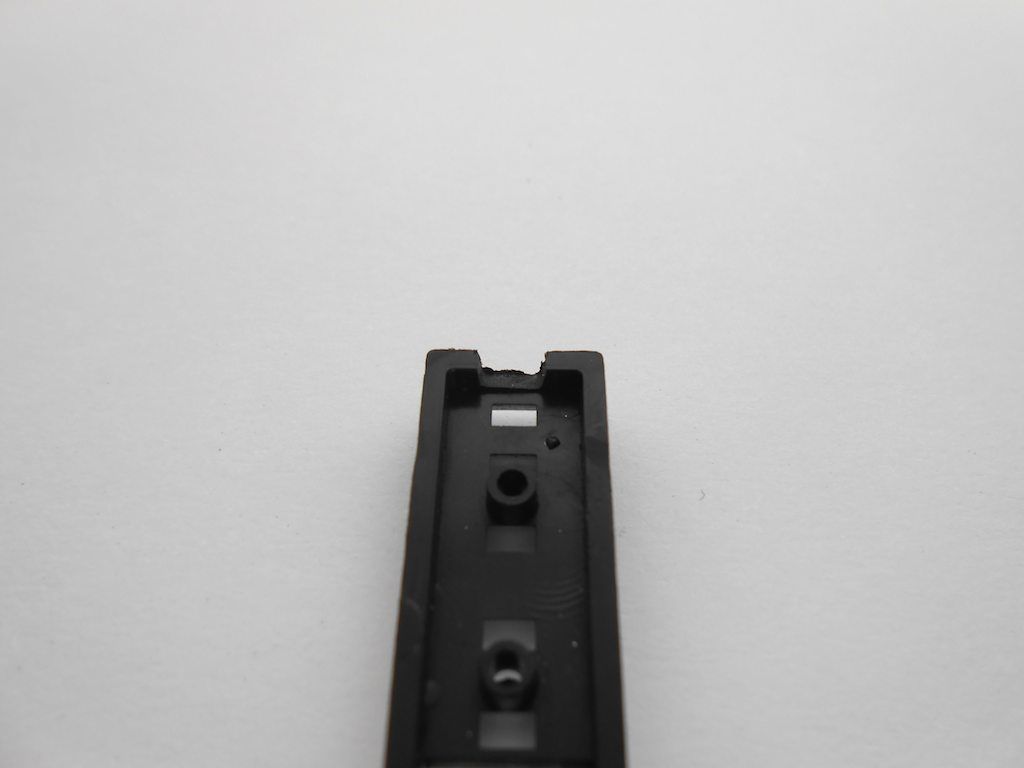
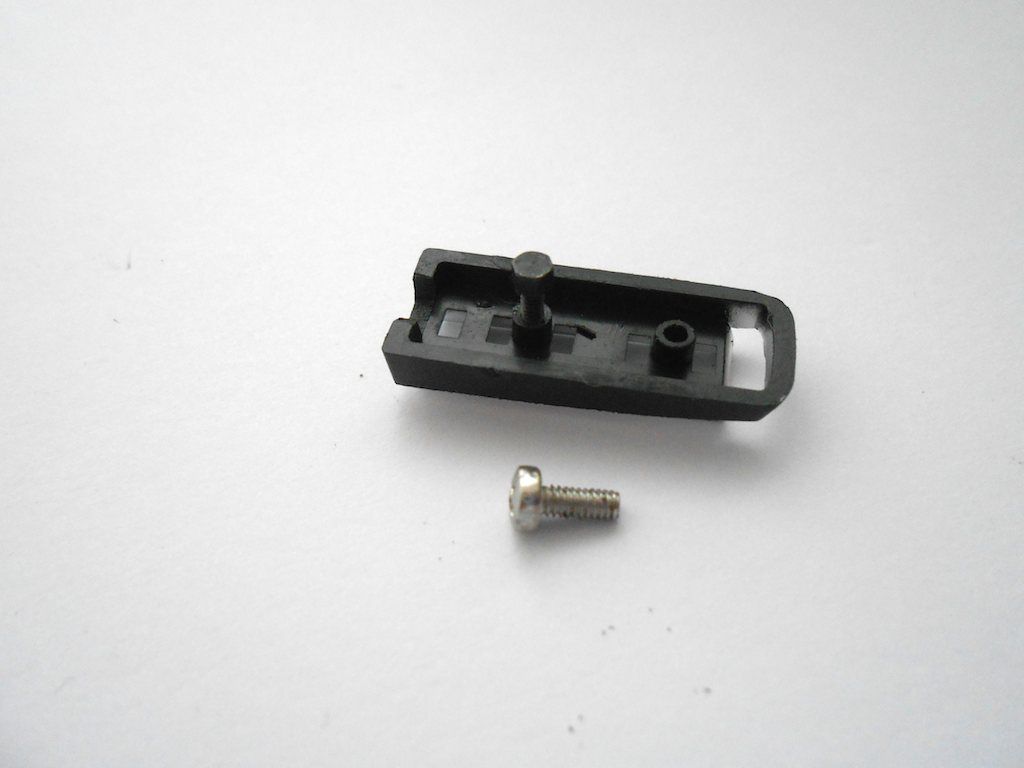
This little plug
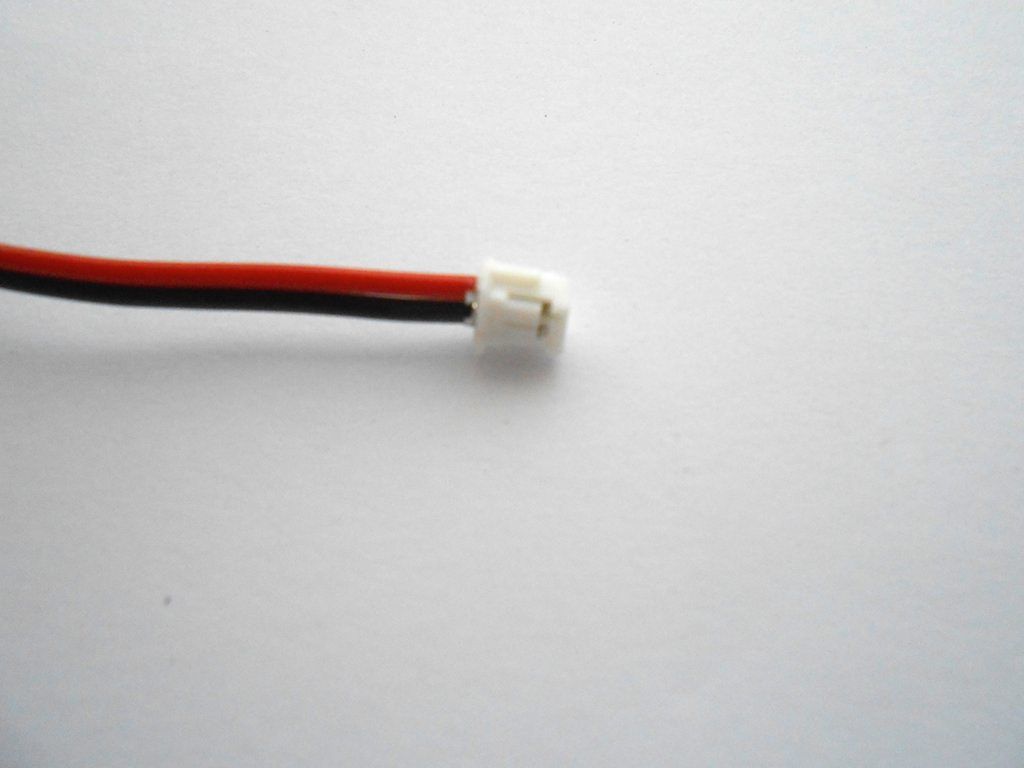
Does not fit in the round hole, more so because the lower rear crossbeam sits further back and blocks part of it.
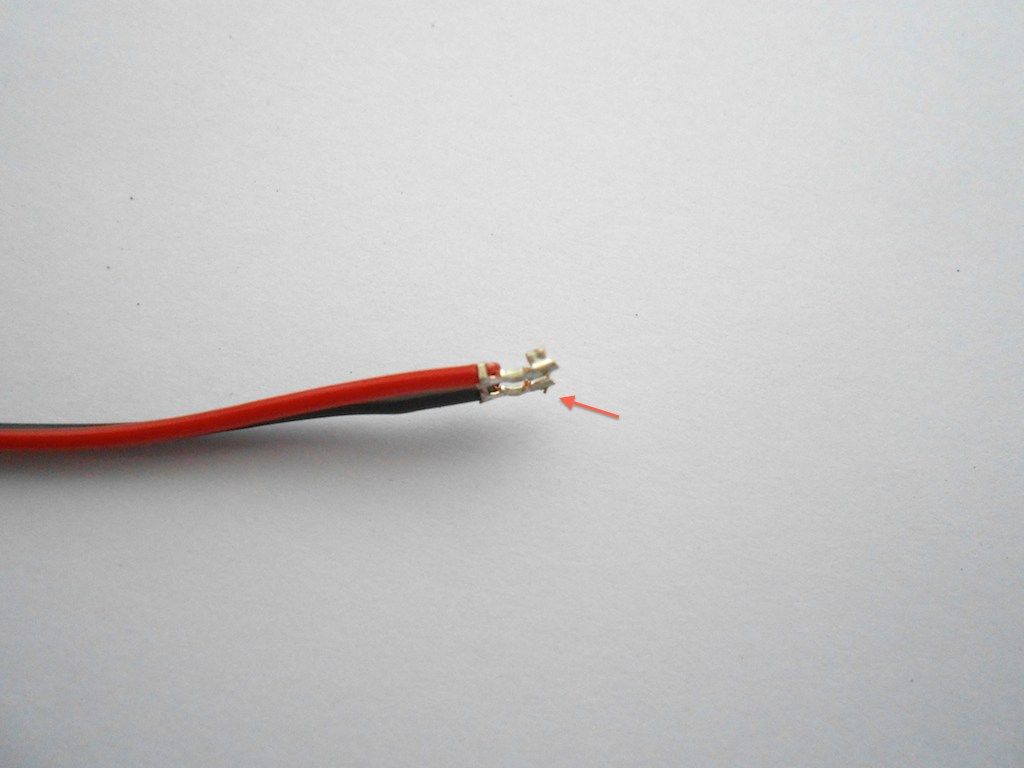
The plug does reminds me of the ones I had on my motorbike. And those would come apart with some fiddling.
Took me a bit, but if you get a needle you can lift up the little plastic tabs and pull out the cables ... not a fun job the first time around, but easier if you lift the tab from the top between the 2 tabs.
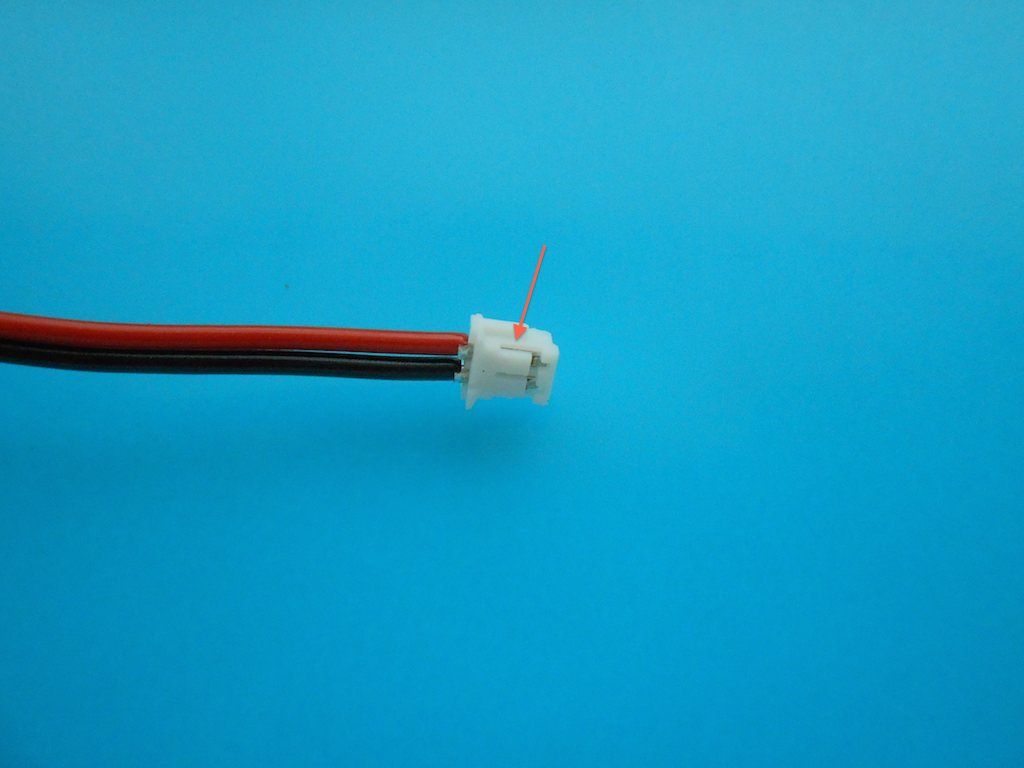
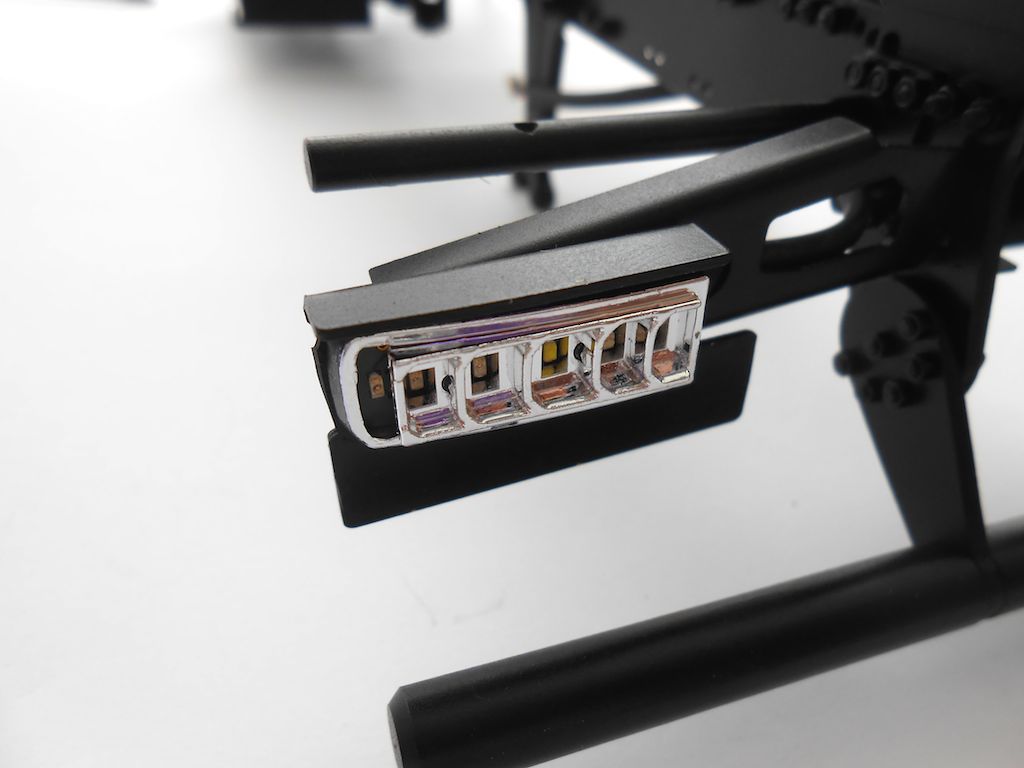
Bare cables. They only go one way back into the plug. The little edge pointed out by the arrow is what holds them in place.
This sorted, next we have to cut a small channel in the plastic body of the light fixture. This to accommodate the cable.
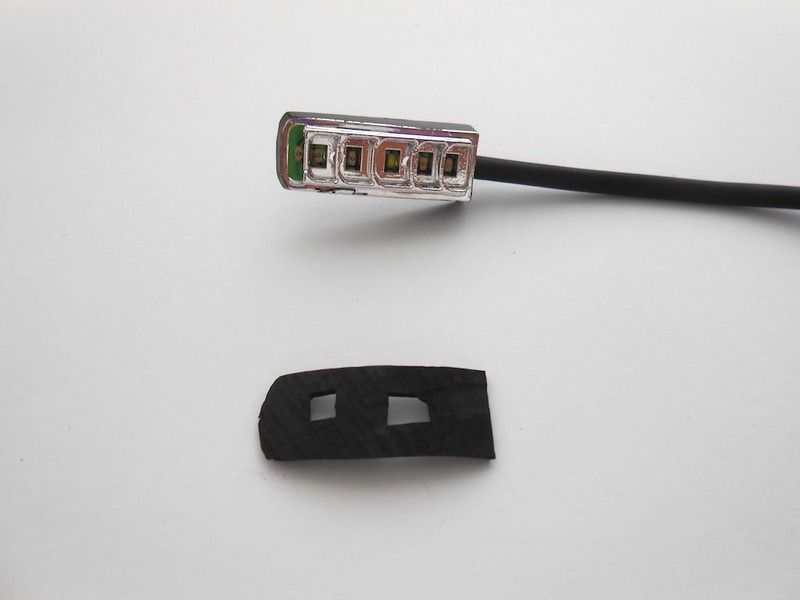
Need to carefully smoothen the edges of the LED board so it fits into the housing. (I used 800 grit paper for this)
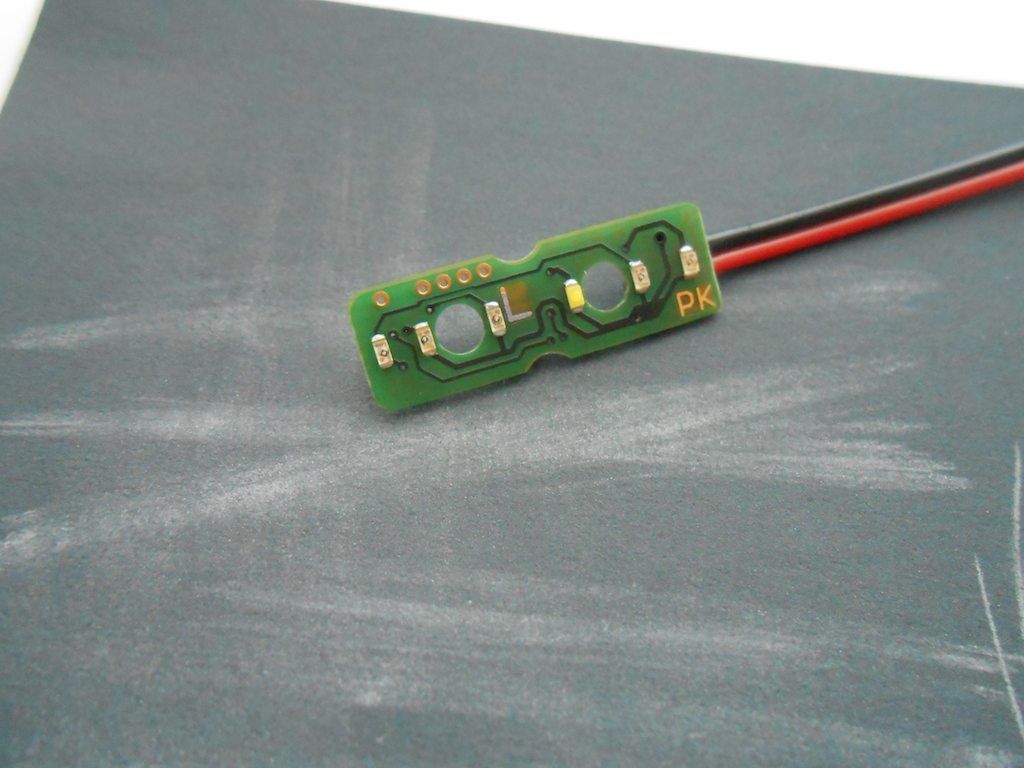
Now fits nice and flush in the housing
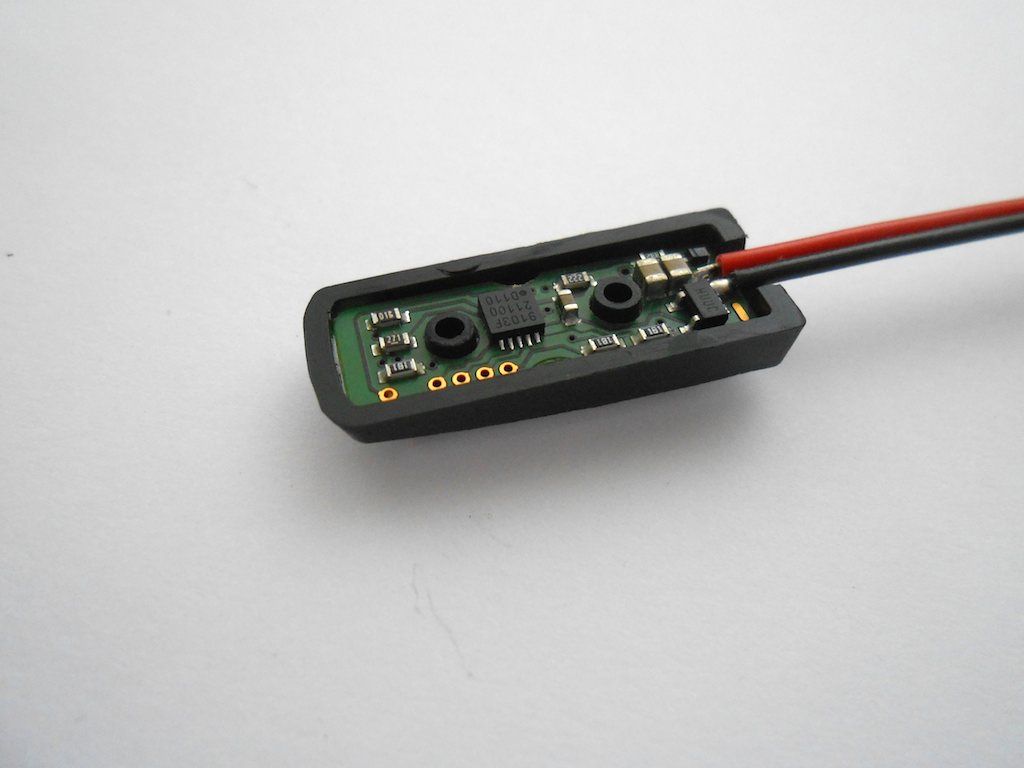
Added some heat shrink over the wires and cut an insulator from an old inner tube. (there was supposed to be one with the LED board but didn't see it)
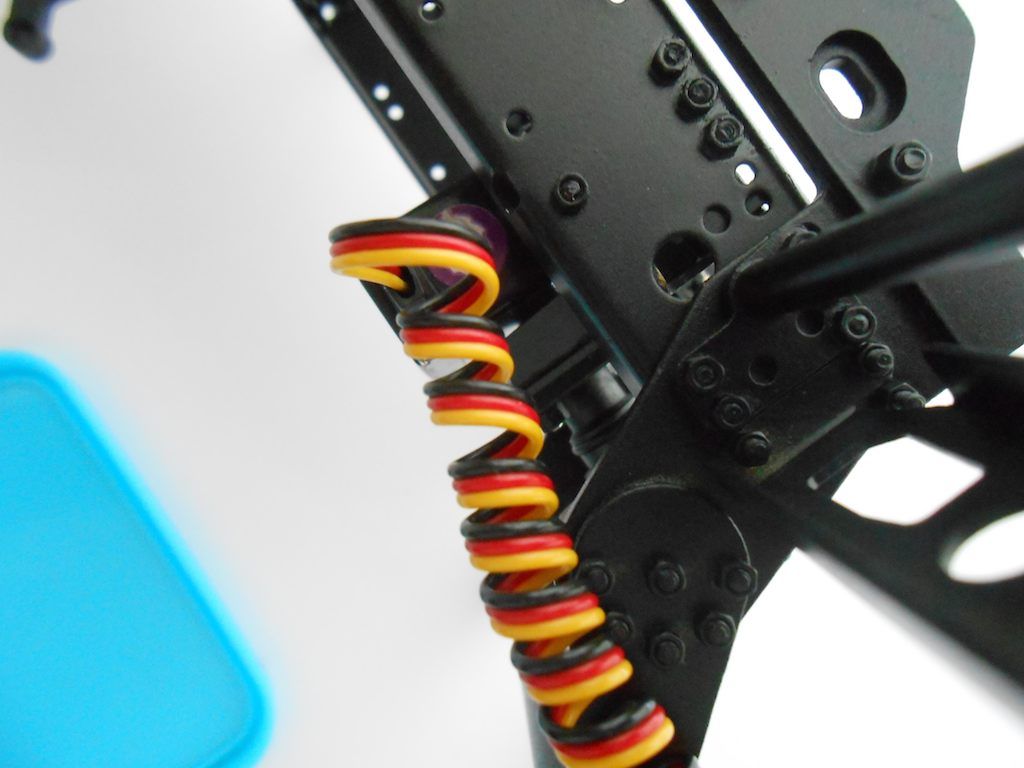
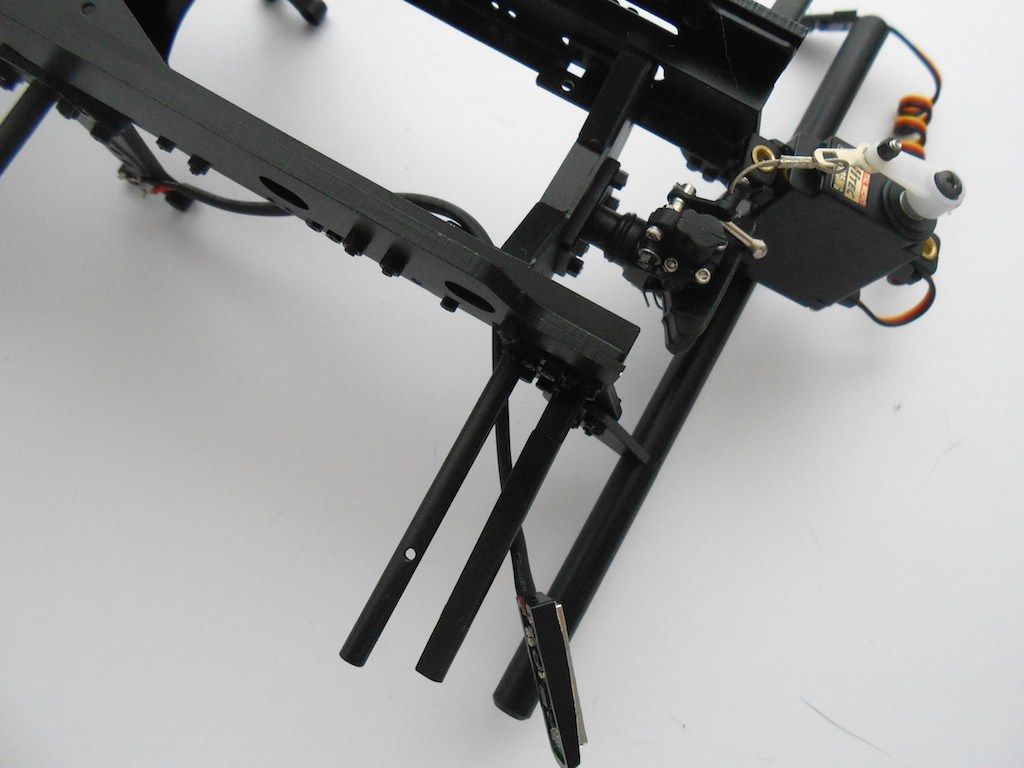
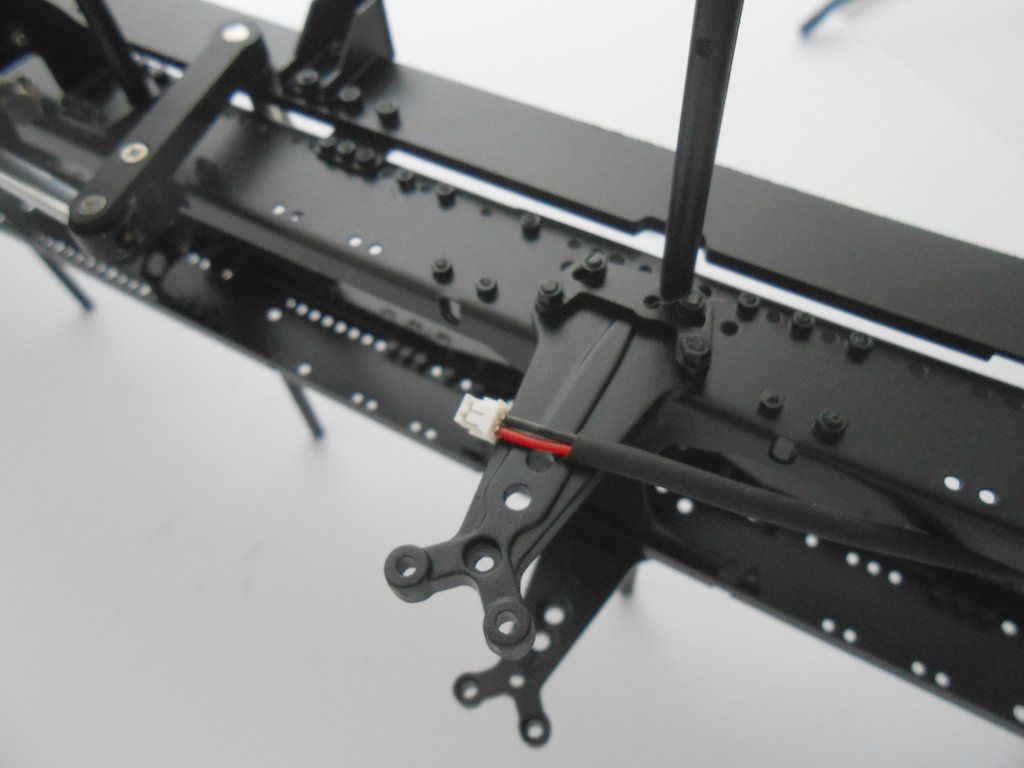
Fed the wire through the hole into the frame - had to take the servo out to make it easier - and in hindsight made my life difficult due to being so focussed on getting the wire in the frame ...
Tried to fasten the M2x5 screw indicated in the manual, but it didn't fit.
The holes provided are for M1.6 screws, so changed to those.
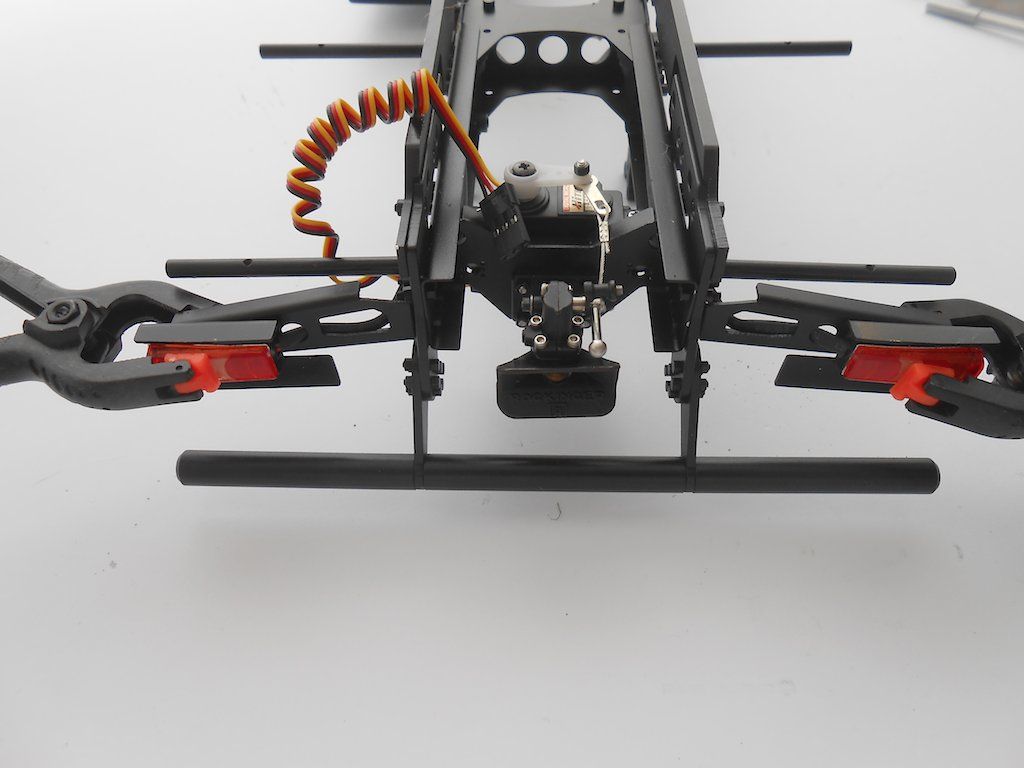
Light fixture installed
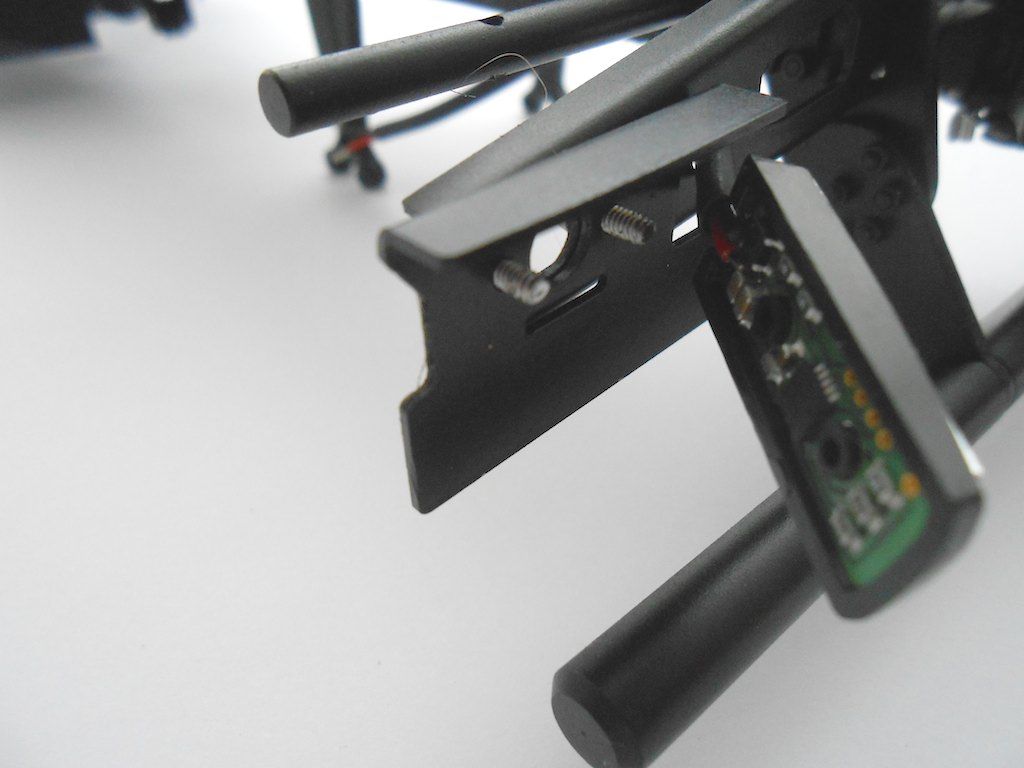
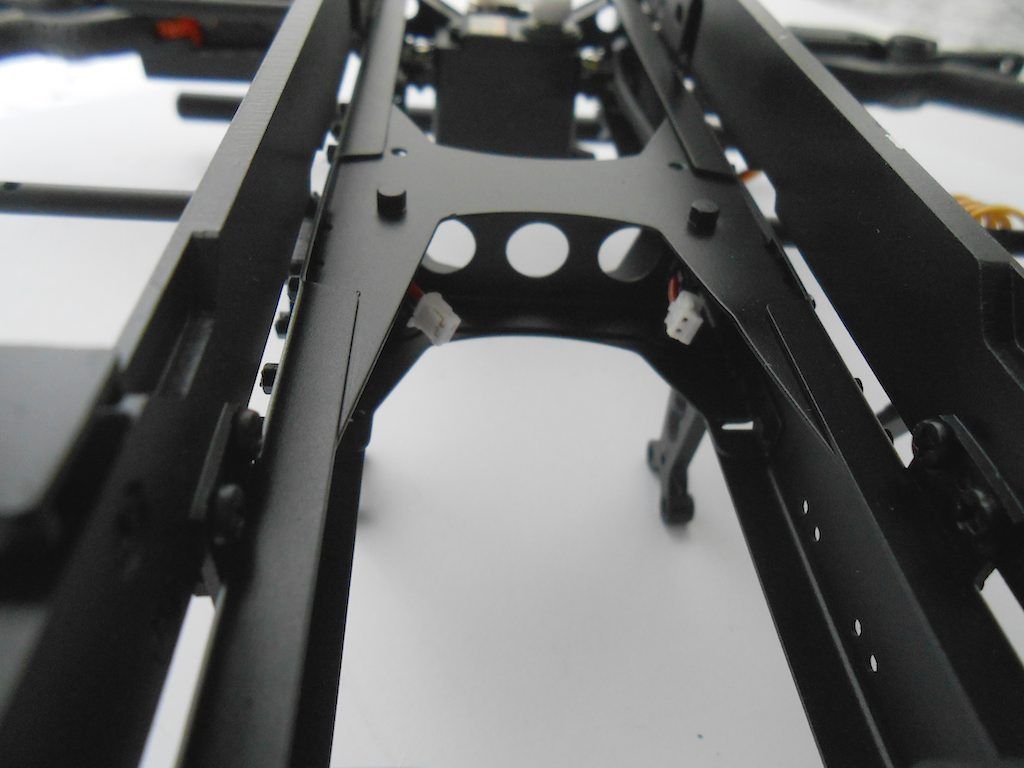
Plug back in place
Servo back in place and lenses glued in place with 2 component transparent glue.
Cables tucked in the frame for now
And here a pic without the clamp
If I had to do this again, i would first fix the light to the support, then add the heat shrink and feed it in the frame. Oh well ...