
 |
|
|||||||
| Construction Equipment If it digs, pushes, hauls dirt "off road" post it here. |
 |
|
|
Thread Tools | Display Modes |
|
#21
|
||||
|
||||
|
I'm excited to see some parts printed up, everything looks killer! Yet another build thread that threatens me to sell some toys to buy another one~ A printer of course.
__________________
Jarrett |
|
#22
|
||||
|
||||
|
Managed to get a few more parts printed and some hardware ordered. I now have over half the tracks printed (38 per side) and the hardware to link them together.
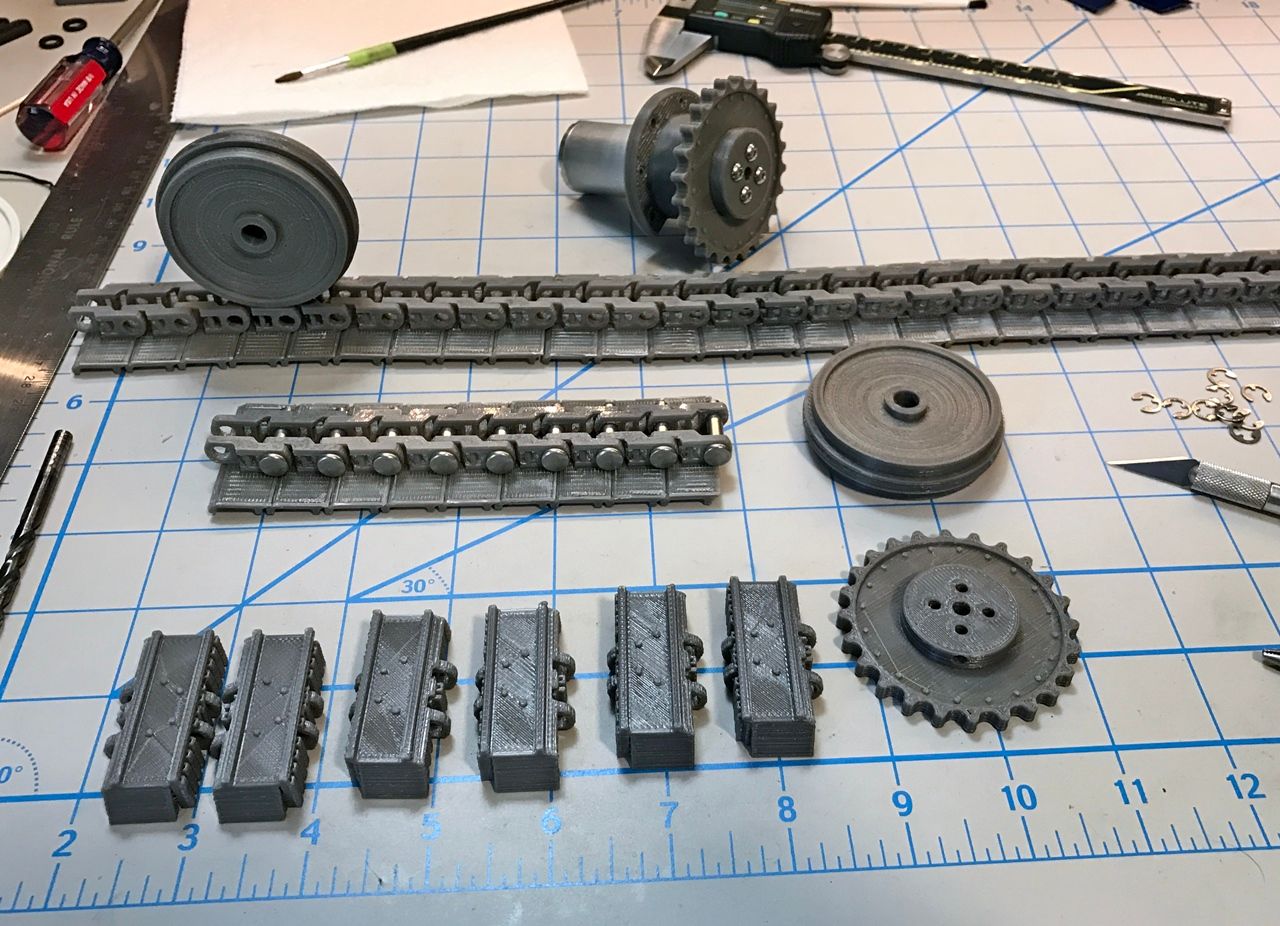 The front idlers are printed also. I chose to print them in halves to make it easier to get the concave dish to print well. 2mm dowel pins are used for alignment and then they are bonded together with acetone. 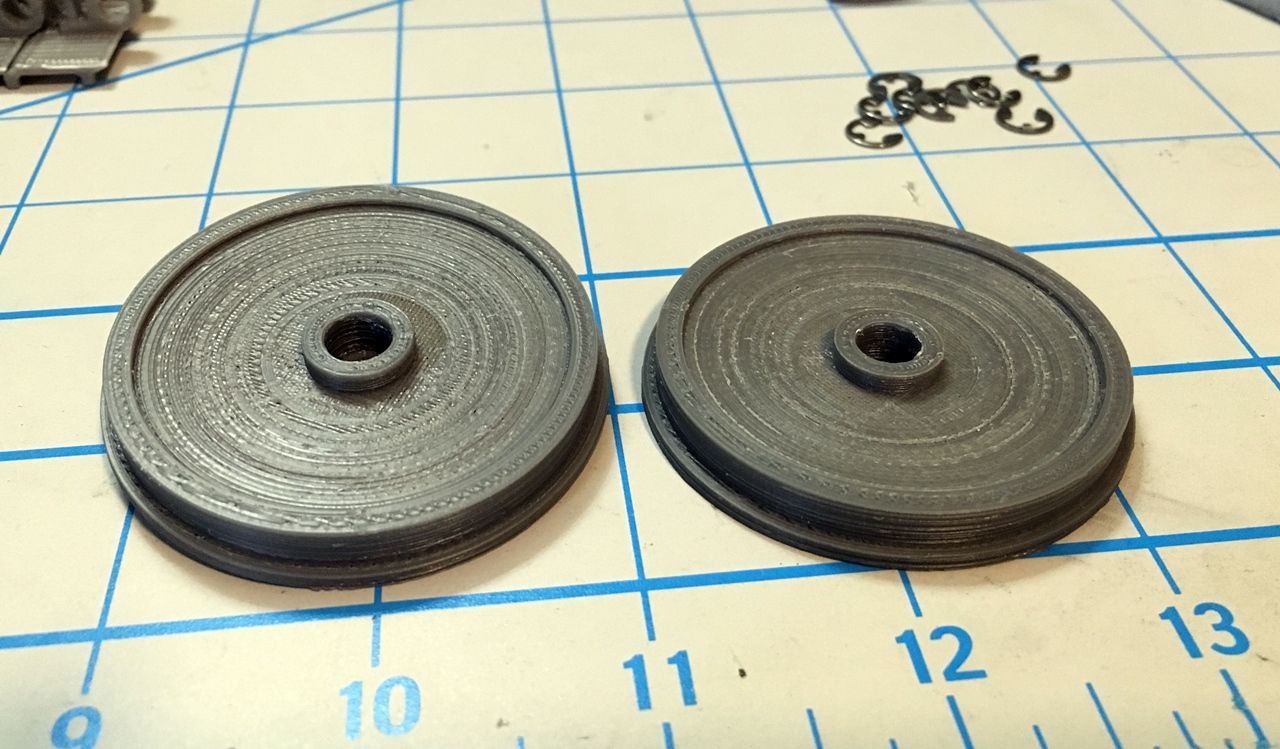 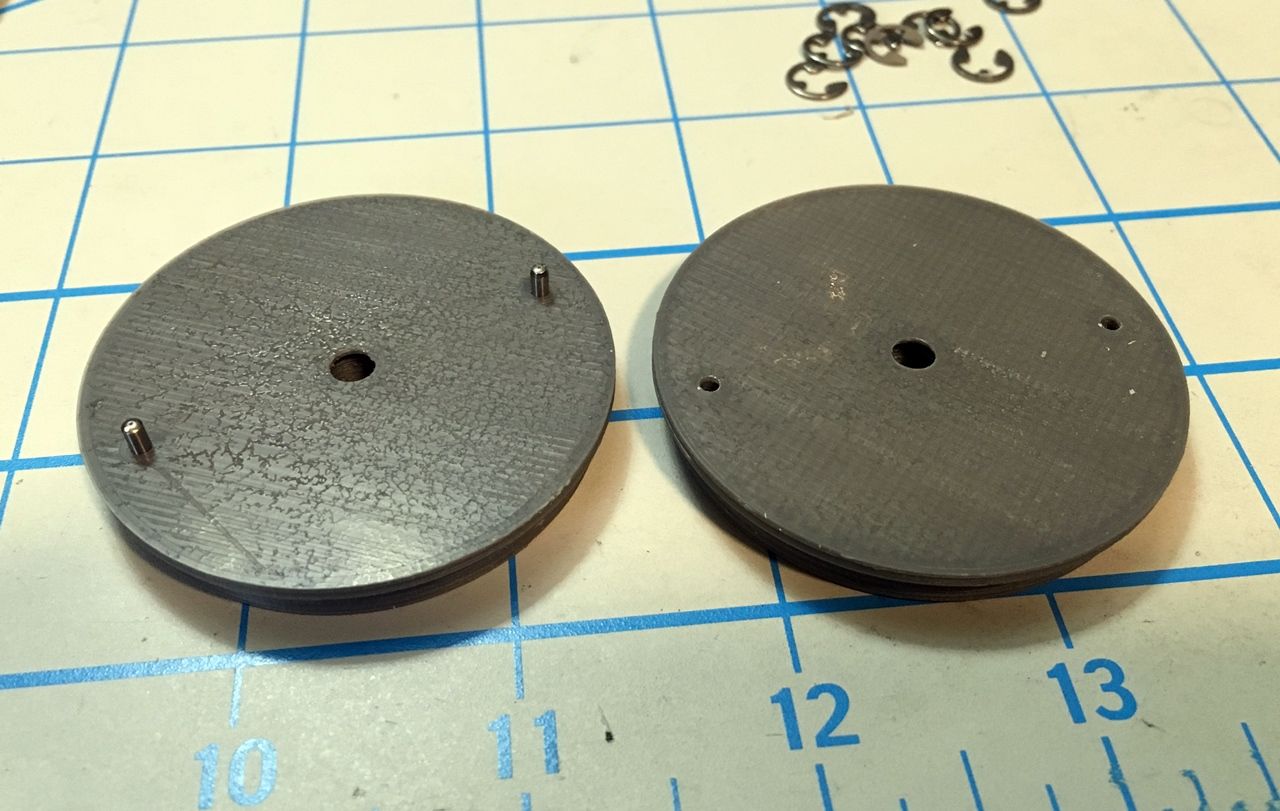 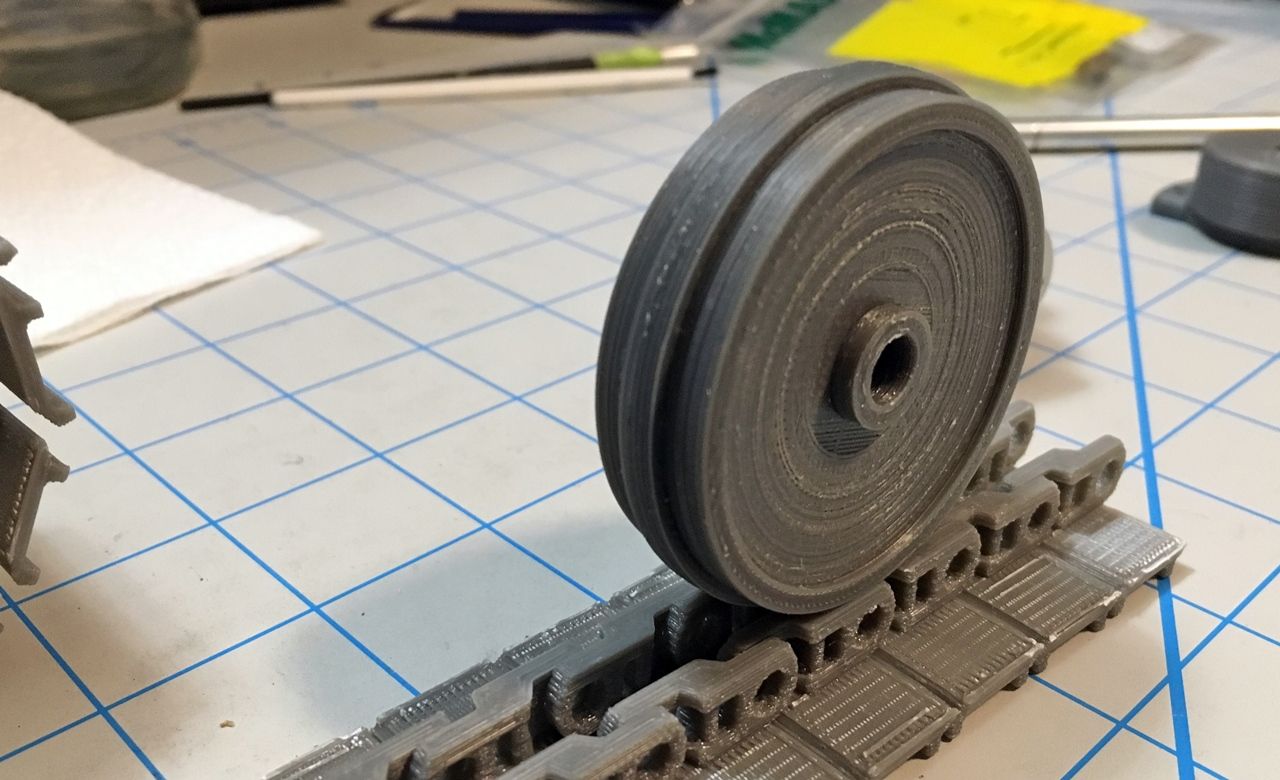 The drive sprockets were also printed. They bolted up to the motor hubs perfectly, and line up well with the tracks. There is a dummy planetary unit that will hide the screws and provide a more scale appearance. 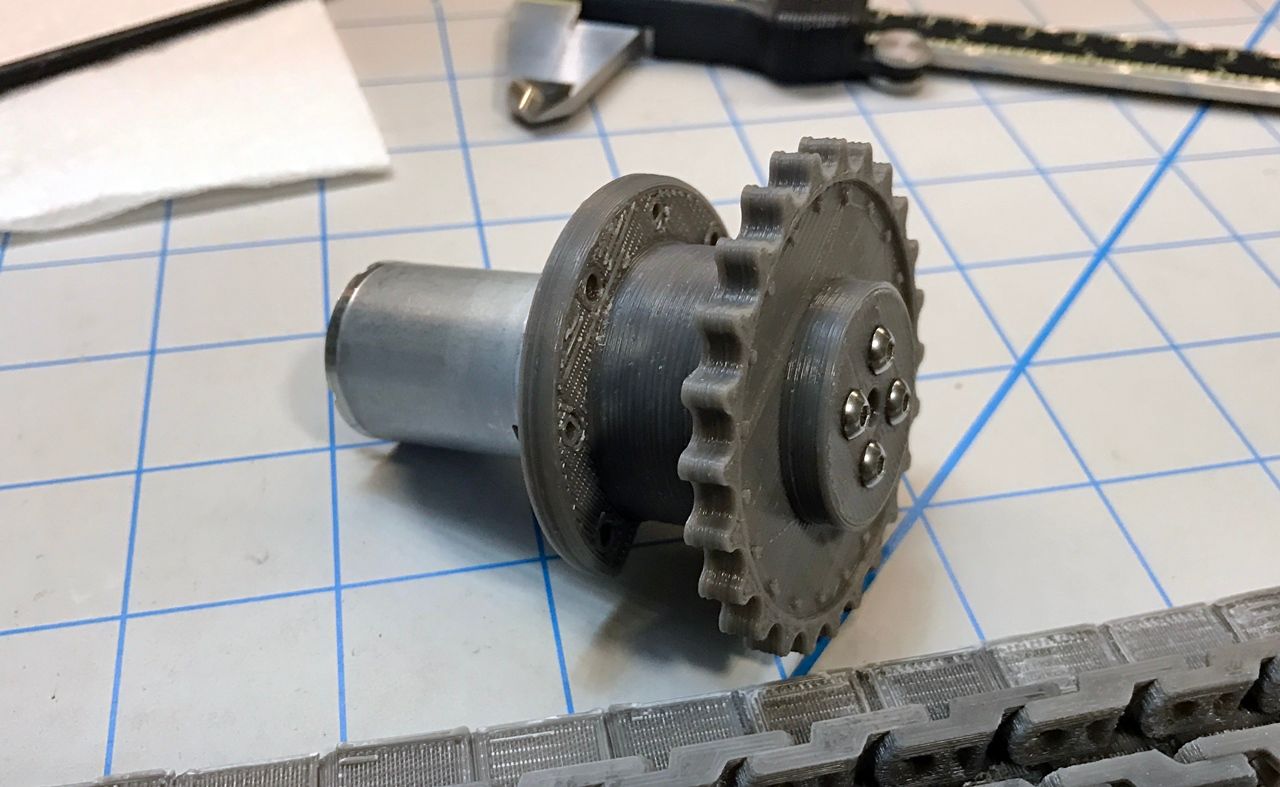 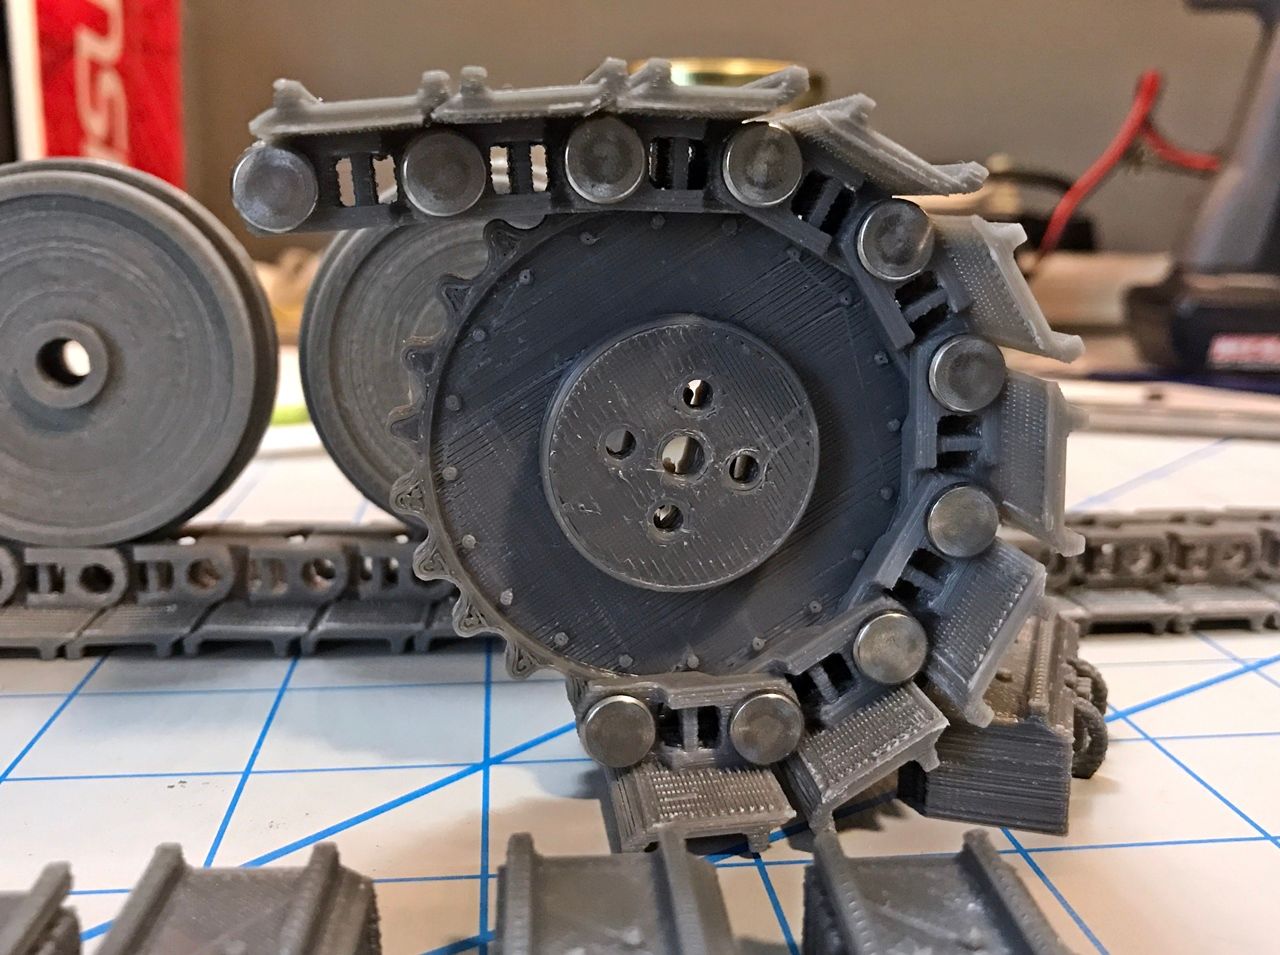 I was also able to finalize my cylinder designs and get an order placed with Magom for the hydraulic system. I am looking forward to getting that stuff in so I can finalize my main chassis design.
__________________
-Jeff To view links or images in signatures your post count must be 10 or greater. You currently have 0 posts. |
|
#23
|
||||
|
||||
|
Great job!
|
|
#24
|
||||
|
||||
|
It looks great.
 Manfred |
|
#25
|
|||
|
|||
|
Rexracer 19,
Can you post a link to where you bought the 3/16 grooved Clevis pins please. Followed the link over on the D10b3d print build but they do not seem to have them any more. Appreciate any help locating the hardware and with you sharing the build. Cheers Trackerman. 
|
|
#26
|
||||
|
||||
|
No problem. I picked mine up from McMaster-Carr. "Grooved Clevis Pin w/Retaining Ring"
http://www.mcmaster.com/#clevis-pins/=14p669l
__________________
-Jeff To view links or images in signatures your post count must be 10 or greater. You currently have 0 posts. |
|
#27
|
|||
|
|||
|
RexRacer19,
Thank you for the link for the Clevis pins. Printing the track segments, what side did you have facing down on the print bed? Really interesting build, keep it up and thanks for sharing. Cheers Trackerman. 
|
|
#28
|
||||
|
||||
|
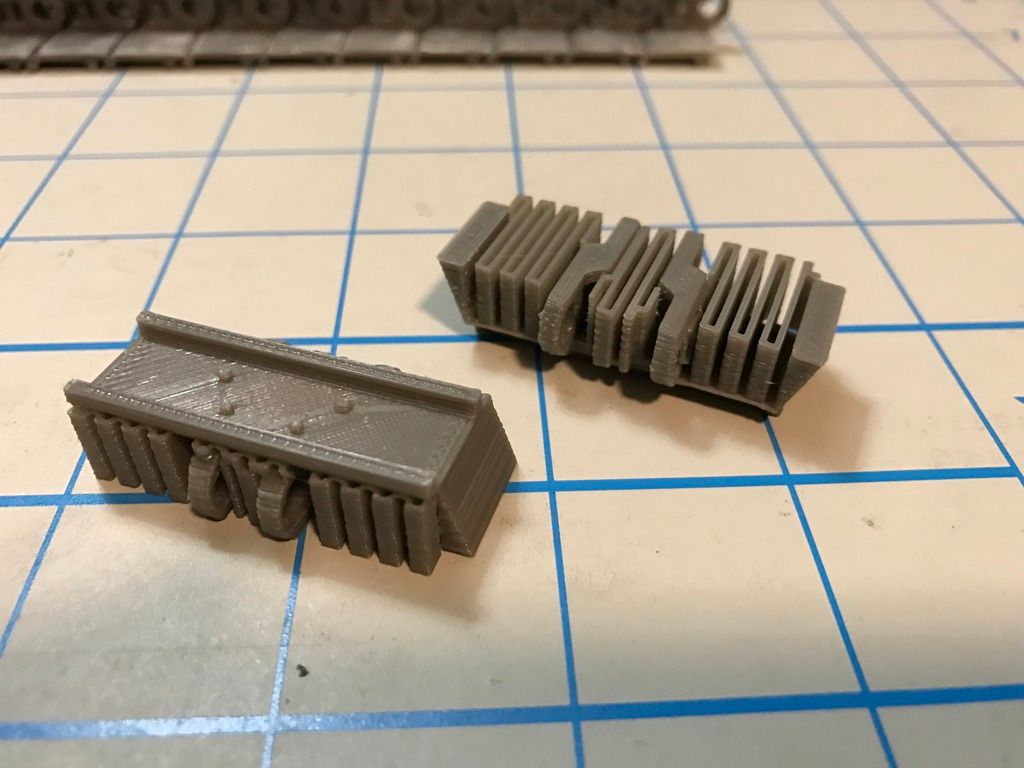
No problem, Trackerman. It took me a fair amount of trial and error to find a way of printing the tracks that made me happy. I ended up designing some "ears" on the outside that provided a footing that stuck to the print bed and was able to be broken away cleanly after printing. There is also some support that goes under the pads and center section. The pic shows the print orientation on the left and what the support and ears look like on the right.
__________________
-Jeff To view links or images in signatures your post count must be 10 or greater. You currently have 0 posts. |
|
#29
|
|||
|
|||
|
Rexracer 19,
Nice solution for supporting the printed part. Thank you. Cheers Trackerman |
|
#30
|
|||
|
|||
|
Quote:
|
|
#31
|
||||
|
||||
|
The supports, other than the triangular pieces at the end of the track pads, are generated by my 3D Printing software. The way support structures typically work, is that the printer will skip a layer or two (user controlled) between the top of the support and the first layer of the structure that sits on top of them. That way the top of the support has a little time to cool, and the next layer is not "pressed" into the support layer below it because of the gap of the missing layer. This forms a weak bond which makes the support easier to break away. It all works pretty well, but the part does require at least a little bit of sanding/filing to clean up some scars at the interface.
I have been printing my tracks two at a time, and it takes one hour for the pair. I could print more at a time, but I was concerned that the extra time between layers would allow too much cooling and reduce the bond strength between layers. These parts will likely see the most stress over anything else on the loader, so I want them as strong as the printer can make them.
__________________
-Jeff To view links or images in signatures your post count must be 10 or greater. You currently have 0 posts. |
|
#32
|
|||
|
|||
|
What is your material of choice for printing these parts? ABS?
|
|
#33
|
||||
|
||||
|
I'm using ABS for most everything. It is easy to work with and can be strengthened and bonded with acetone. I am tempted to try some carbon fiber impregnated filament for the lift arms and front bucket pivot arm to see if they might be a little stronger.
__________________
-Jeff To view links or images in signatures your post count must be 10 or greater. You currently have 0 posts. |
|
#34
|
||||
|
||||
|
Hi
What can I say great work this is the direction I wish to go with my 3D printer and CAD. thanks for sharing
__________________
Regards Mark Over the Pond in the UK Member of Ribble Valley Radio Controlled Truck Club my weather station To view links or images in signatures your post count must be 10 or greater. You currently have 0 posts. |
|
#35
|
||||
|
||||
|
Looking good, any updates?
__________________
Jason |
|
#36
|
||||
|
||||
|
Thank you. This project had to be put on hold for a while. Hopefully I will be able to pick back up on it in a few months.
__________________
-Jeff To view links or images in signatures your post count must be 10 or greater. You currently have 0 posts. |
 |
| Currently Active Users Viewing This Thread: 1 (0 members and 1 guests) | |
| Thread Tools | |
| Display Modes | |
|
|