|
|||||||
| Highway Trucks and Trailers On road trucks and trailers single and twin axle trucks. |
 |
|
|
Thread Tools | Display Modes |
|
#1
 08-29-2011, 01:07 AM
|
|||
|
|||
|
I origanally posted in general discussion to figure out how to get pics up, and the pic I posted in that thread is farther along then where I'll start for this one. I am be no means an expert, I am posting what I'm building for feedback, and ideas. I hope you like what you see
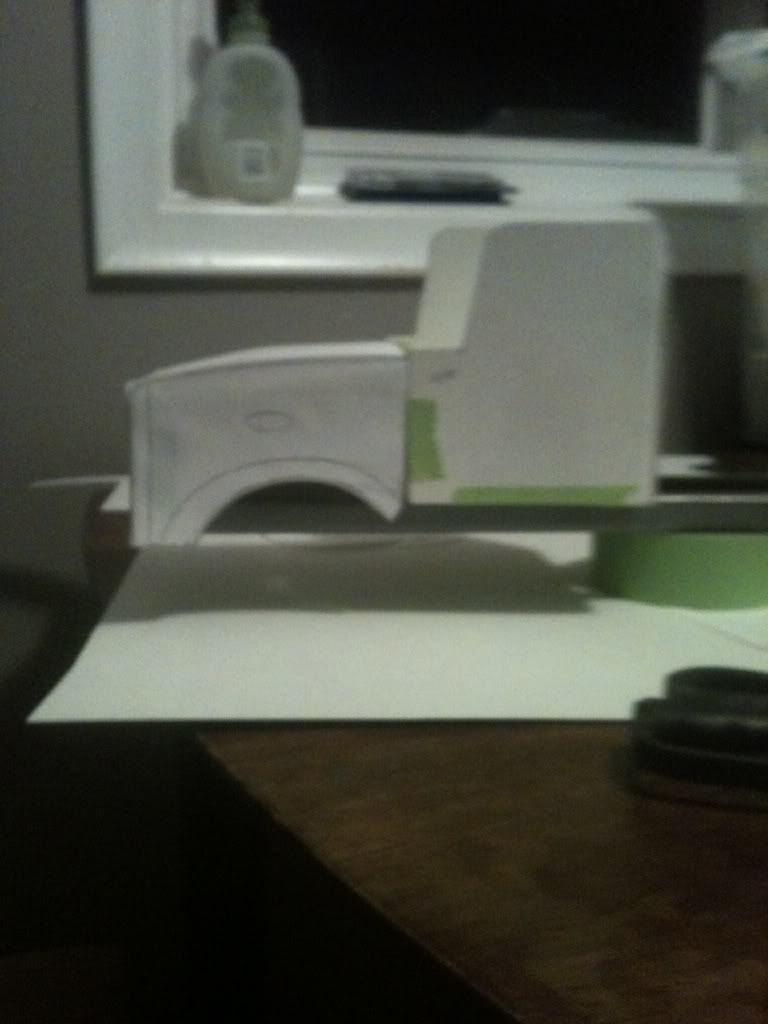
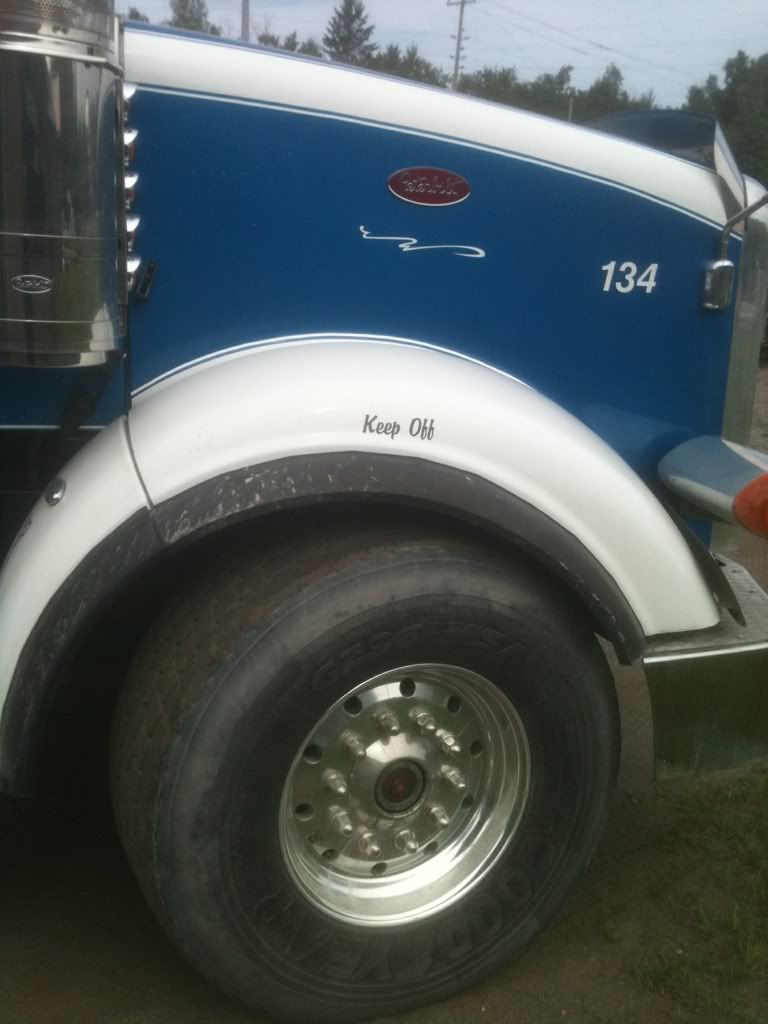 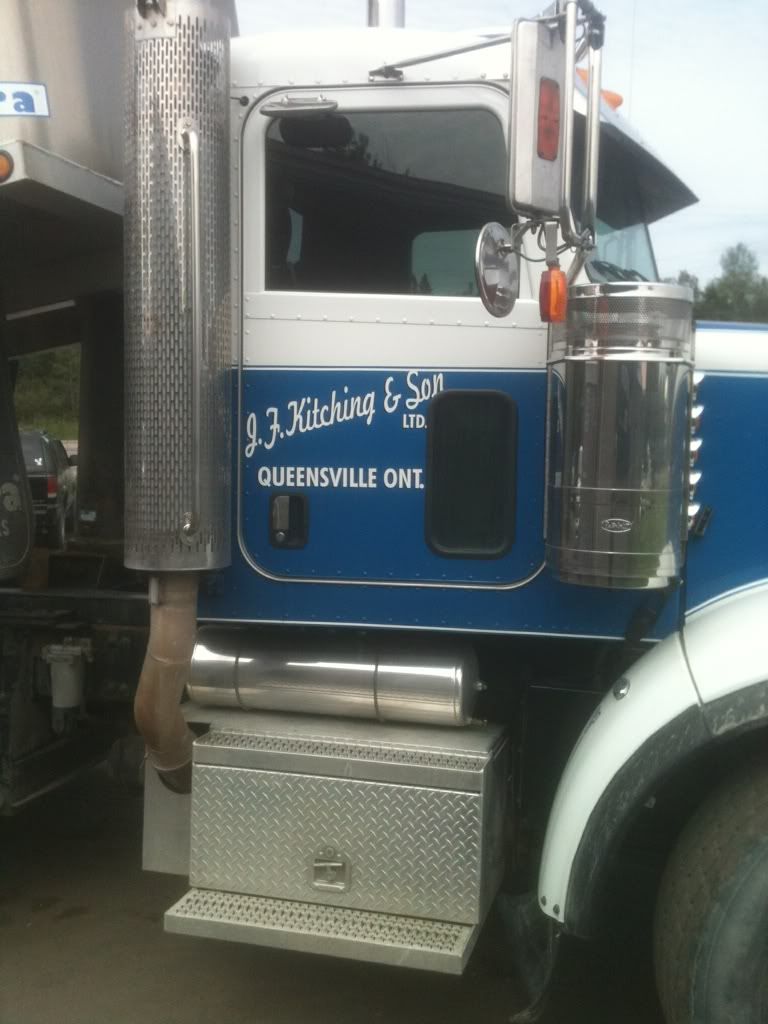 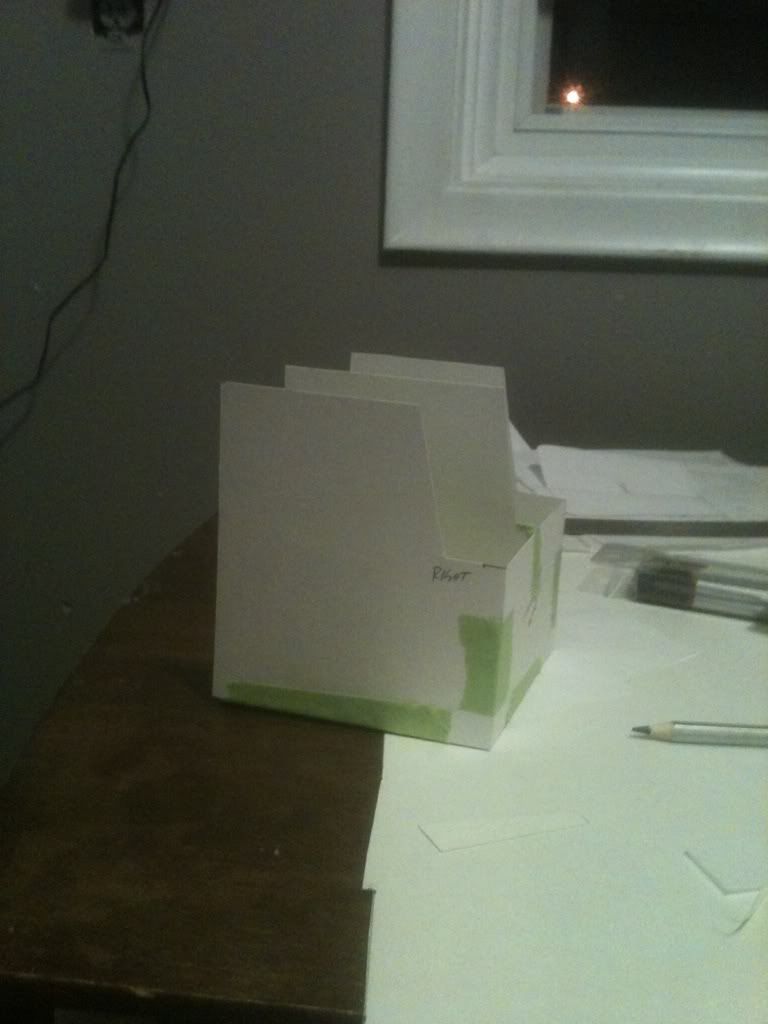  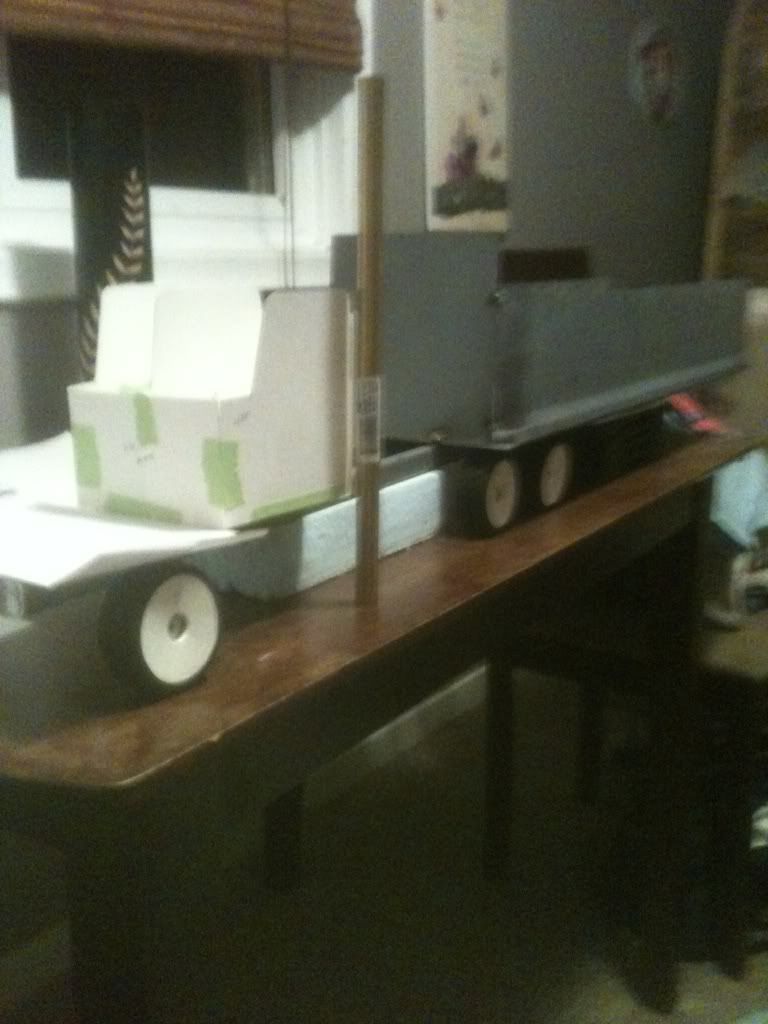 These pictures show the model I'm modeling, and the beginning card stock mock ups 
|
|
#2
08-29-2011, 01:28 AM
|
||||
|
||||
|
Looks like a good start, always the best way to do it. Get as many shots for reference and go from there. So your building entire truck from brass I'm assuming this based off your other thread? Or is it just a brass base with styrene panels?
--Dan
__________________
To view links or images in signatures your post count must be 10 or greater. You currently have 0 posts.
|
|
#3
08-29-2011, 06:32 AM
|
||||
|
||||
|
It looks like your well under way! Are you biulding a strait truck or a tractor? Keep up the good work.
Brian
|
|
#4
08-29-2011, 09:14 AM
|
|||
|
|||
|
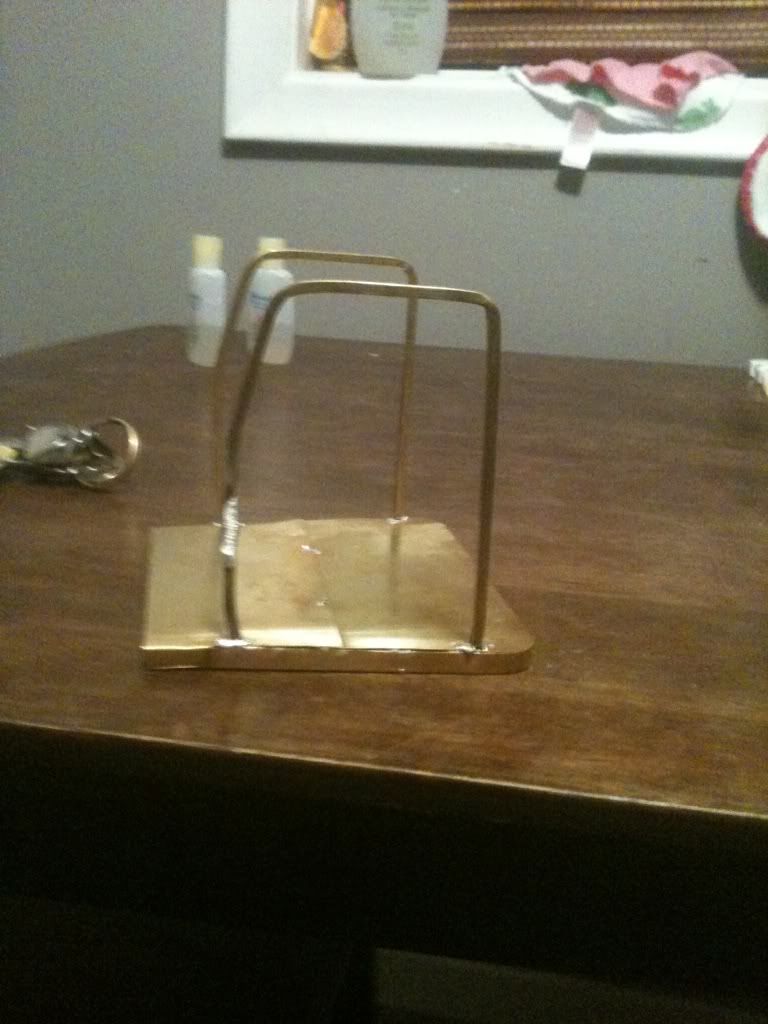
This will be a tractor, with a 32' dump trailer. The cab will be made of brass, completely, the frame is steel. As for the hood, I'm not sure yet, I made a fiberglass one, it just doesn't look right, so I may build it out of brass as well. Here's some more pics of where I am in the build.
|
|
#5
08-29-2011, 01:42 PM
|
||||
|
||||
|
Looks very interesting. Any chance you can edit your post and put the photos beneath each other? Just hit the enter button after the IMG link. It would make the photos easier to see. Nice work though, so far. I give you tons of credit for building in brass. That's awesome. Nothing looks as good as a real metal truck.
__________________
Nathan Last edited by Espeefan; 09-01-2011 at 02:35 PM.
|
|
#6
09-01-2011, 09:33 AM
|
|||
|
|||
|
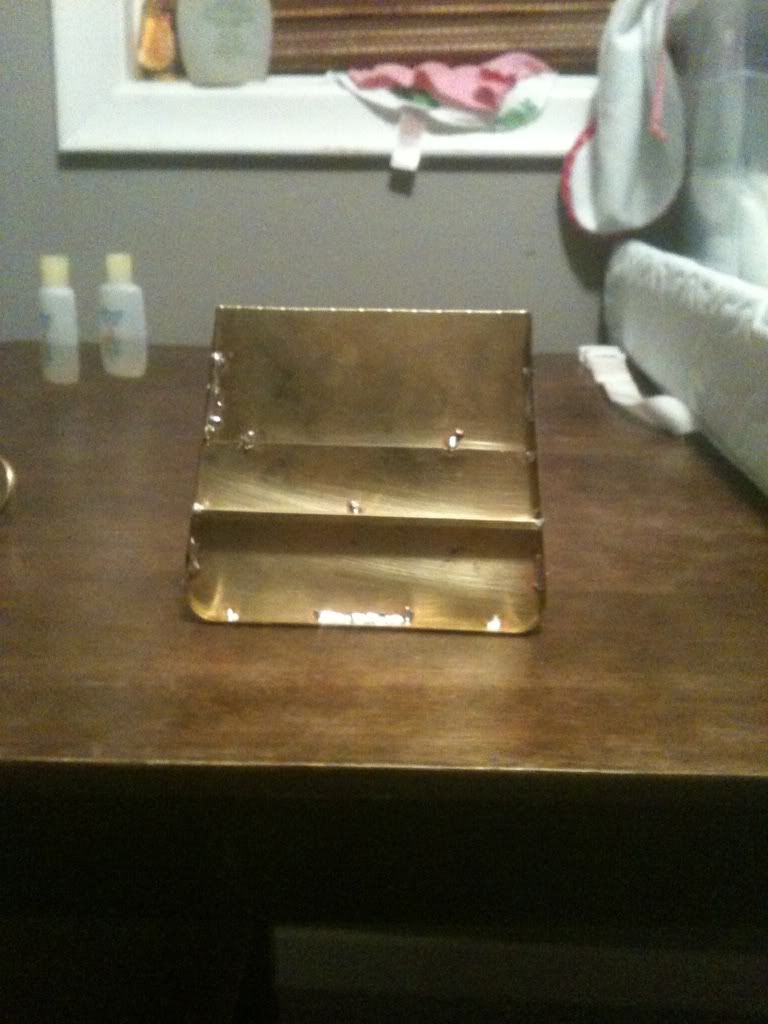
So, unfortunately this week, I haven't had much of a chance to work on the Pete, but I did make a new form for the hood.
 I started with the rear skin in this pic(I'm just trying to update from where I left off) I started with the rear skin in this pic(I'm just trying to update from where I left off) the nice thing with brass is that it forms easily the nice thing with brass is that it forms easily
|
|
#8
09-01-2011, 12:53 PM
|
||||
|
||||
|
What an ambitious project
 While I love working with brass, I don't think that I have the nerve to make an entire cab out of it. I am not the best at sheet metal work at all. Machining brass is all together different than doing any kind of sheet metal. All I can say is "GOOD LUCK!!!" While I love working with brass, I don't think that I have the nerve to make an entire cab out of it. I am not the best at sheet metal work at all. Machining brass is all together different than doing any kind of sheet metal. All I can say is "GOOD LUCK!!!" Will be watching this build
__________________
LYNN
|
|
#9
09-03-2011, 09:24 AM
|
|||
|
|||
|
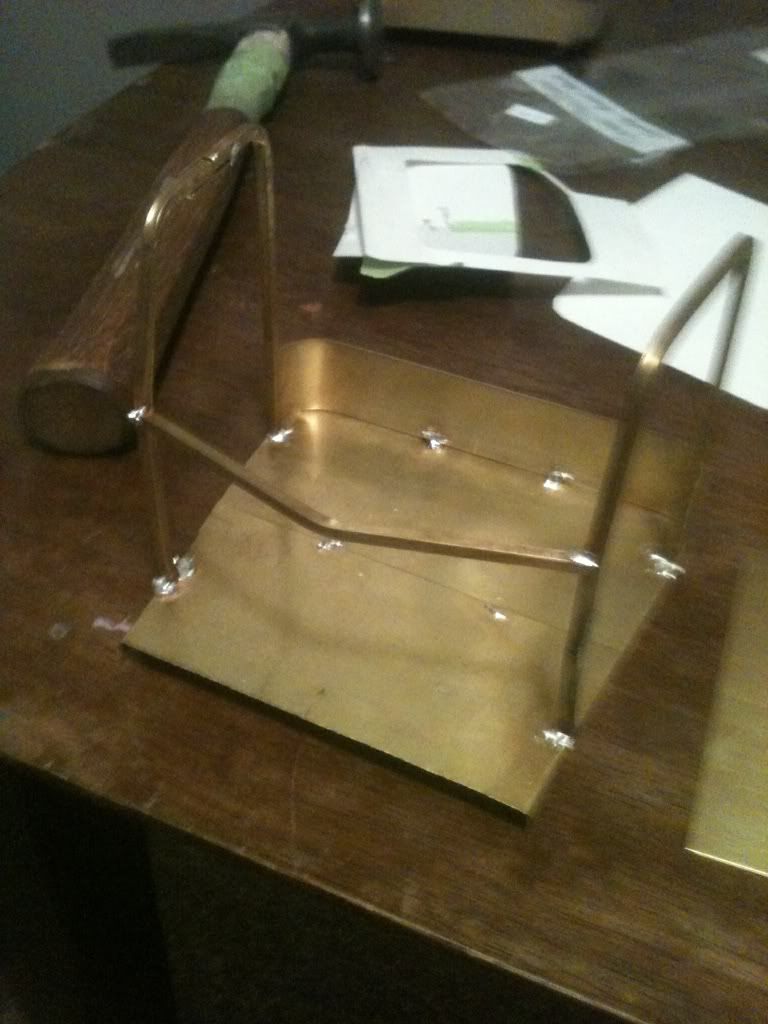
I hope I don't disappoint. Now the cab is brass, but true to the real truck, Im building a fiberglass hood. The first one I made unfortunately didn't work out so well, but I'll show you the pictures of the forms I used.
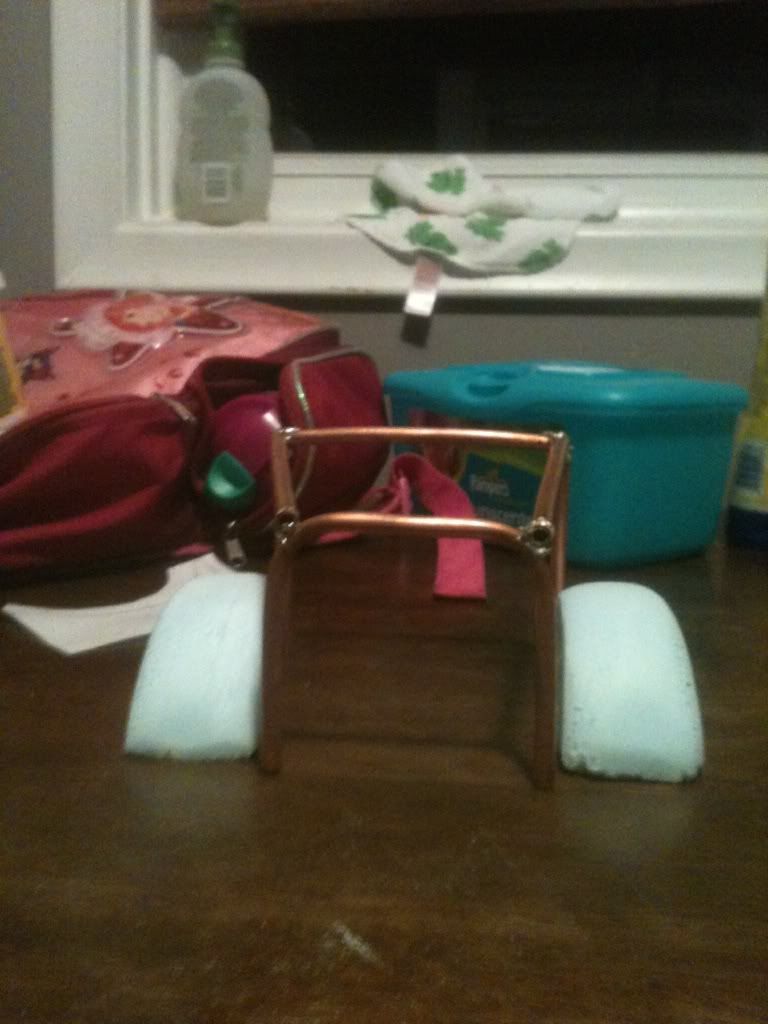 I used copper tubing to build the general shape. I used copper tubing to build the general shape.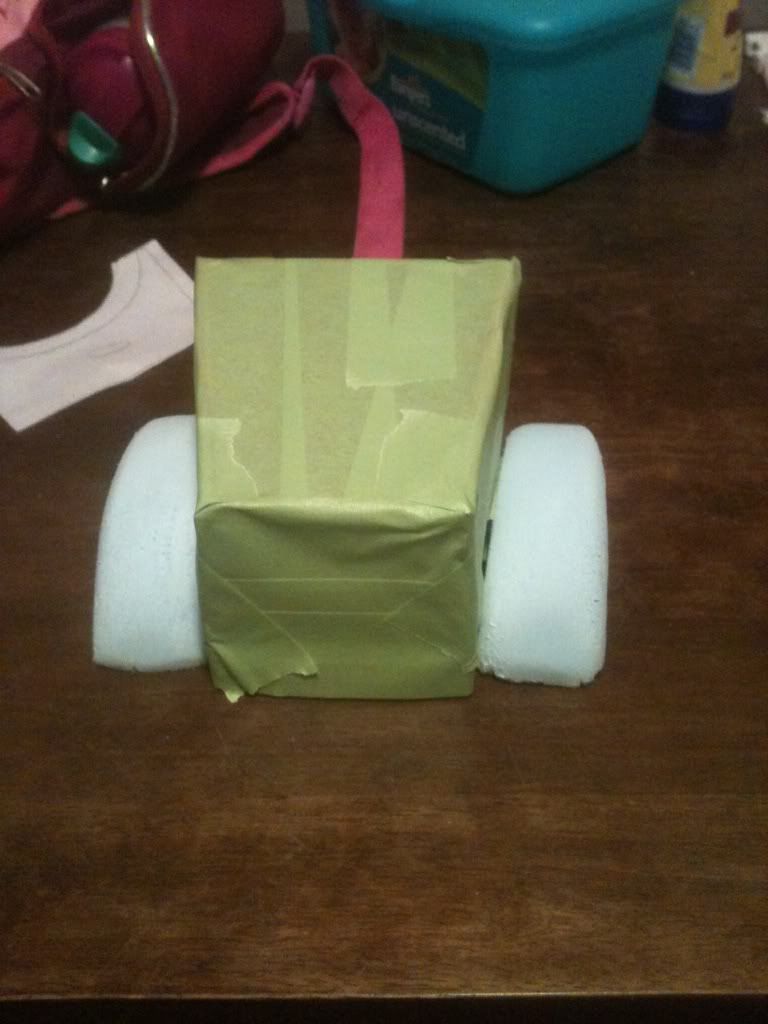 I then covered it with masking tape and taped the styrofoam fender blanks to it. I then covered it with masking tape and taped the styrofoam fender blanks to it.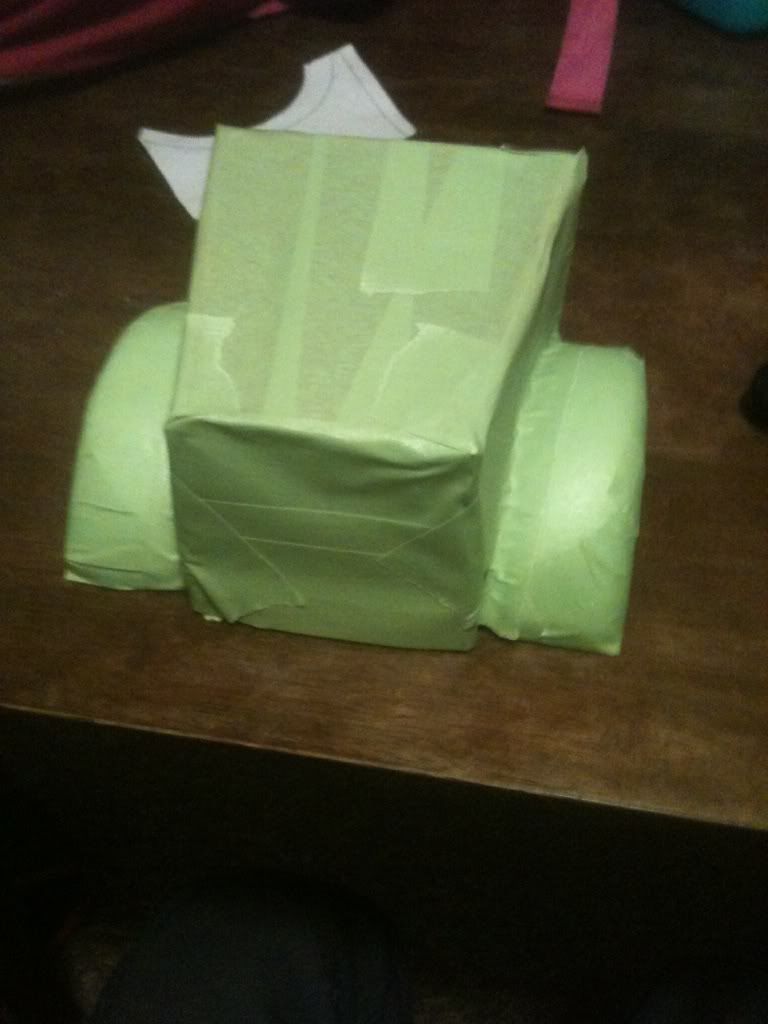 I then covered the whole thing again I then covered the whole thing again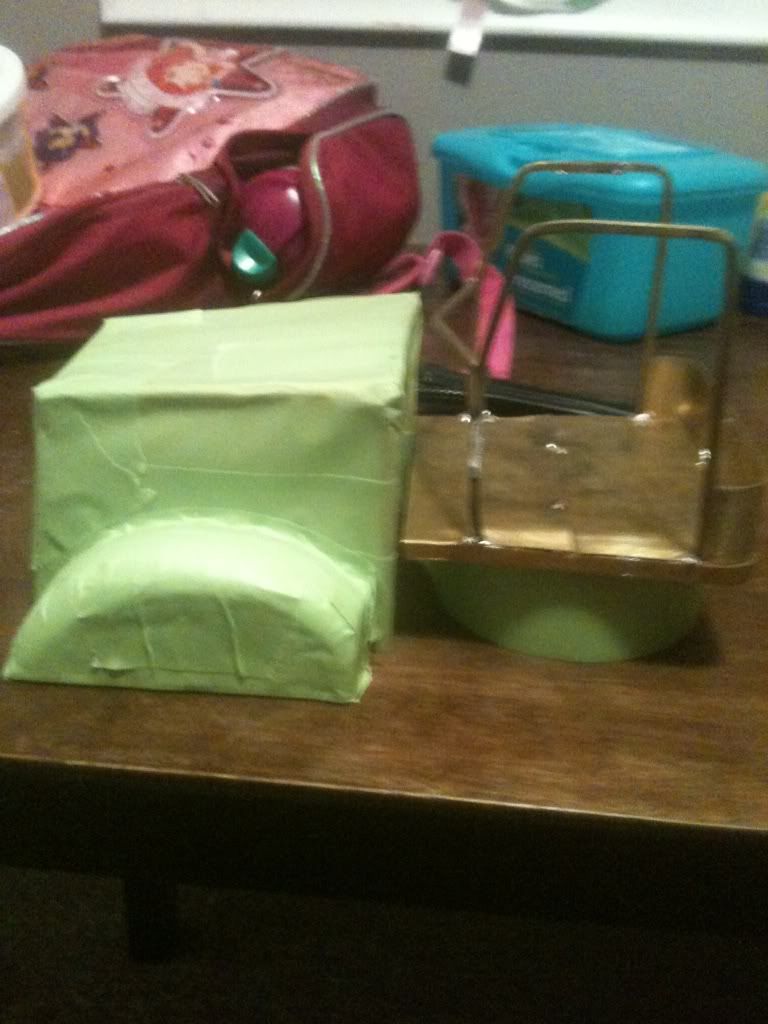 and this is how it fit to the cab, but the fenders are to low, unfortunately, I didn't notice till after I laid the glass(sorry I don't have pictures of the glass hood) so I have to start again and this is how it fit to the cab, but the fenders are to low, unfortunately, I didn't notice till after I laid the glass(sorry I don't have pictures of the glass hood) so I have to start again
|
|
#10
09-04-2011, 08:08 PM
|
|||
|
|||
|
Could someone post some pics of a king hauler front axle, minus the wheels and with some measurements please. I need to build a front axle for mock up, and to place suspension. Amy help would be great. Thanks
Tim P.s. New pics coming soon
|
|
#12
09-07-2011, 08:52 PM
|
||||
|
||||
|
This is one source, http://www.3000toys.com/catalog/item...d=NORSCOT55139 Or try your local Cat dealer, or the Bay. Hope this help's.
Later, Neil#2 aka doodlebug.
|
|
#13
09-07-2011, 10:38 PM
|
||||
|
||||
|
__________________
To view links or images in signatures your post count must be 10 or greater. You currently have 0 posts.
|
|
#16
09-13-2011, 12:26 PM
|
|||
|
|||
|
I'd like to avoid styrene all together. I like the idea of a brass cab and a fiberglass hood, just because the fiberglass is fairly easy to work with( in my own personal opinion) I've made some decent progress on the cab, still lots to do, and lots of clean up and filing, but that's half the fun right?
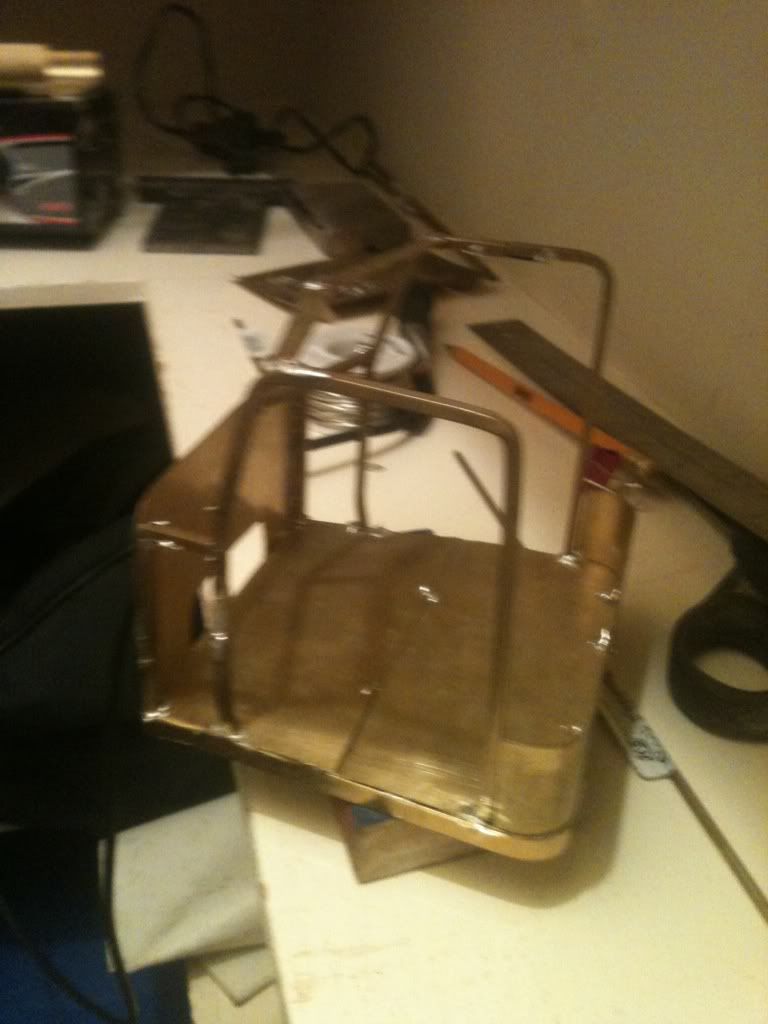 I've got the cowl structure built, aswell as the upper windshield brace 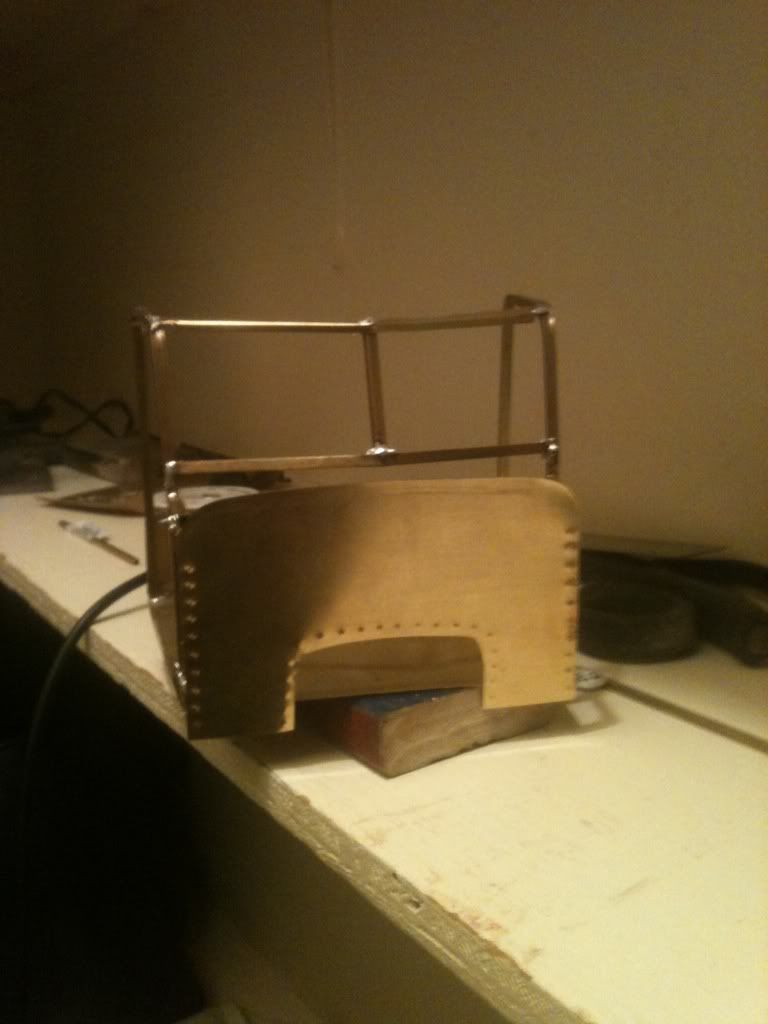 I've added the firewall, and the doghouse opening is just rough cut 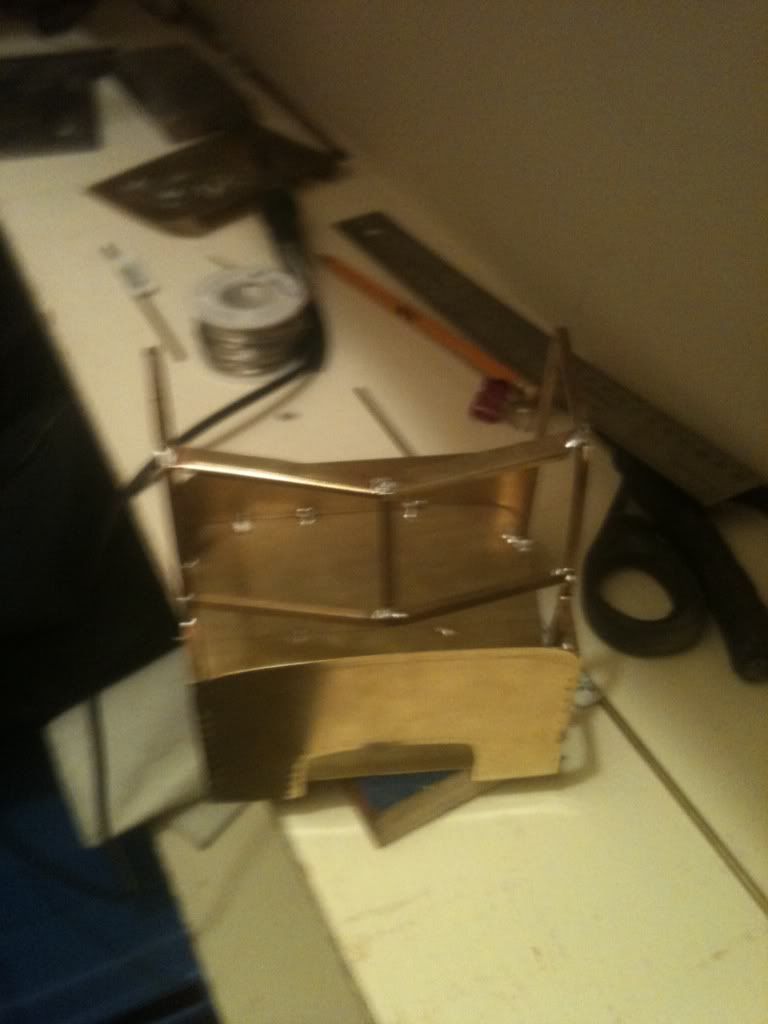 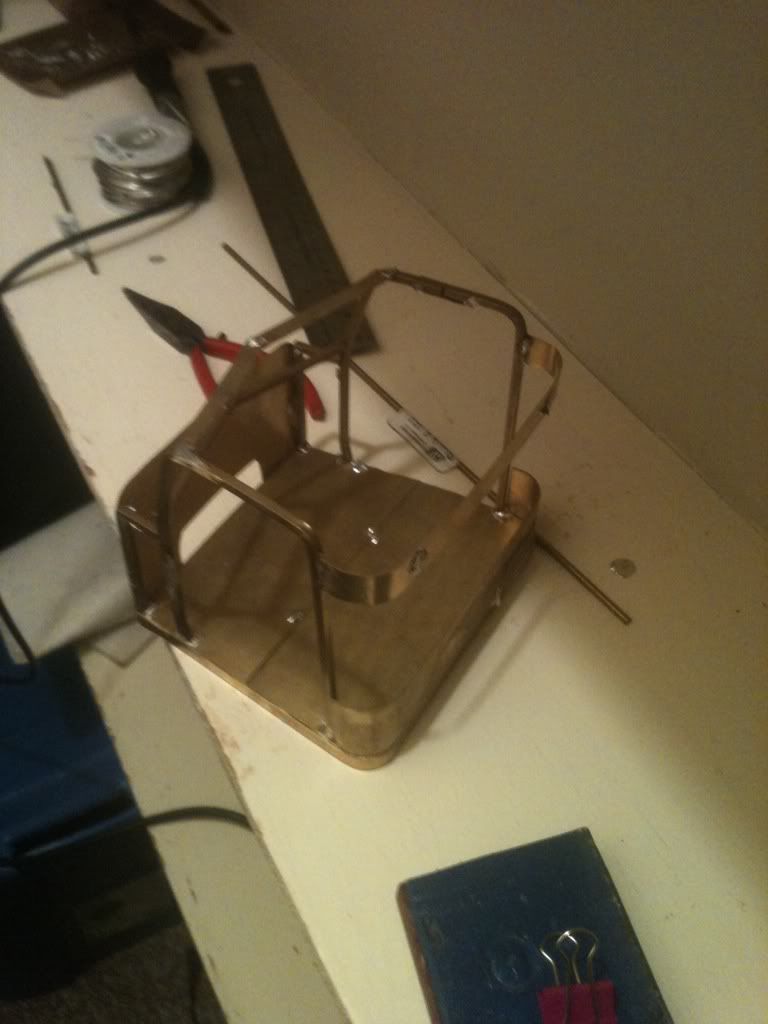 Here I've added the upper support for the rear skin of the cab 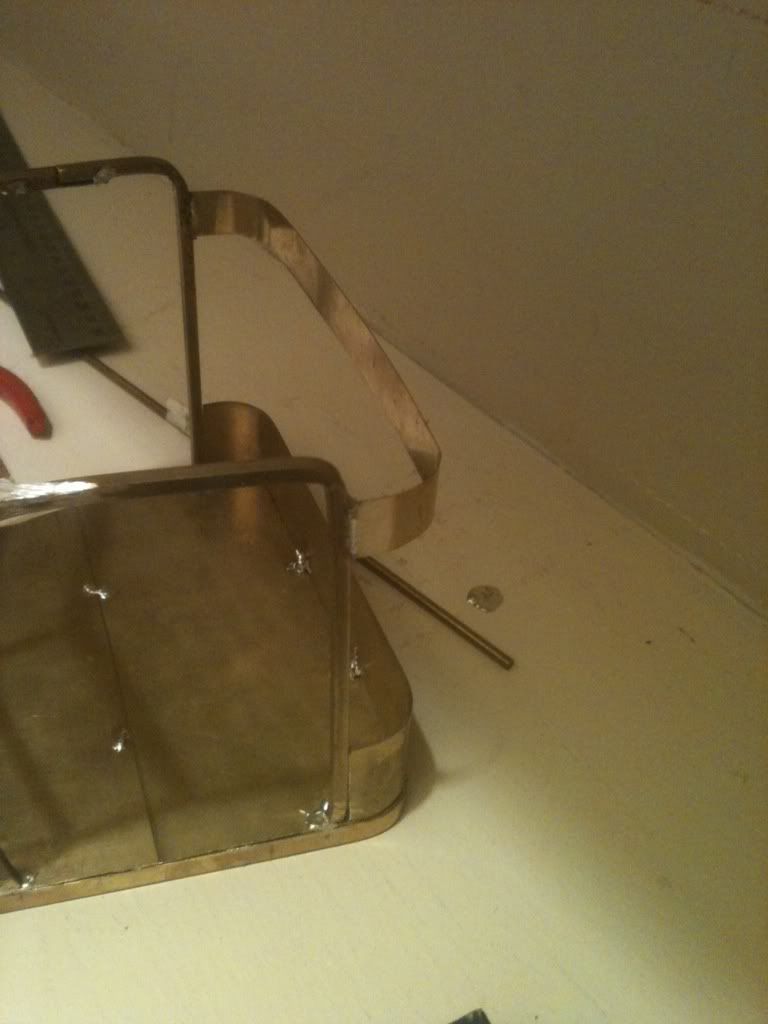 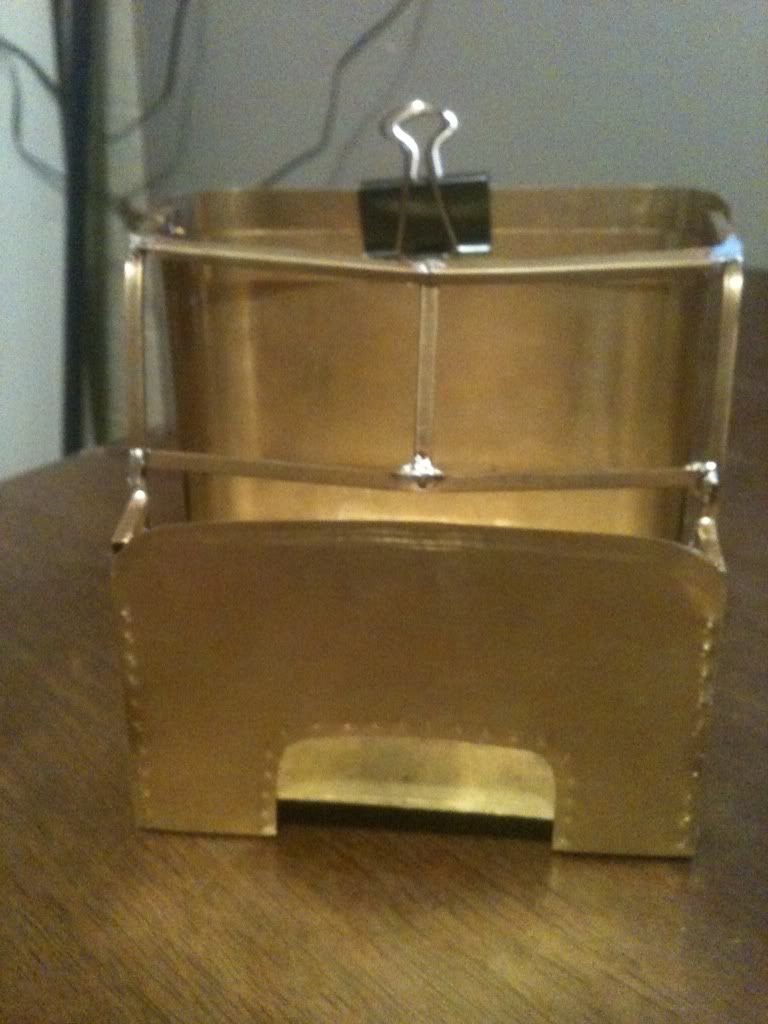 This is just a general over view of the cab with the back panel in place 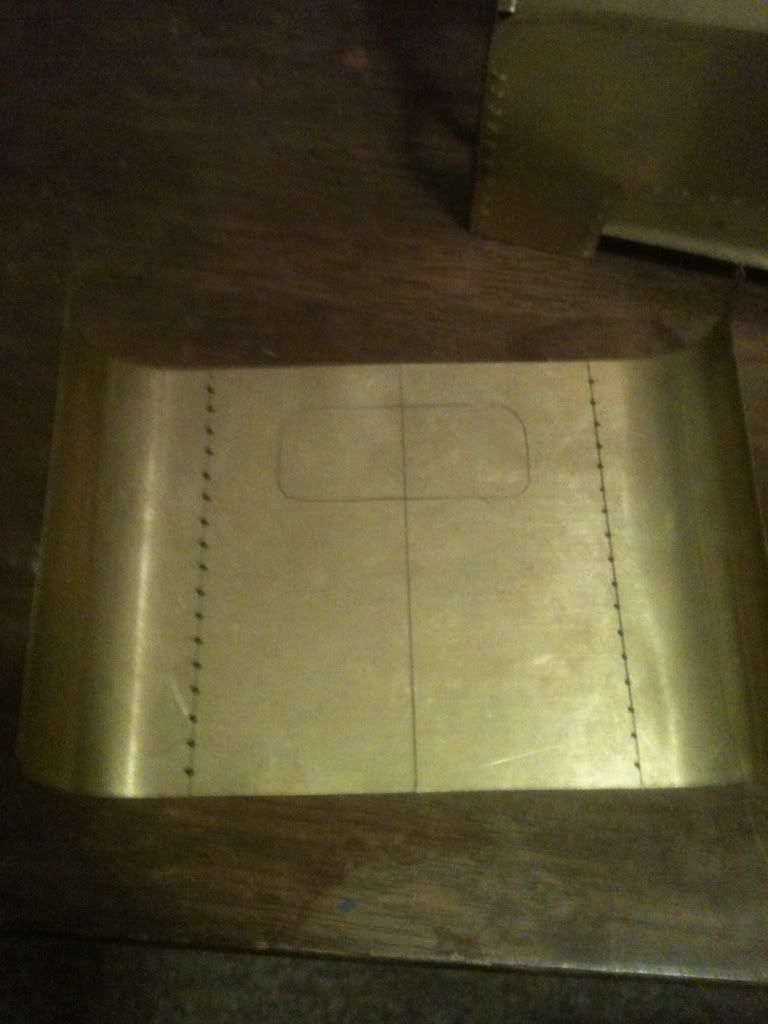 And this is a pic of the layout for the back window and the dimples needed to simulate the huck bolts that hold a Pete together Thanks for looking Tim
|
|
#17
09-13-2011, 06:45 PM
|
||||
|
||||
|
Looking real good Tim......man you have balls!
(your not scared)
__________________
Troy To view links or images in signatures your post count must be 10 or greater. You currently have 0 posts.
|
|
#18
09-13-2011, 08:56 PM
|
|||
|
|||
|
Thanks sneaky-Pete. I want to do something different, and brass or metal shaping doesn't bug me, it's what I do. I hope I can just do what everyone else here does. Any suggestions are more then welcome.
I'm thinking I'm going to rebuild the hood out of brass, what do you think?
|
|
#19
09-13-2011, 09:07 PM
|
||||
|
||||
|
Tim this is a really cool build. If your looking fro some scale rivets/huck fasteners, try scale hardware. They have what you need!
Brian
|
|
#20
09-15-2011, 08:47 PM
|
|||
|
|||
|
So I've got some new pics of the cab, I hope you all enjoy. If anyone has questions or suggestions, feel free to post
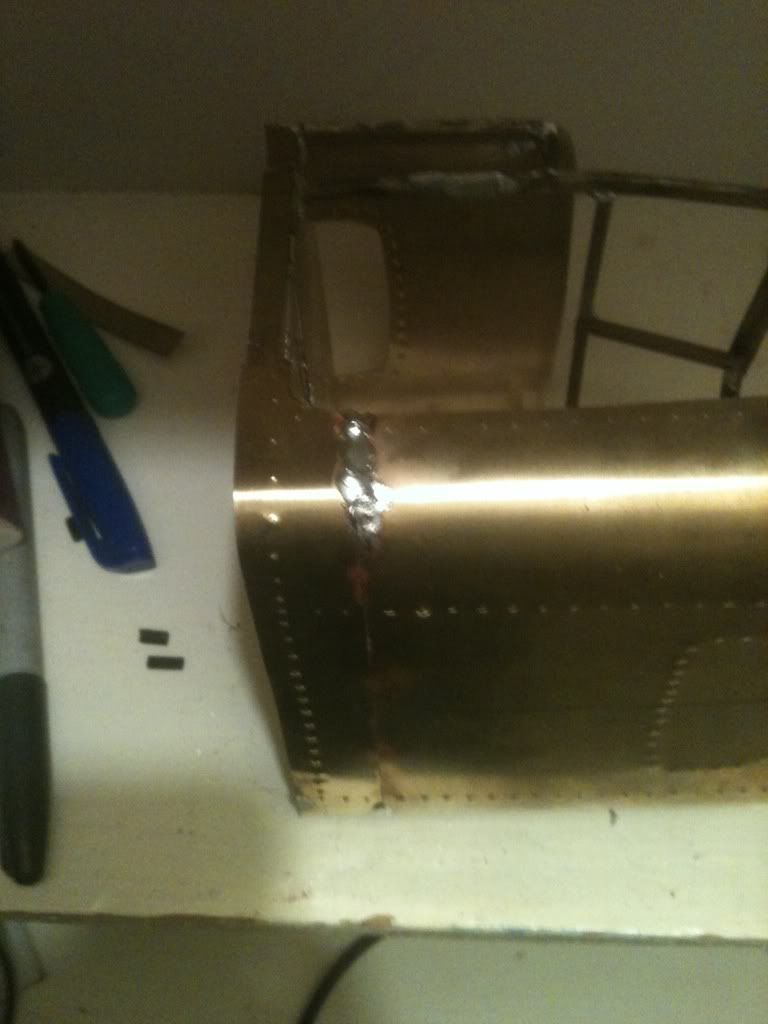 I wanted to avoid solder on the outside, but sometimes it's unavoidable 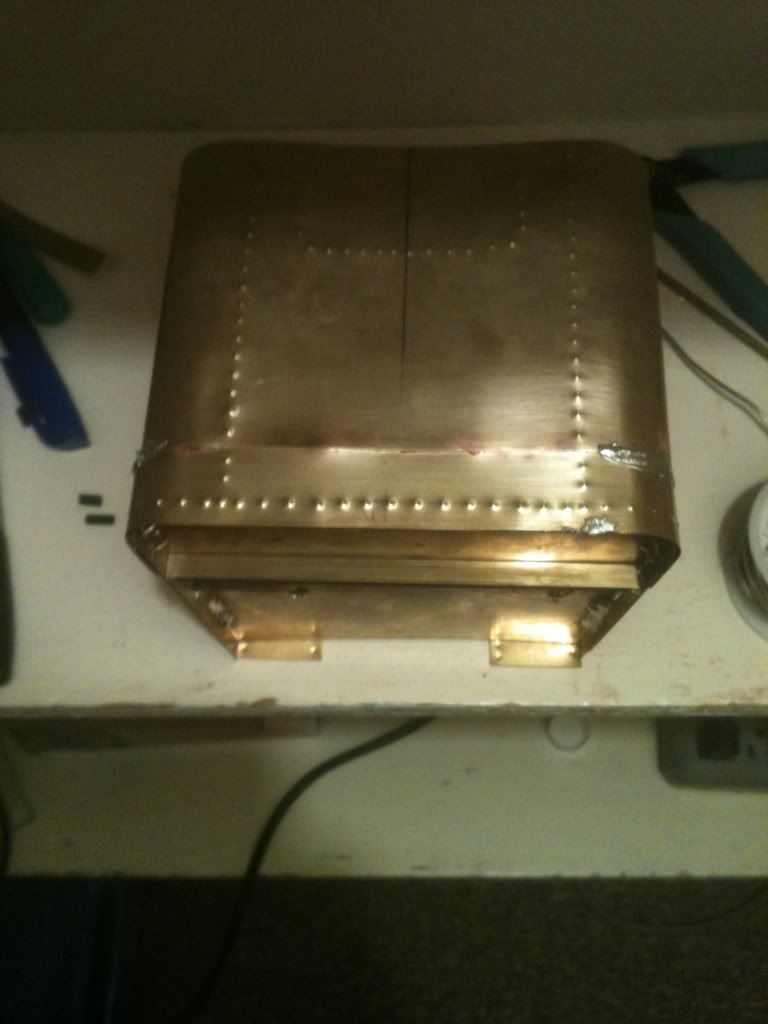 The seam at the back, it's going to need some metal finishing 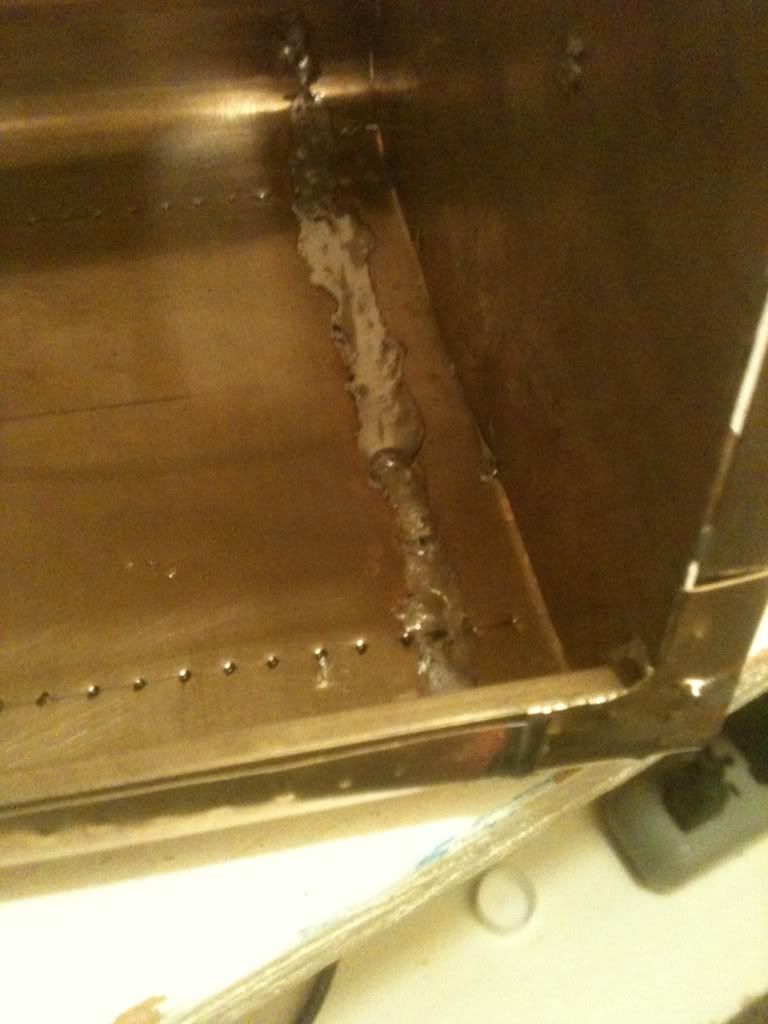 This is where I prefer to have the solder, less clean up and pretty much hidden 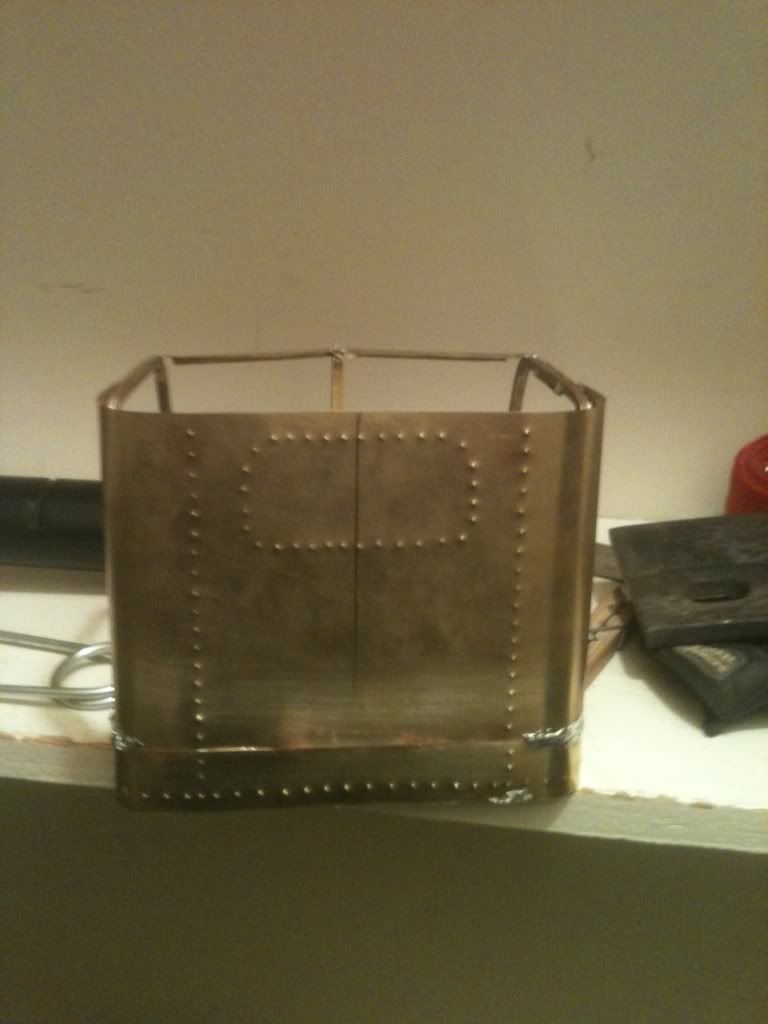 Just a small overview 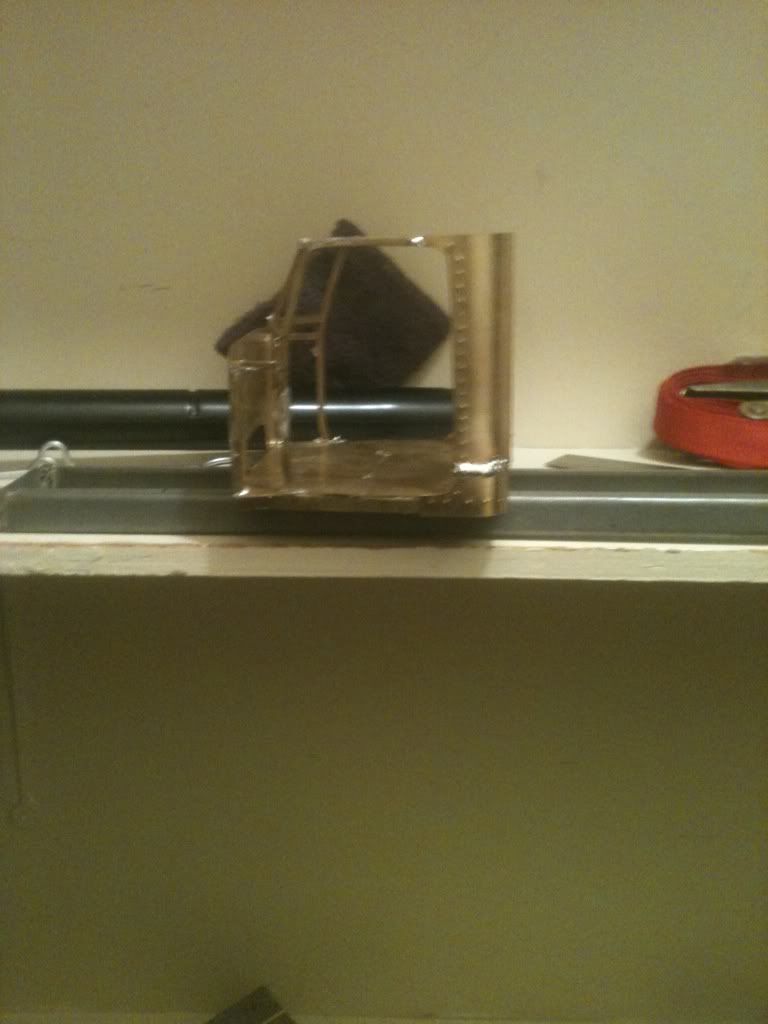 And this is generally how it should sit on my frame, of which I really need to start working on lol. Should hopefully finish up the front skins tonight, and start the form for the roof. Hope you guys enjoy Tim
|
|
| Currently Active Users Viewing This Thread: 1 (0 members and 1 guests) | |
|
|


 Linear Mode

