|
|||||||
| Body Shop Tech Body mods and tricks of the trade and painting tricks here. |
 |
|
|
Thread Tools | Display Modes |
|
#1
 10-28-2012, 01:05 AM
|
||||
|
||||
|
hey guys, had quite a few requests for the visor i made for my W9, so i thought id show how i did it.
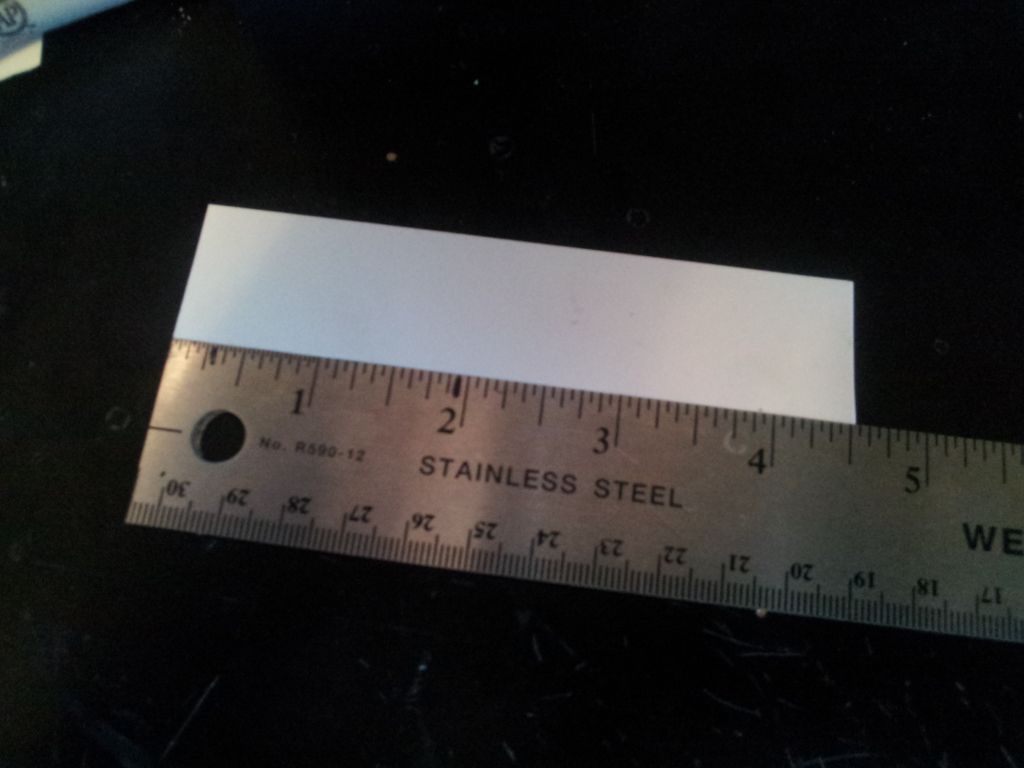 started off with a piece of .060 (you can use .040, i didnt have any around) sytrene 1" x 4 1/2". mark center and mark the bottom for the drop style peak. now what i did was with the hobby knife, score the plastic by dragging the knife on an angle, making a small grove: 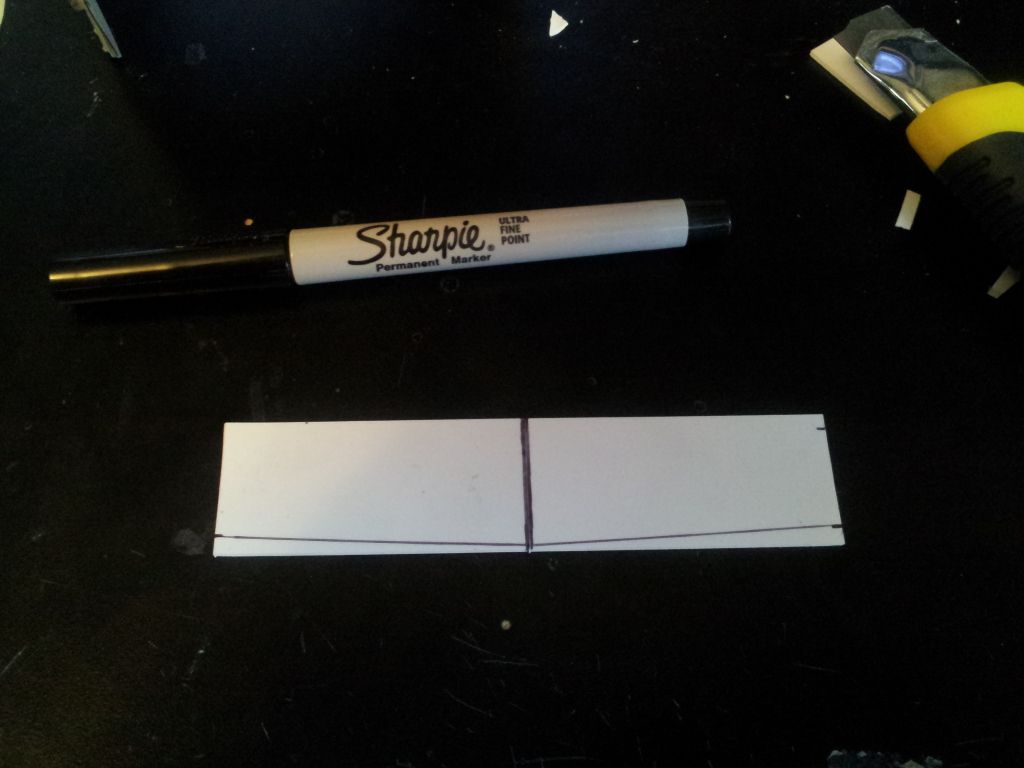 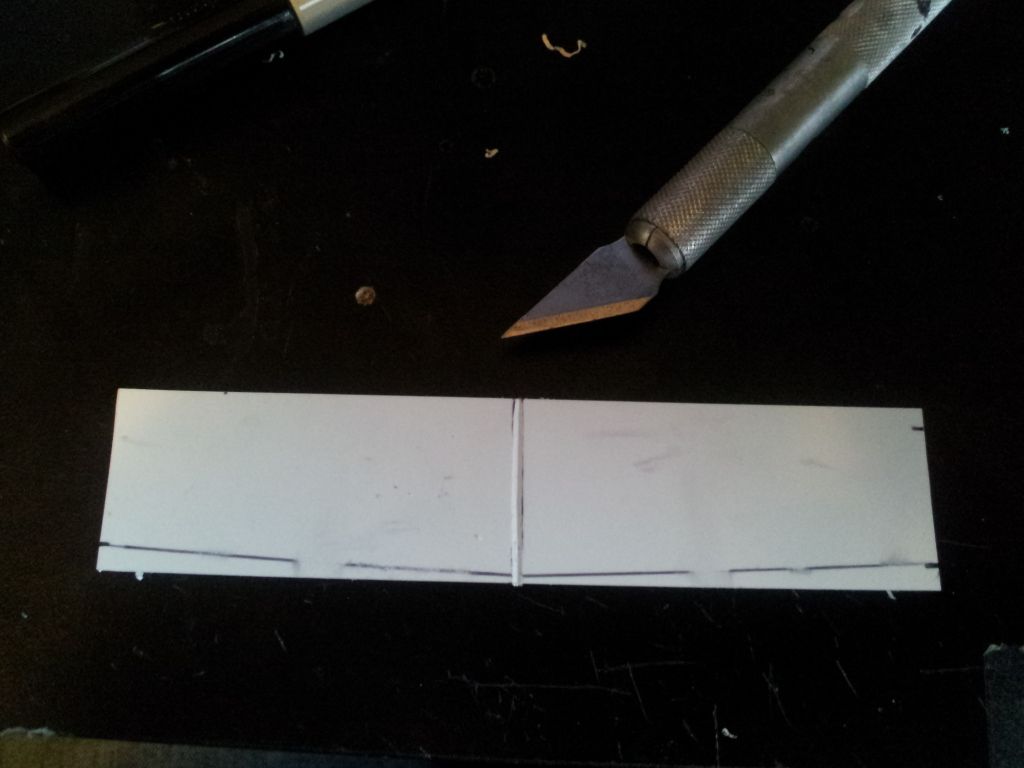 i always use pliers to break smaller edges, seems to keep the plastic from bending/distorting.  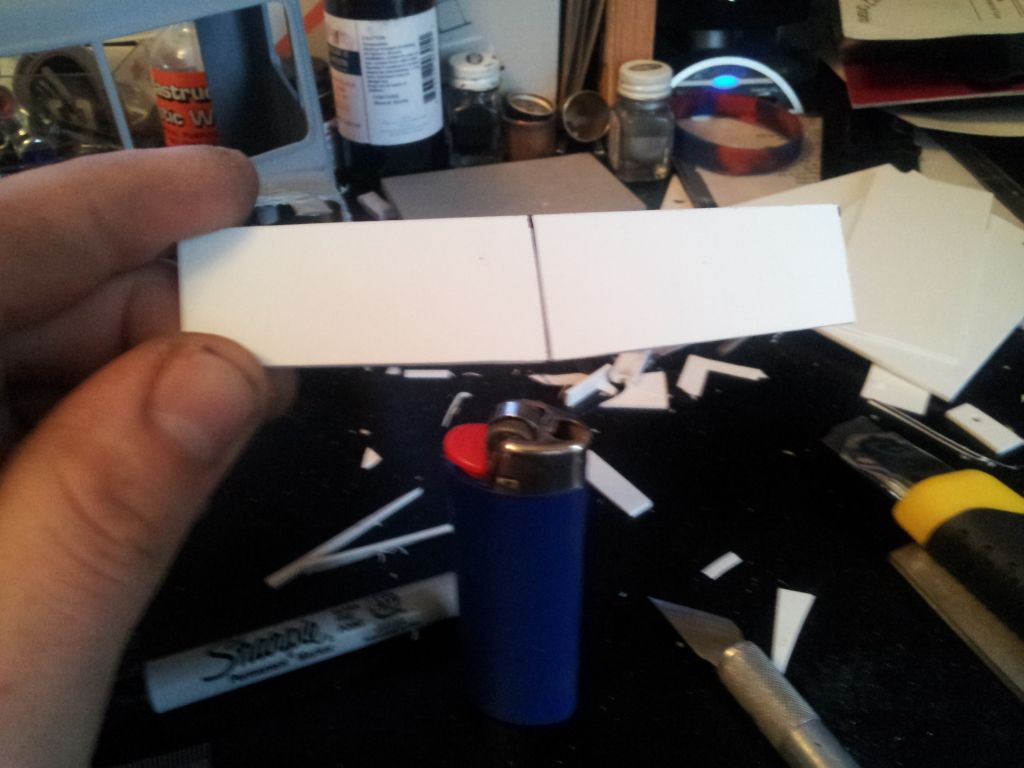 now next i took a regular bic lighter, and heated (very quickly) the piece along the grove i made before. also flipped the piece over an warmed the front also. i put the plastic at the end of the flame, and move the piece back and forth quickly for a few seconds. it doesnt take long at all to get it warm enough to bend. now with the heated piece, find a straight edge to "kink" the piece. the corner of my desk works well! 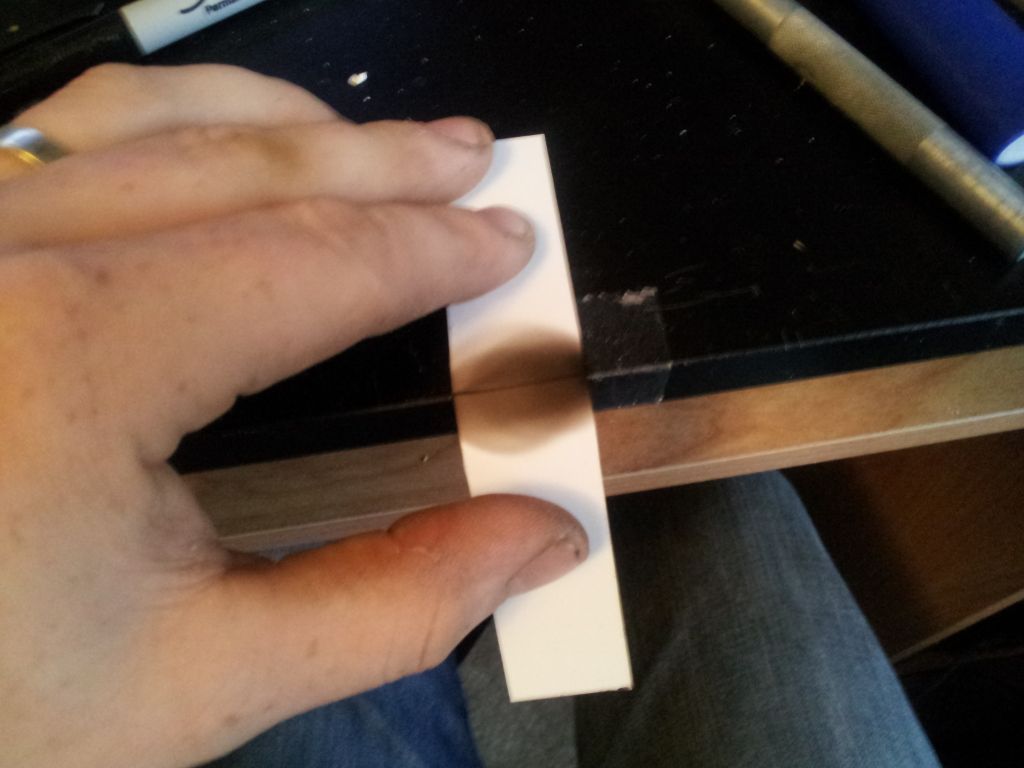 i somehow bent it on one try, which never happens! lol it make take a few trys to get the angle right to match the cab: 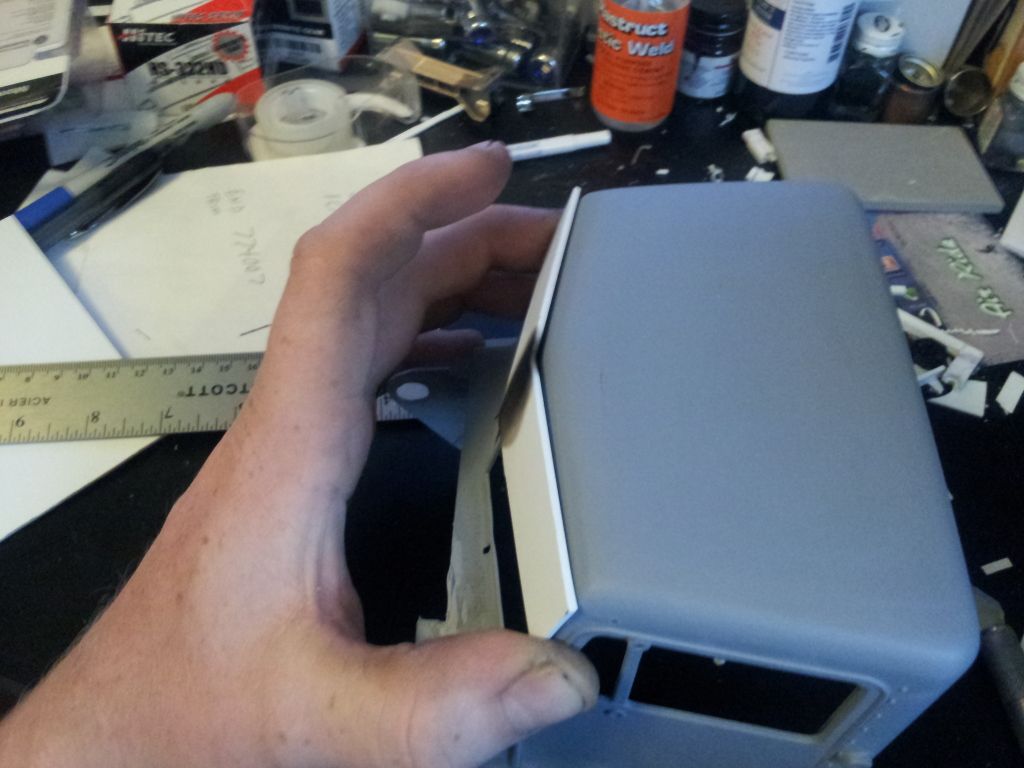 next i made a template for the sides of the visor. cut it to shape, i used real thin stuff, probably .020 or something to figure out the shape:  drill a hole in the template, then mock that up on each side of the cab, holding your bent piece at the distance out from the cab you want, and the angle you want. obviously i couldnt get a picture of that, lol! 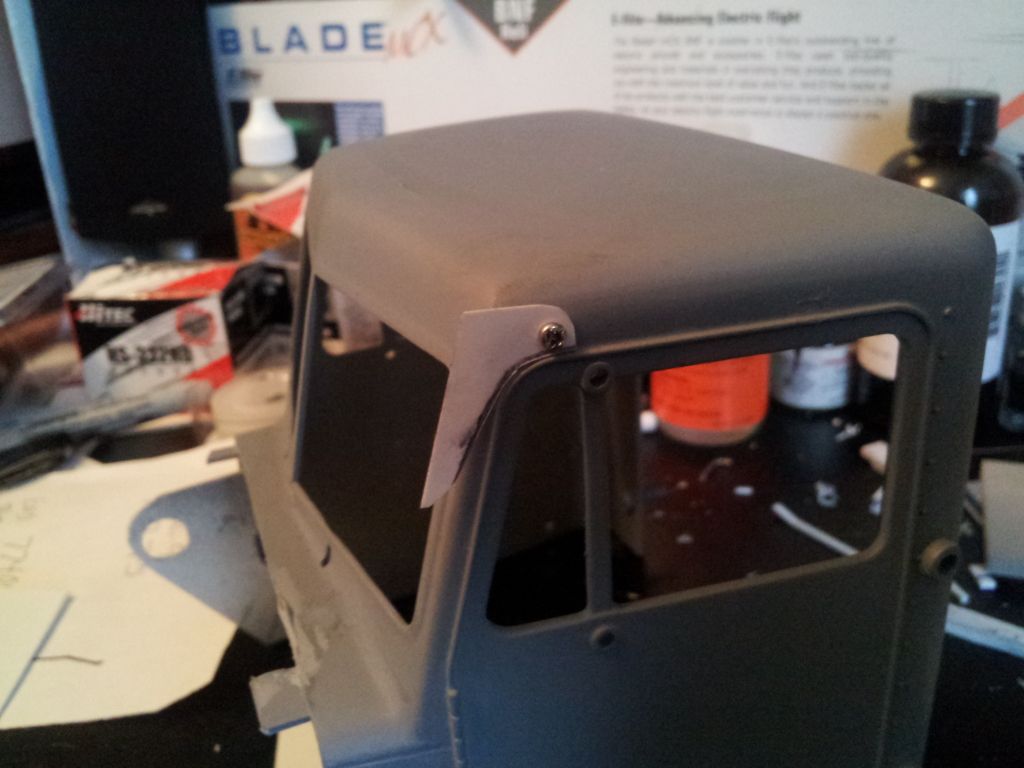 once you have that done, trace the template onto some more .060 or .040,  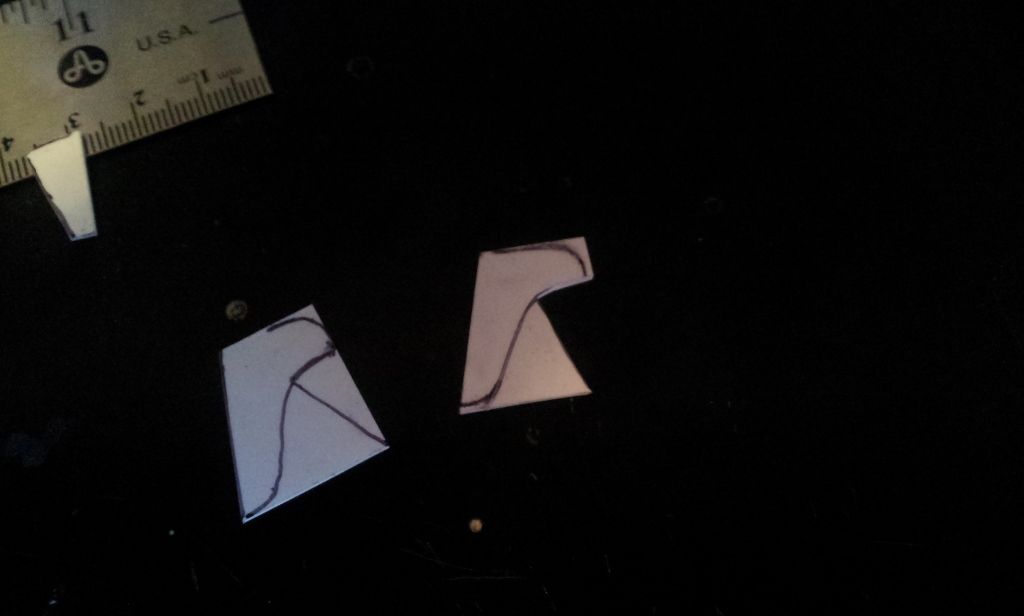 the diagonal line is a relief cut, score it with the actual shape and carefully bend the pieces apart. 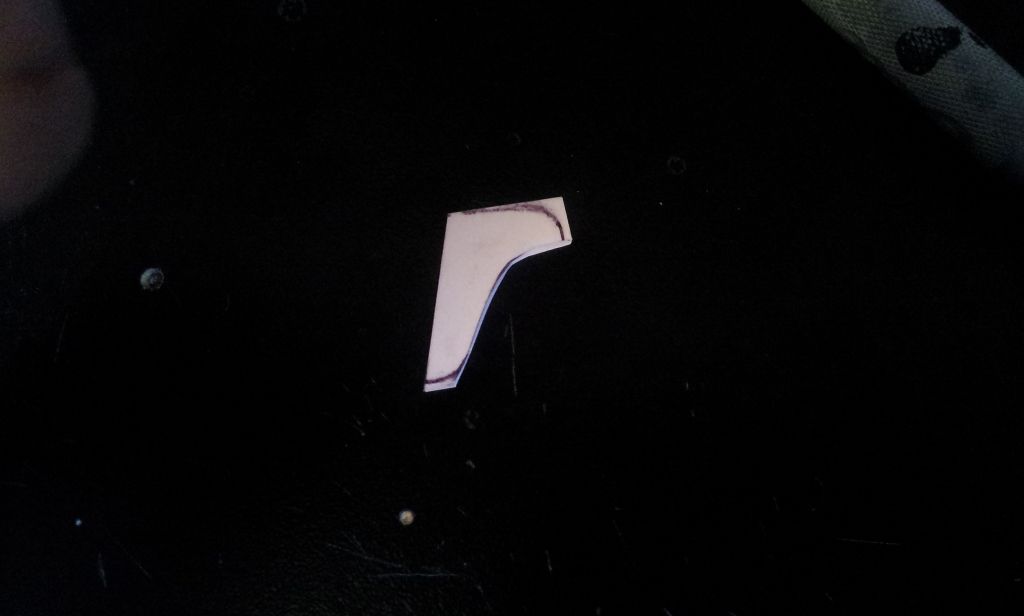 finish off your round edges with a file or sandpaper, i use the file first to get the shape, and 320 grit sandpaper to get the round smooth edges. bolt your two pieces to each side of the cab and lay it on its back: 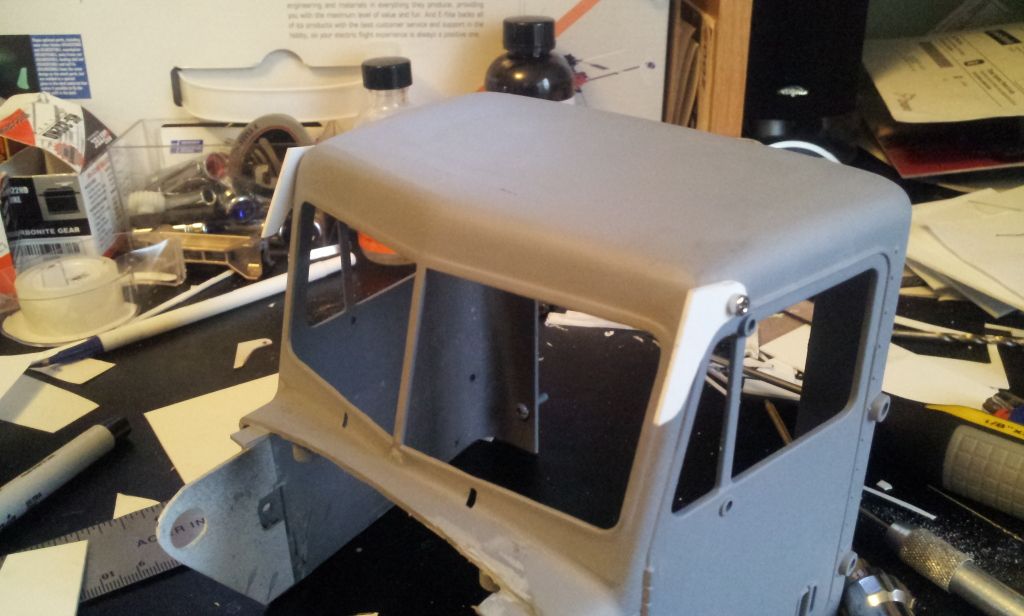  glue it down well, i usually will glue the edge to the back of the front, then glue the sides of the joint aswell. now i took some .040 real thin strips i had and reinforced the joint, before trimming the outer edges back. by making the front wider and trimming it at the end you wont need any filler, i didnt do that on my first one. 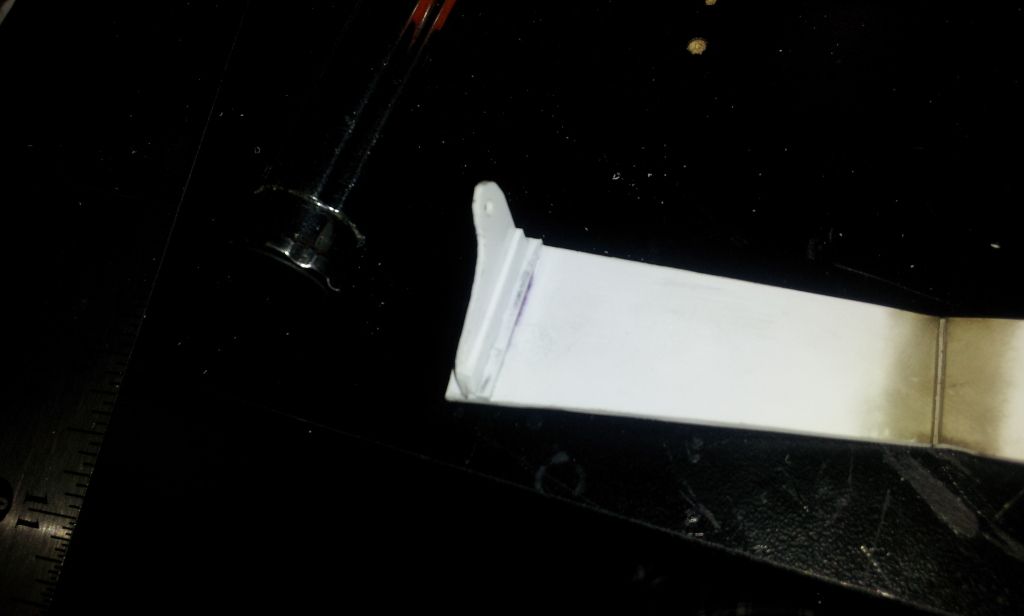 next just mark and drill your holes for lights and your done! also about halfway through (before glueing) i switched to a bowtie style, rather than cut from the bottom at the center up to the end, you start high in the center and cut down to the end, before bending. i also tries making some ovals, but the spacing is off. i have an idea to make ovals, but need to get some more styrene before i can try it out.  thanks for looking! hope it helps 
|
|
#2
10-28-2012, 02:15 AM
|
|||
|
|||
|
Very nice.....Im working on a custom chopped top KW and i was thinking on doing a plastic visor.....you answered my questions.....Im going for it ! Thanks for the info !
|
|
#4
10-28-2012, 01:59 PM
|
||||
|
||||
|
Mama, next time you need to bend styrene try hot water, safer than flame.
nice work.
|
|
#6
10-28-2012, 04:04 PM
|
||||
|
||||
|
Quote:
 Travis
__________________
AKA "00" Biddle RIP FreddyGearDrive 2-12-59/12-19-11
|
|
| Currently Active Users Viewing This Thread: 1 (0 members and 1 guests) | |
|
|


 Linear Mode

