
 |
|
|||||||
| Euro Style Trucks and Trailers A place for the Euro style trucks single and twin axle trucks and trailers... |
 |
|
|
Thread Tools | Display Modes |
|
|
|
#1
|
||||
|
||||
|
My oh my and I thought a Tamiya truck had too many nuts and bolts but these Scale art trucks win the nuts and bolt gold medal every time, Nice work on the build so far. can't wait to see it built and painted
|
|
#2
|
||||
|
||||
|
Hi Jake, Thank you! Glad you like it.
 Hi Brel, one of the reasons I ended up buying this kit was the amount of bits and pieces. For me the more the merrier. As for color ... I couldn't make up my mind when I placed the order, ScaleART emailed a bunch of photos of the cabin in different colours. I thought white suited best. The container will be in bleu though. ++++++++++++++++++++++++++++++ Doors ... Part 1 ScaleArt give the option to go for the extended door or the short one. I decided for the short one. 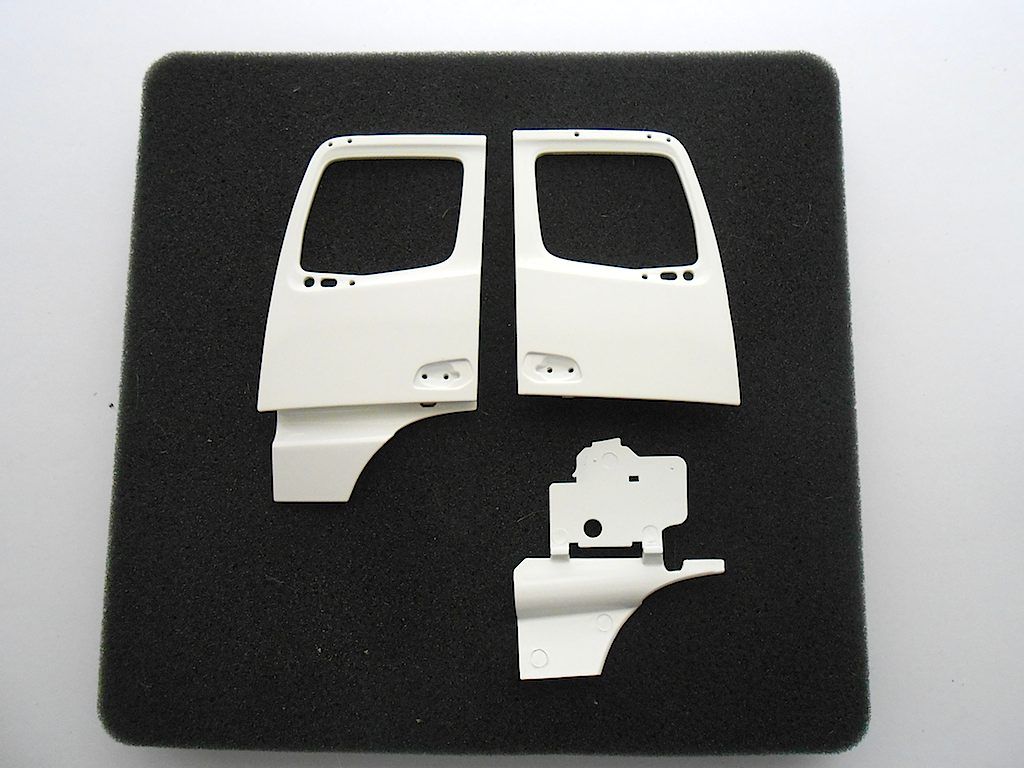 What you get (the screws put in by ScaleART to prevent paint clogging up the threads are still in place) 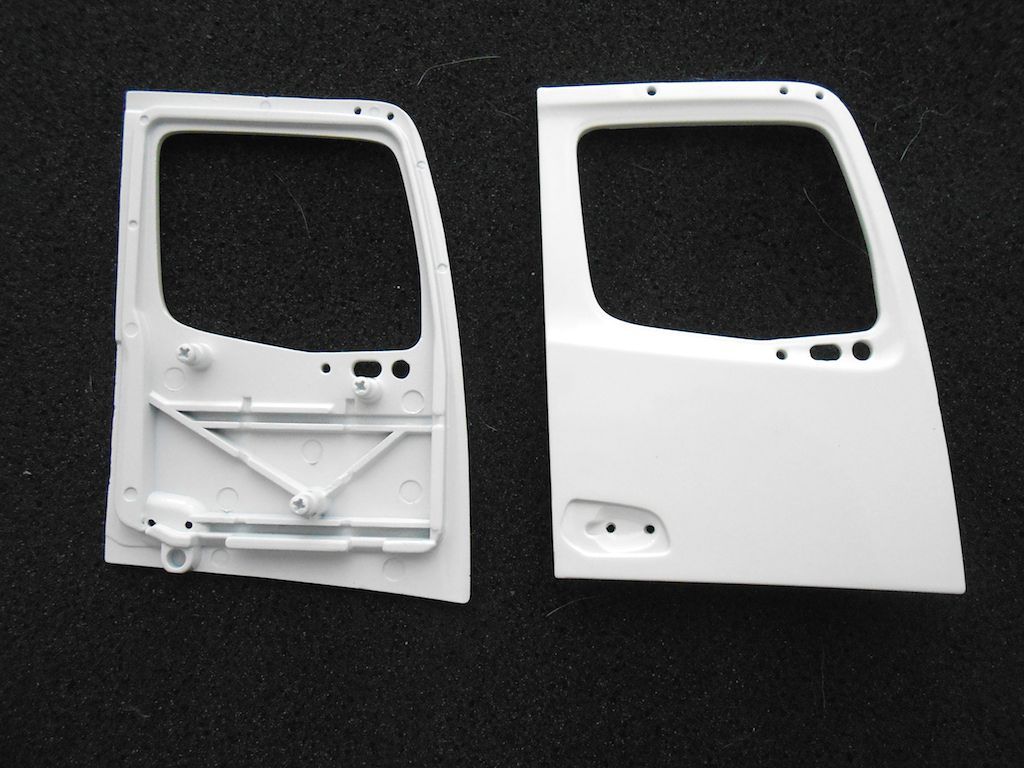 Before I continued I made an indication of the window rubber with a black felt tip stift. This breaks up the "whiteness" a bit. 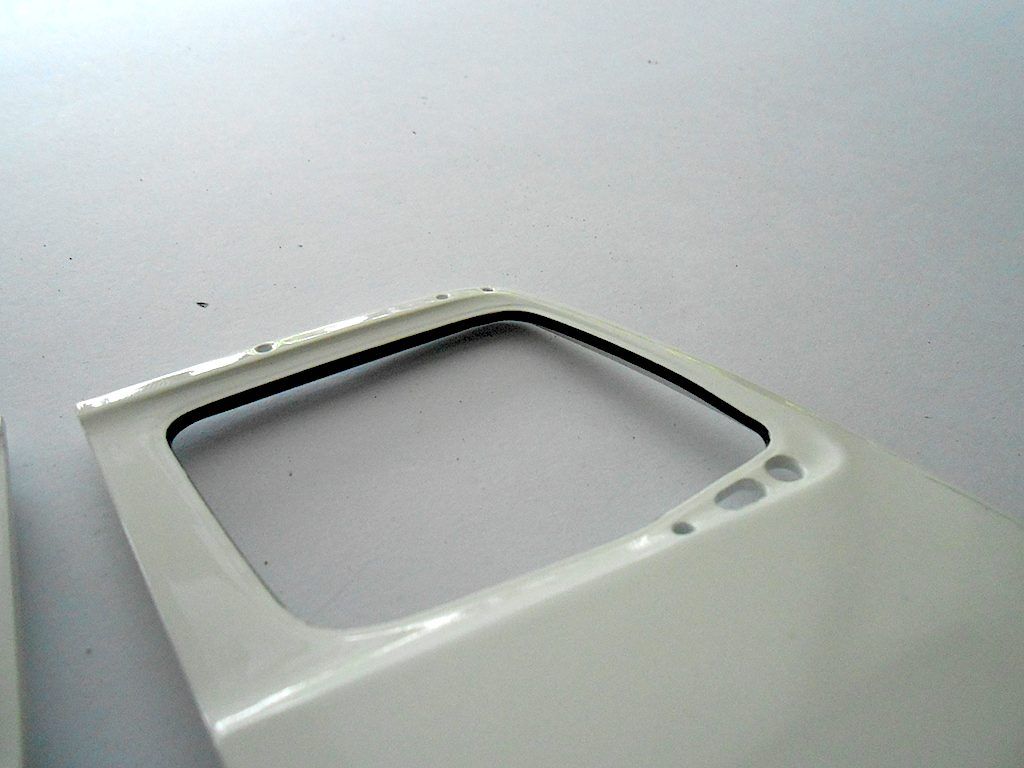 All the parts. (forgot one self tapping screw in the picture) 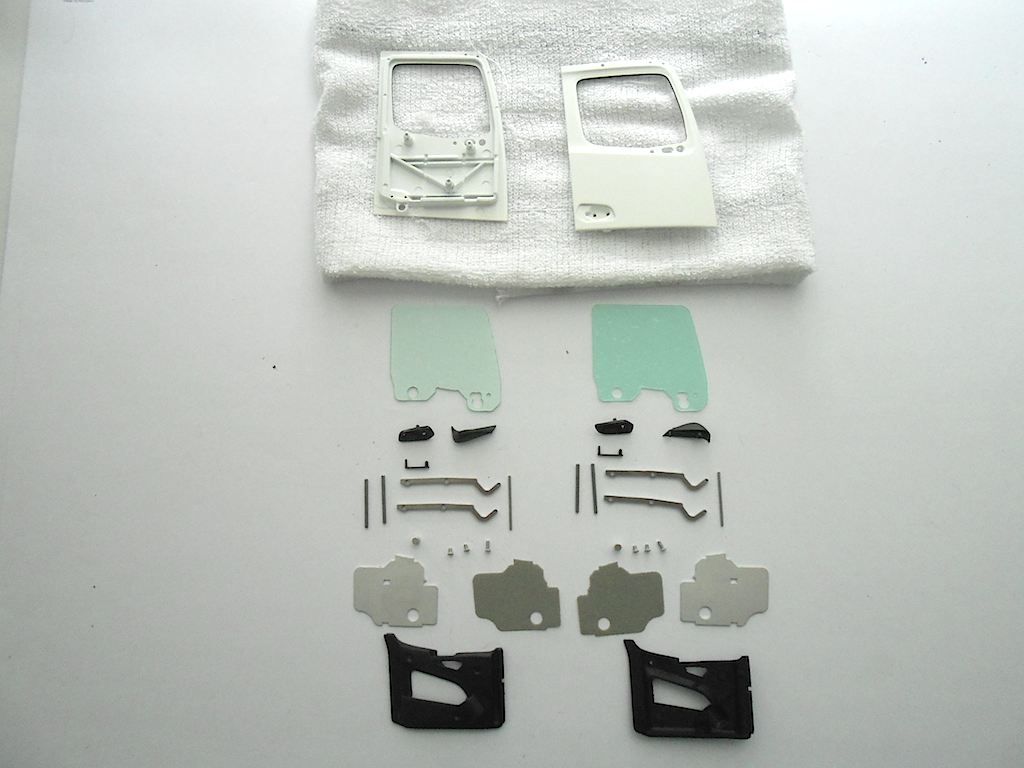 Here how it is supposed to fit together. First the metal parts that will be the door hinges/support. In the package there are 4 thick rods and 2 thin ones. Of the 4 thick ones 2 are a bit shorter than the other. Those go toward the front of the door. They are shorter to clear the plastic of the window. 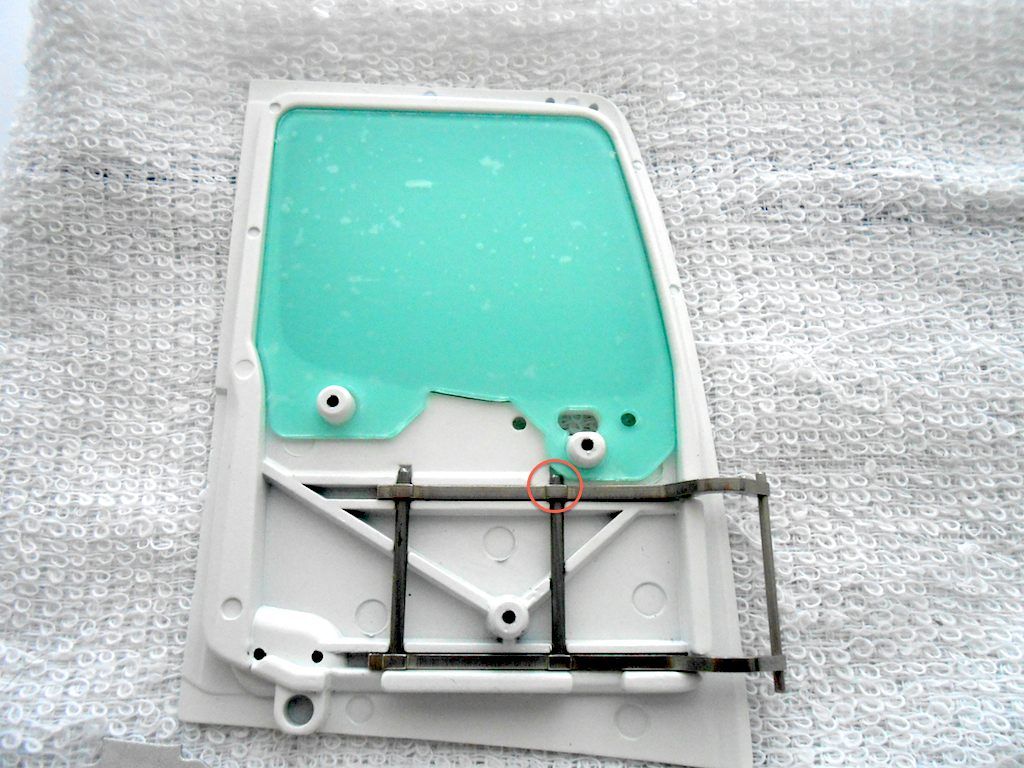 Metal plate to hold hinge/support to the door. 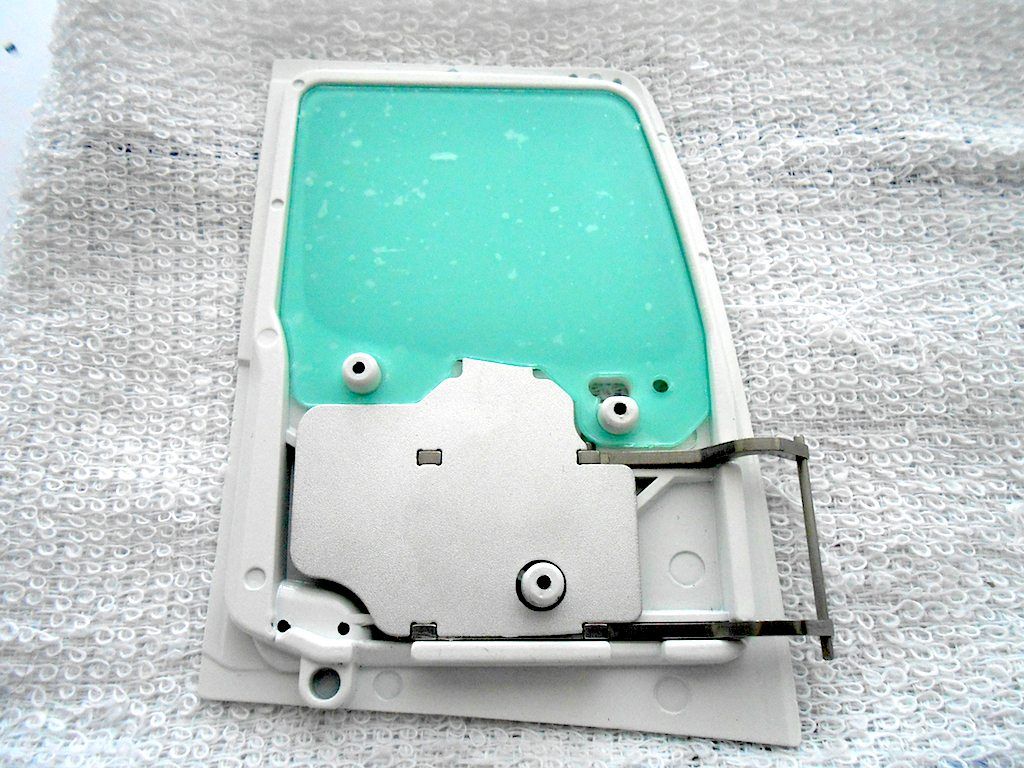 Optional carpet 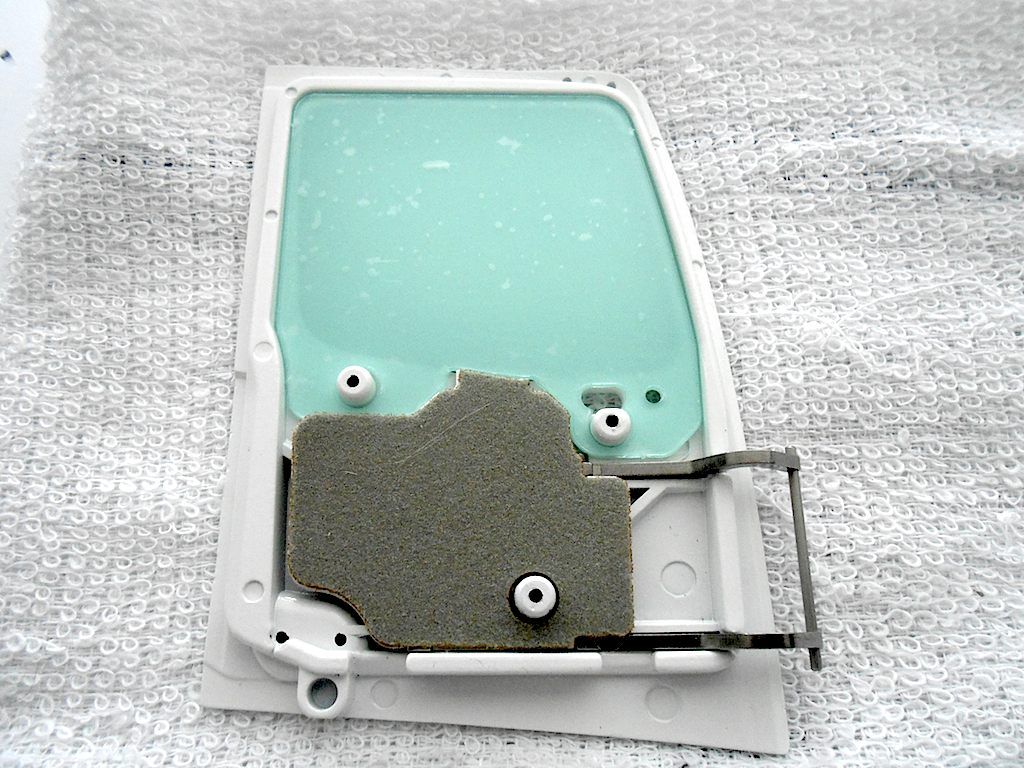 Door panel (will be screwed down with 2 short and one longer screw) 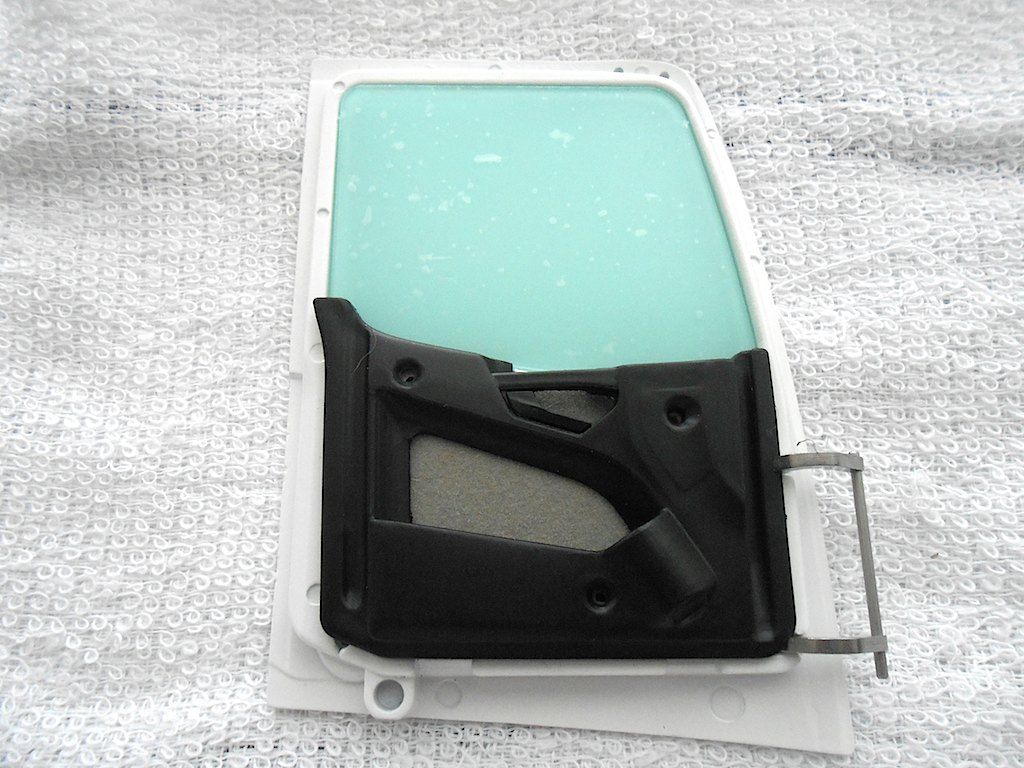 Before we screw all this together, after peeling the film of the plastic of the window, we have to attach the mirror support with a self tapping screw. This holds the window in place at the same time. 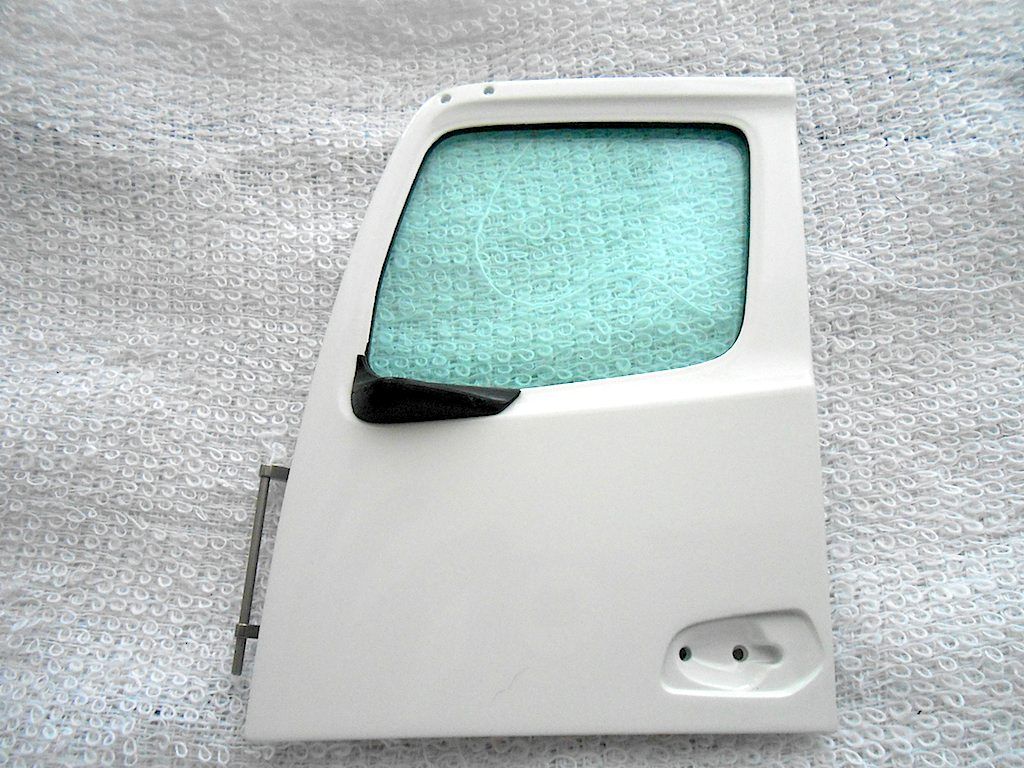 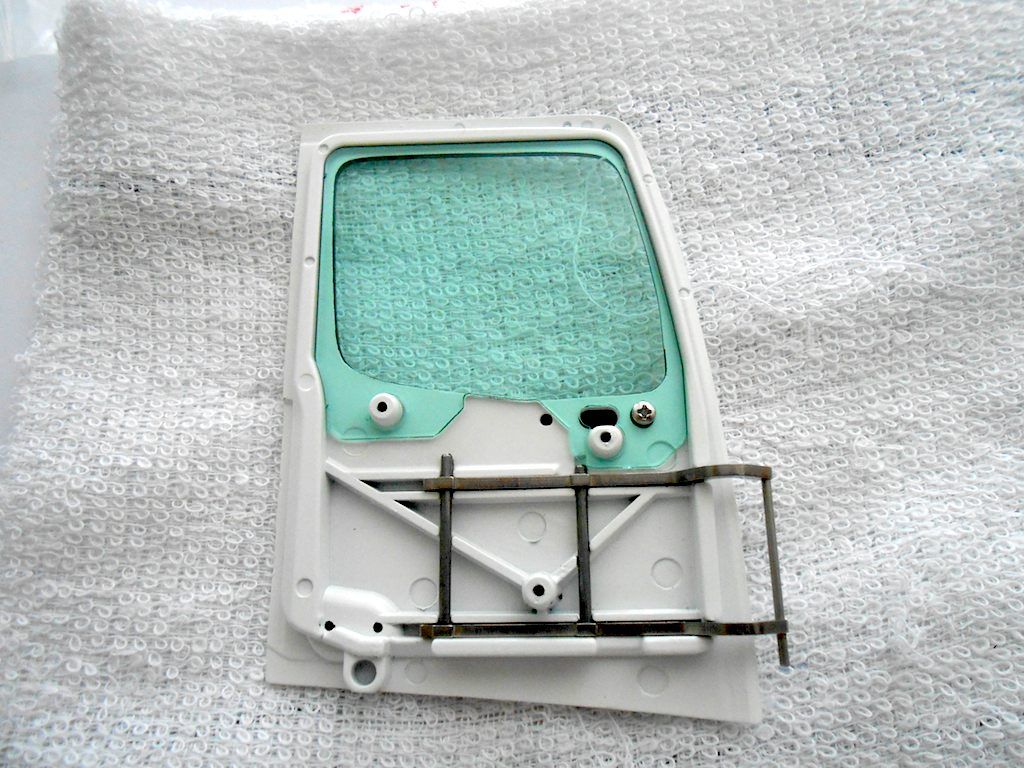 Finished and screws blackened with a Sharpie (door handle outside is glued in place) - The Magnet at the bottom of the door is supposed to glue into place, but I had to firsts clear the paint out of the provided spot with a 4mm drill, tried a dry fit, it clipped place and couldn't get it out again. So not glued. The other door same story. 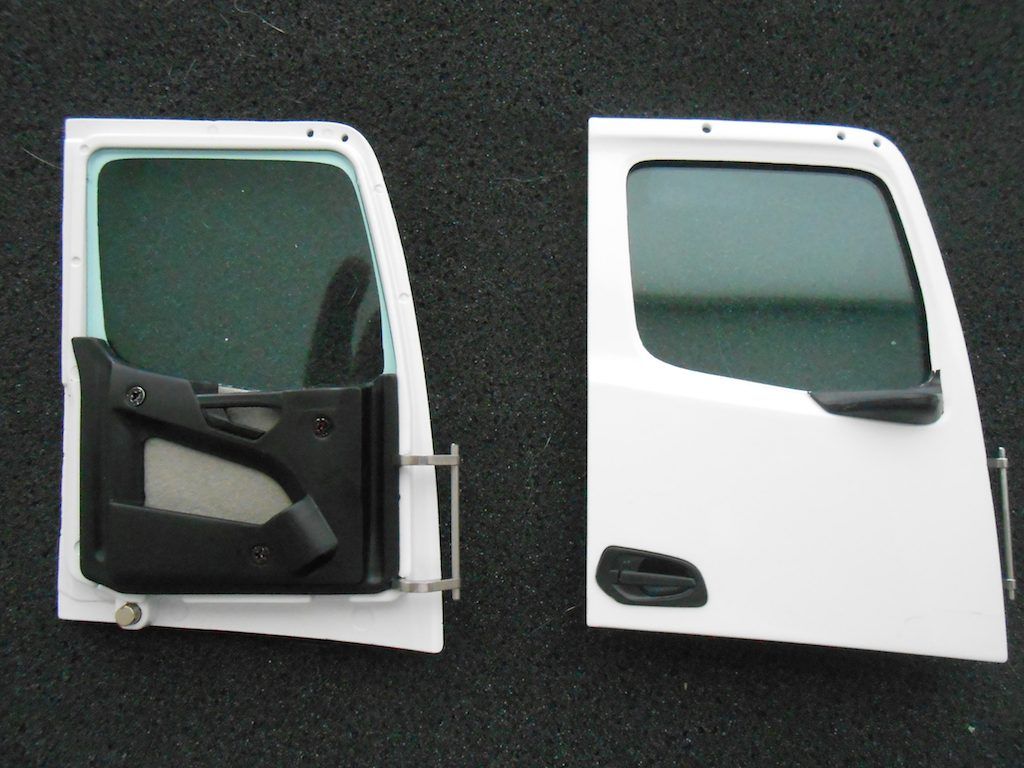
__________________
Cheers, Stephan (Rakthi is the one in the avatar) |
|
#3
|
||||
|
||||
|
Doors - Part 2
Not really the doors, more the sides of the cab. 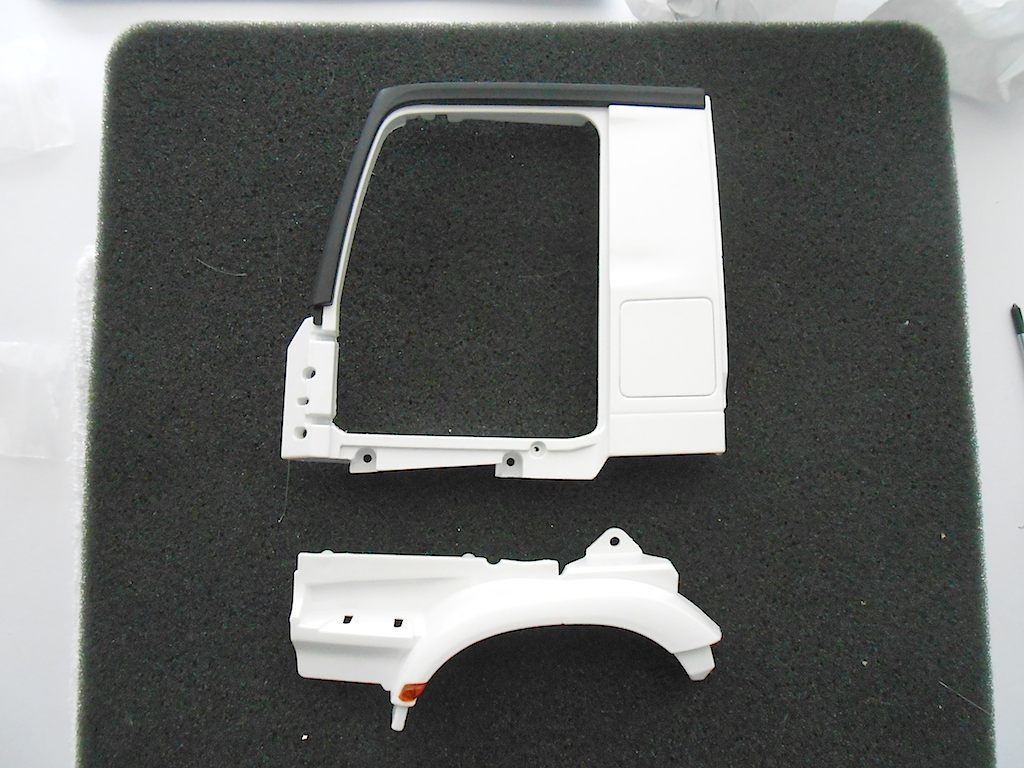 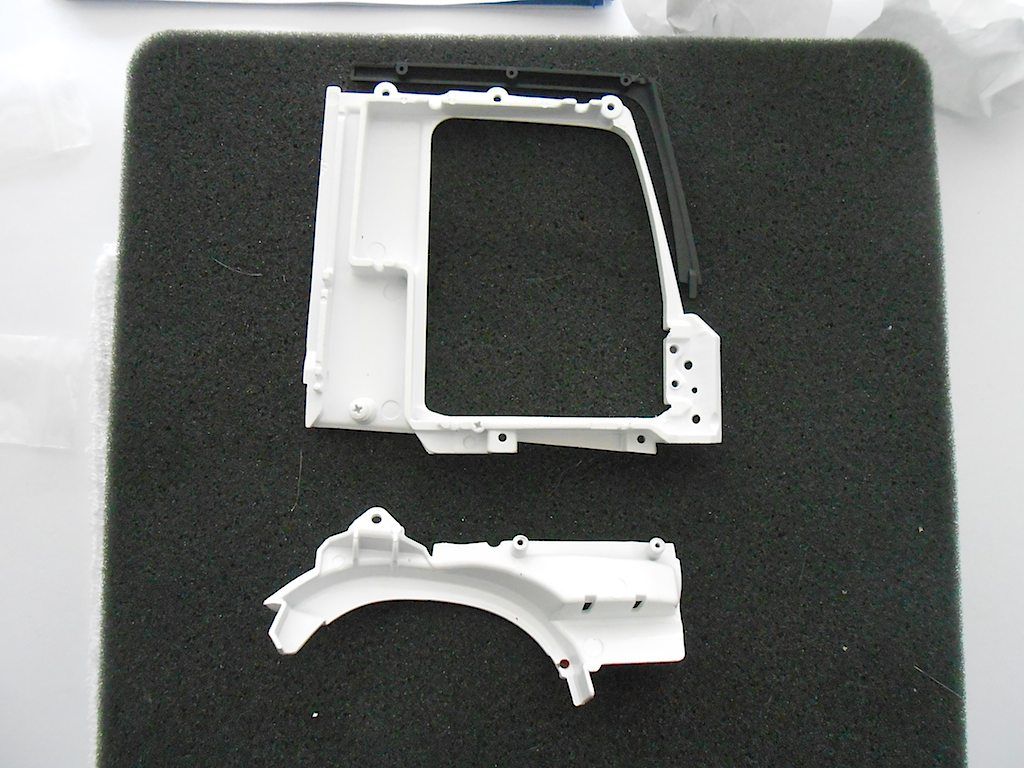 The black plastic strip is fastened with 3 self tapping screws 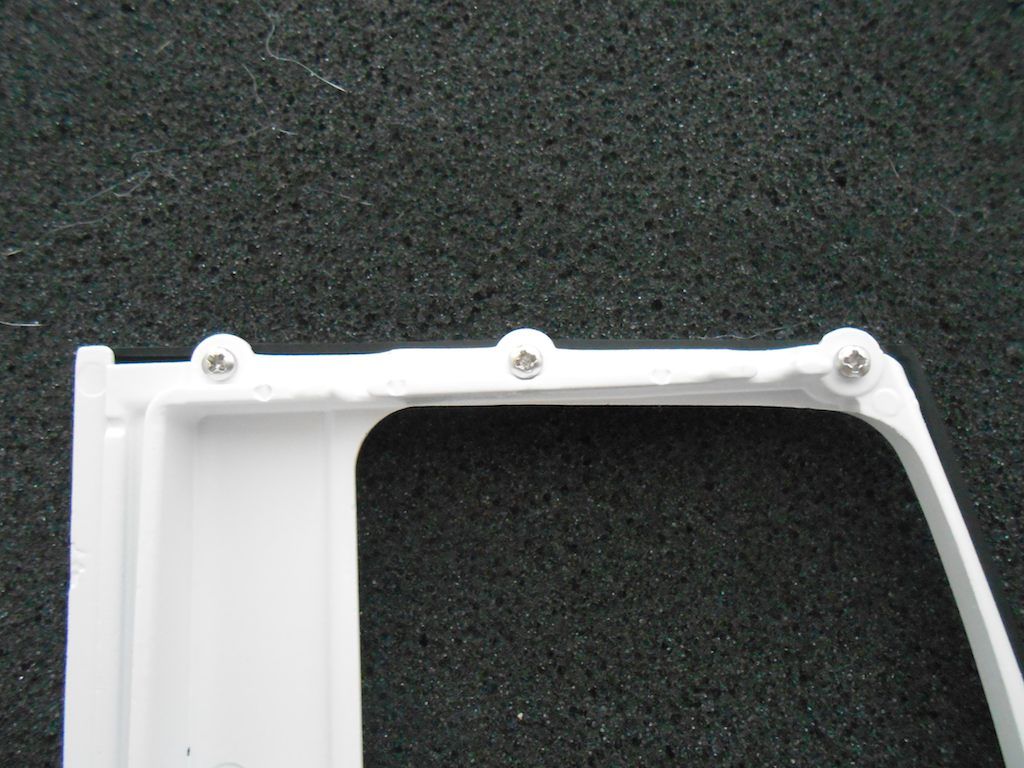 Next we screw in the galvanised iron screw that the magnet will stick too. (I cut that one in half, half way thru screwing it in it became pretty hard to do, and worried my screwdriver might slip out of the slit resulting in a big scratch ... 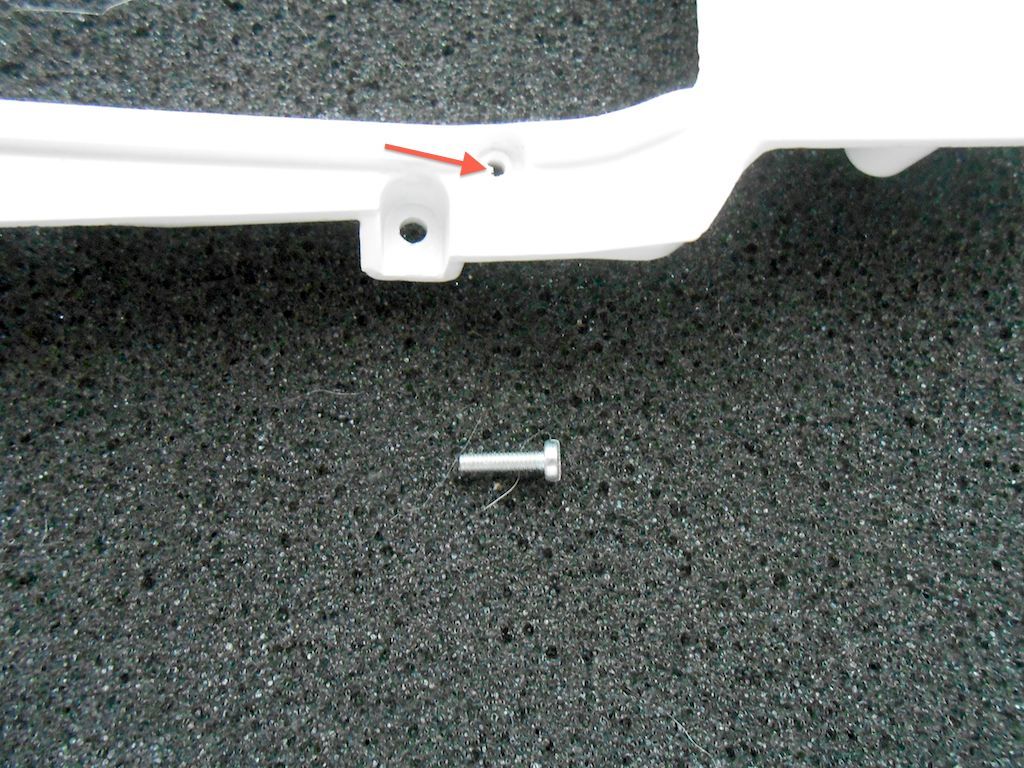 Next the fender/step part of the cabin. Held in place with one regular M3 screw and 2 self tapping ones. The indicator lights i painted orange yesterday and trimmed and fitted them already. 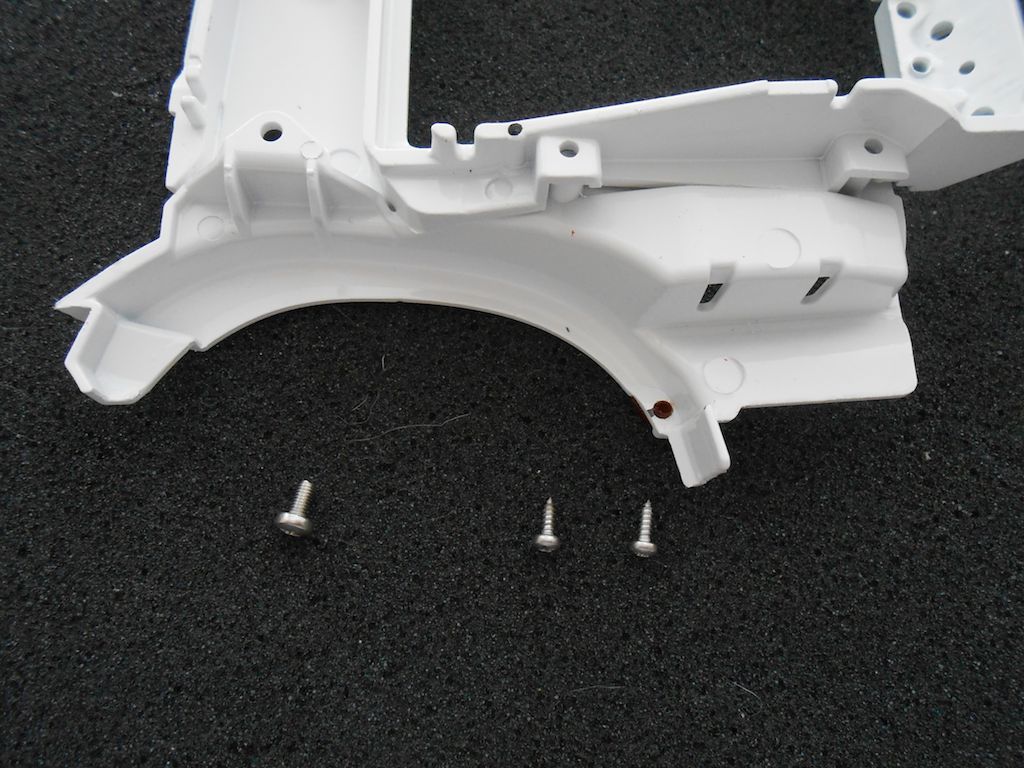 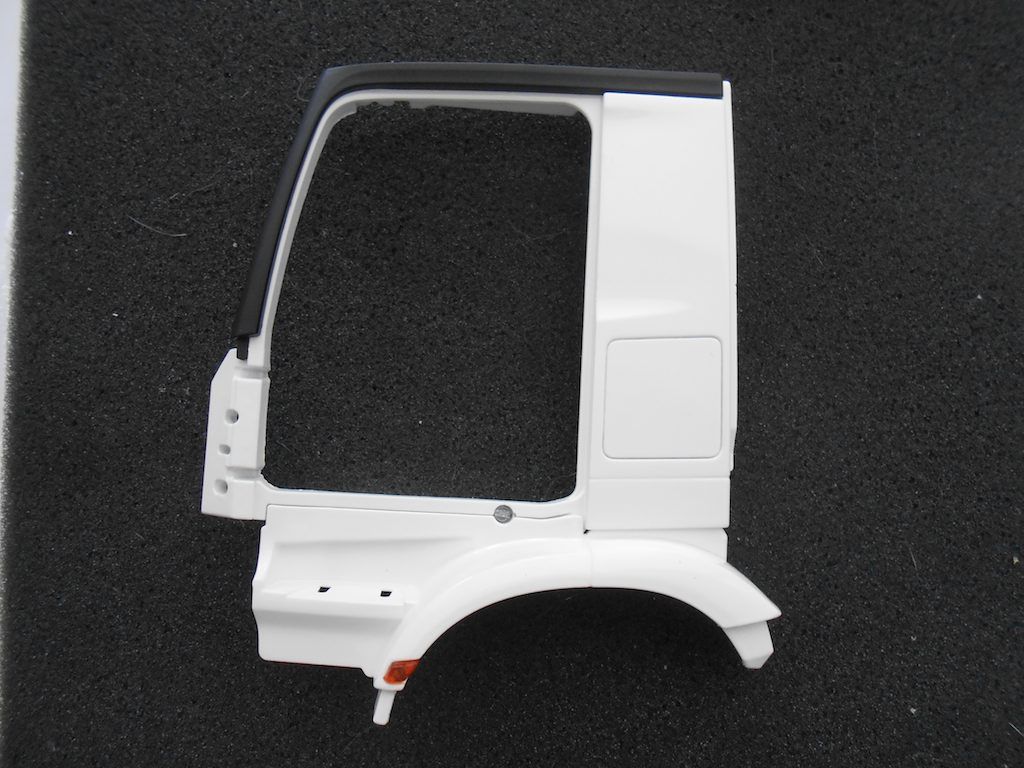 Both sides finished, the right side has the extension on the black plastic for the dead angle mirror. 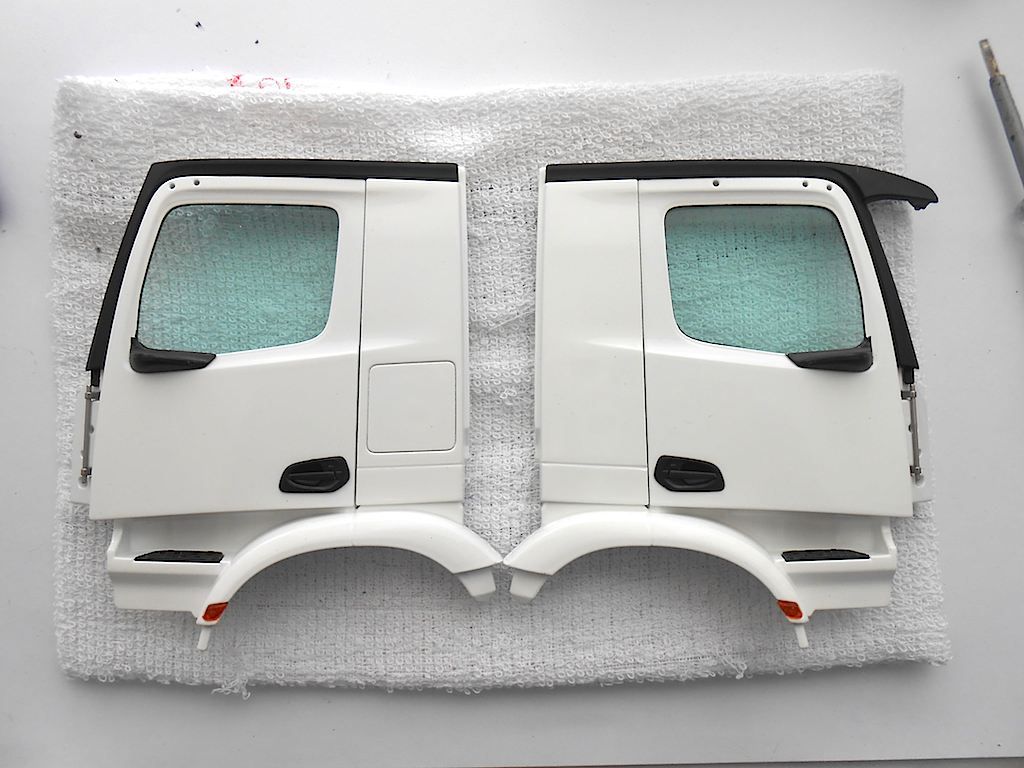 Next step will be the front of the cabin that will hold these two bits together.
__________________
Cheers, Stephan (Rakthi is the one in the avatar) |
|
#4
|
||||
|
||||
|
Oh dear, today was the "comedy of errors"
No clue what happened. Must be getting old. Next step, as said, the front of the cab. All the parts needed. 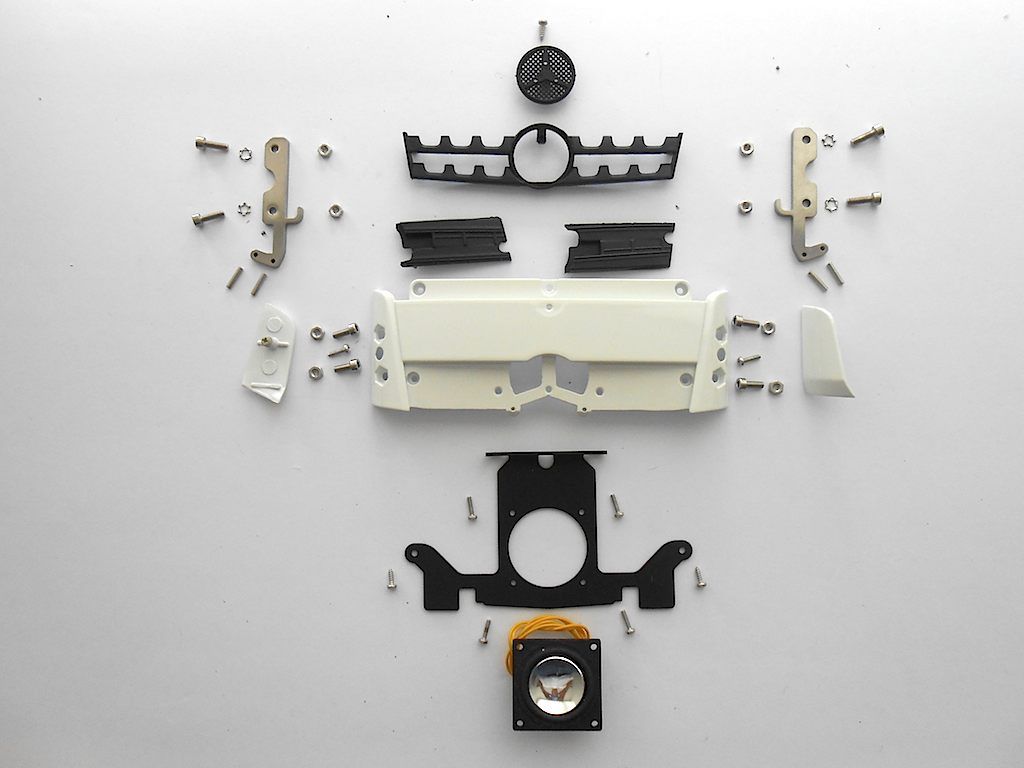 Reverse of main pieces 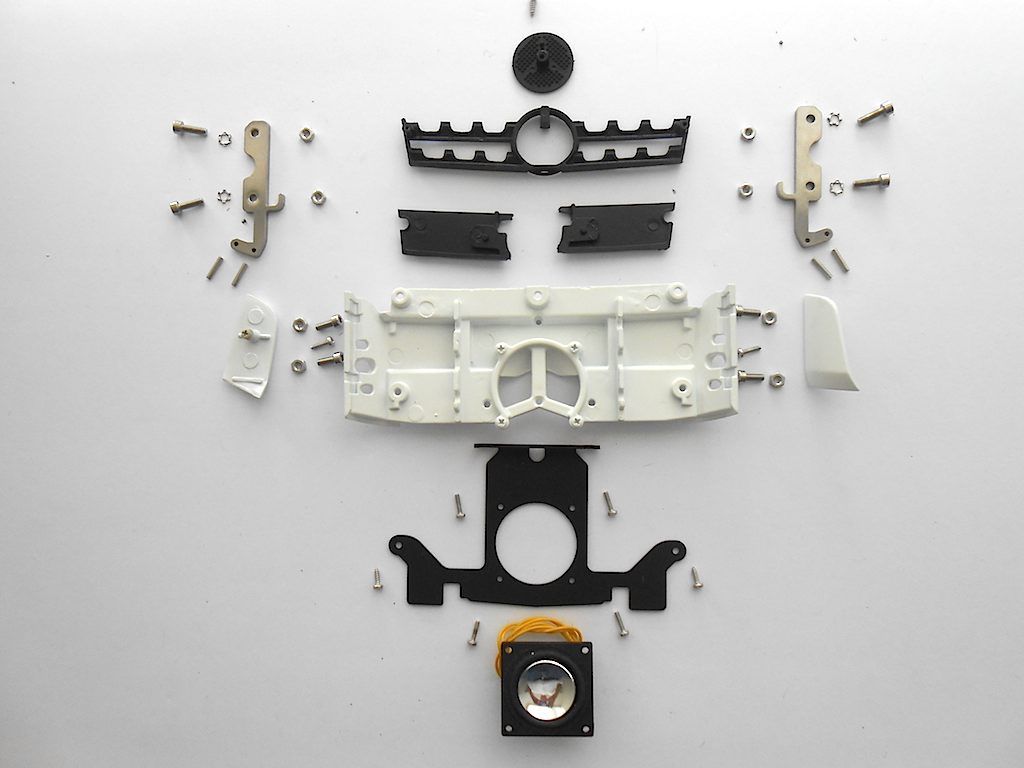 First I started with inserting the pins into the holders. These are the pins that go into the front locking mechanisme on the frame. (you can see the grooves at the top where they flare out a bit) 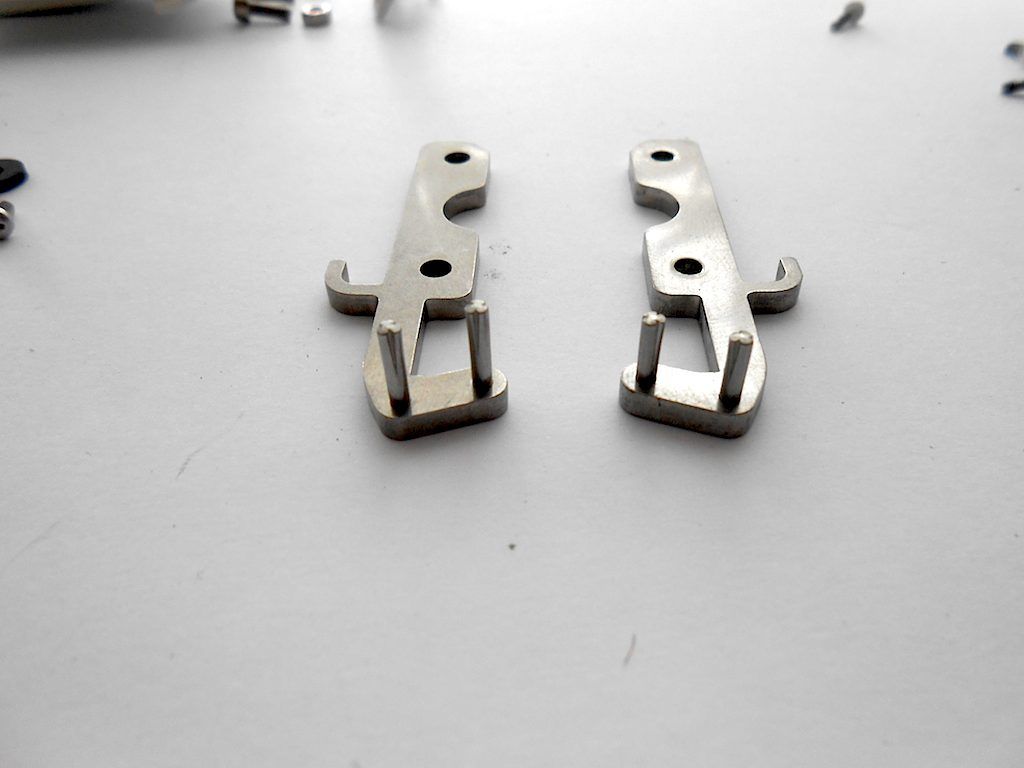 I could barely push them in the holes, so had to run a 2mm drill through them. Then needed a rather heavy hammer to drive them home. Next i installed the black metal piece and the speaker. So far so good. 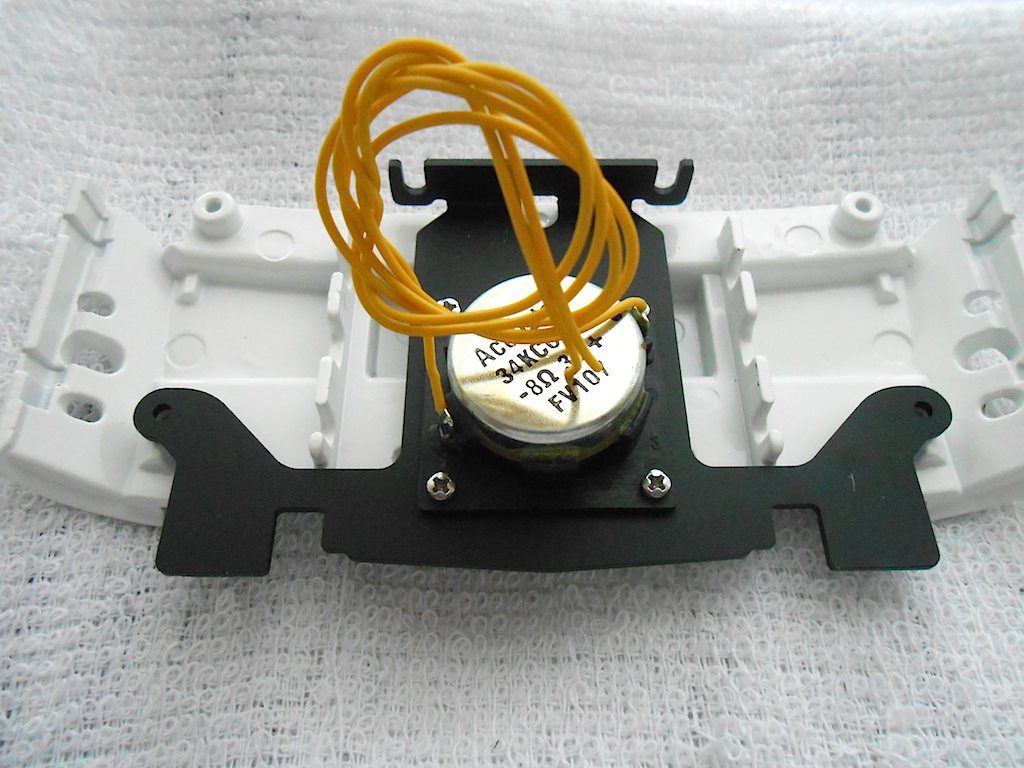 Prepped the 2 stainless steel parts for installation and installed it. (forgot to take picture) 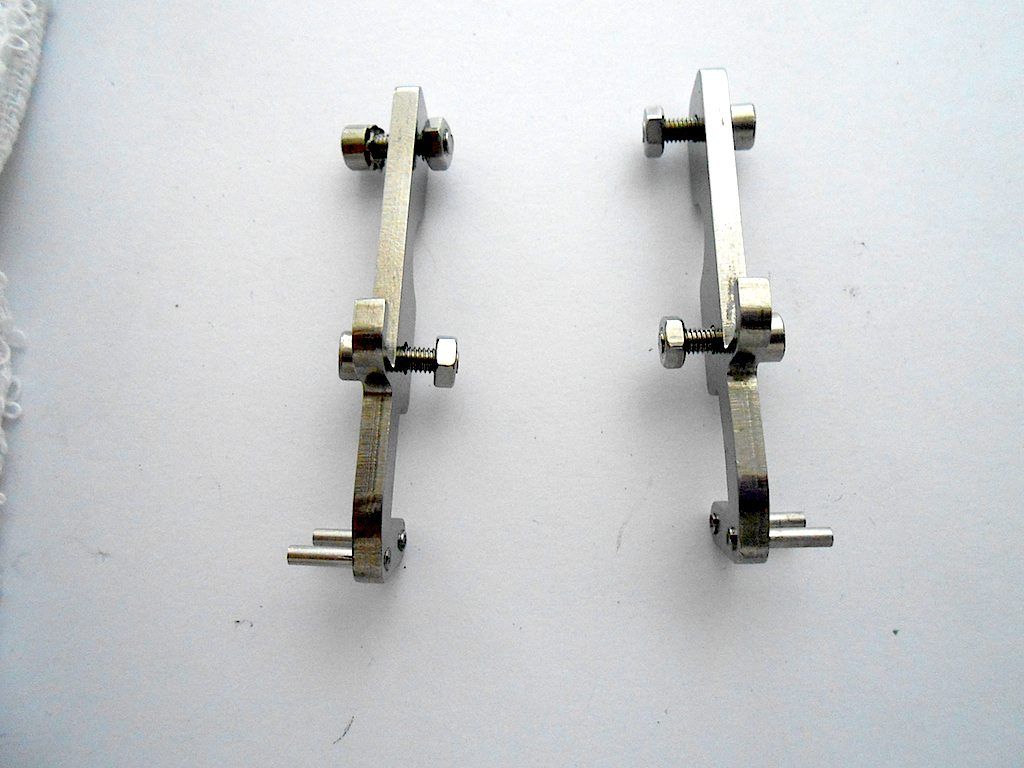 Turned over the part and put the 2 separate black plastic grill bits in place. They will be held down with the next part. 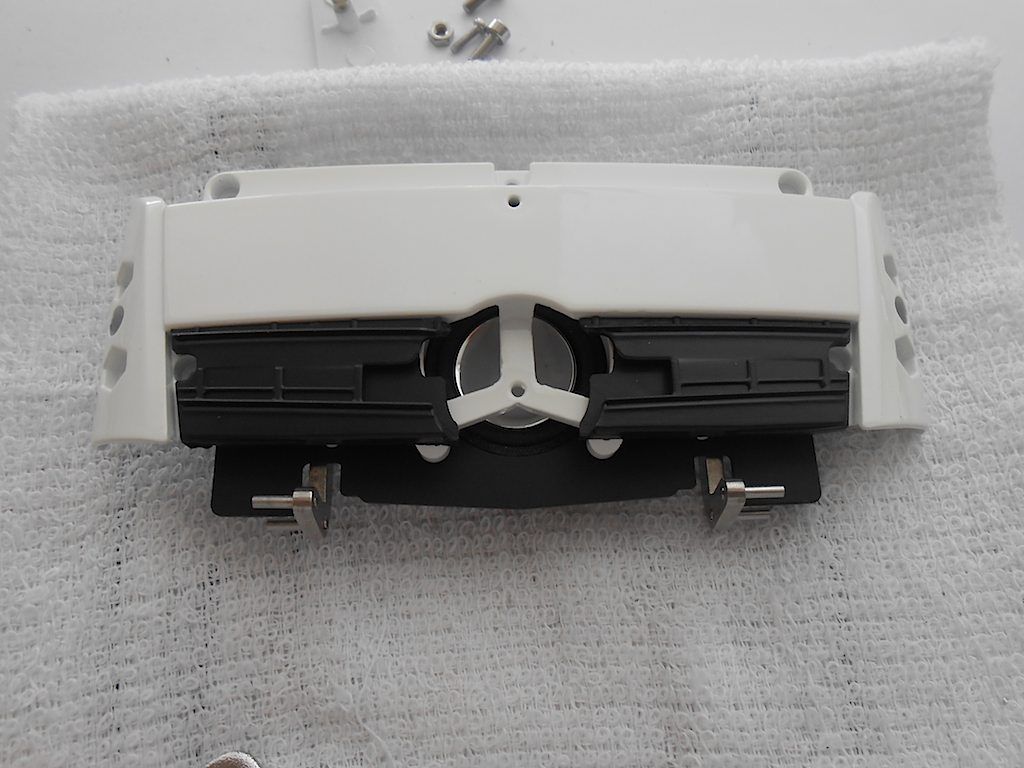 The outside part of the grill goes on top. 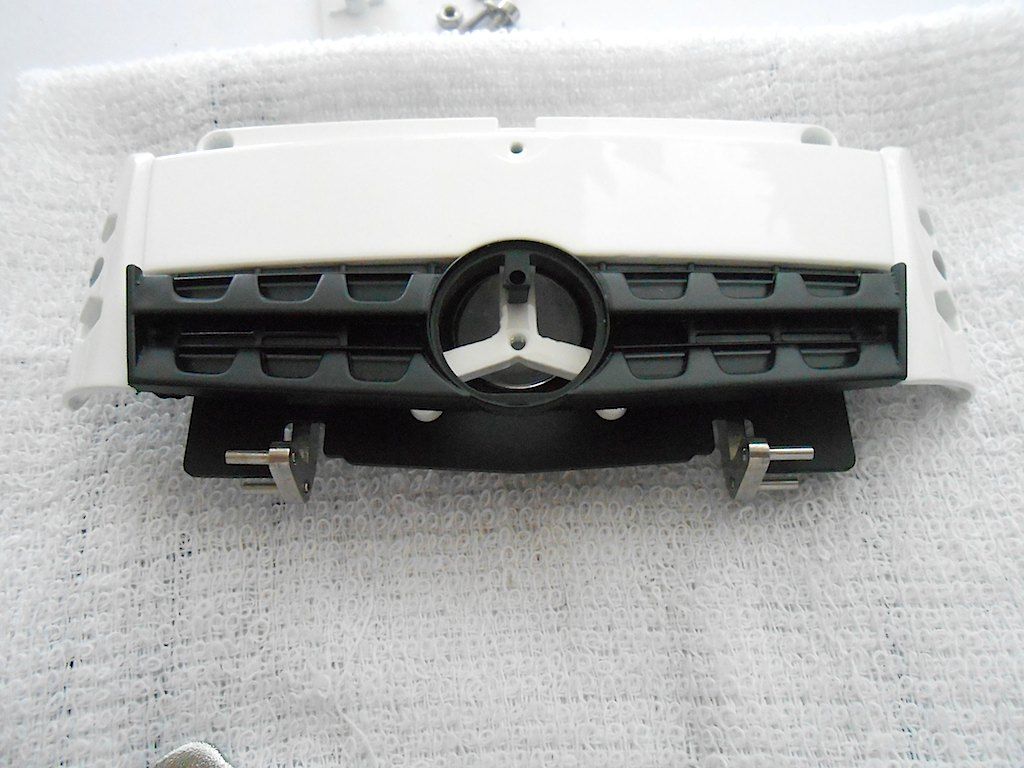 And gets screwed in with 2 self tapping screws from the back on the far left/right side of the black plate holding the speaker. The 2 previously installed stainless parts I had put on the wrong side of ledge they screw on too - and to think I checked a couple of times to make sure  :roll eyes: I only noticed this when I tried to fit it to the locking mechanism. :roll eyes: I only noticed this when I tried to fit it to the locking mechanism.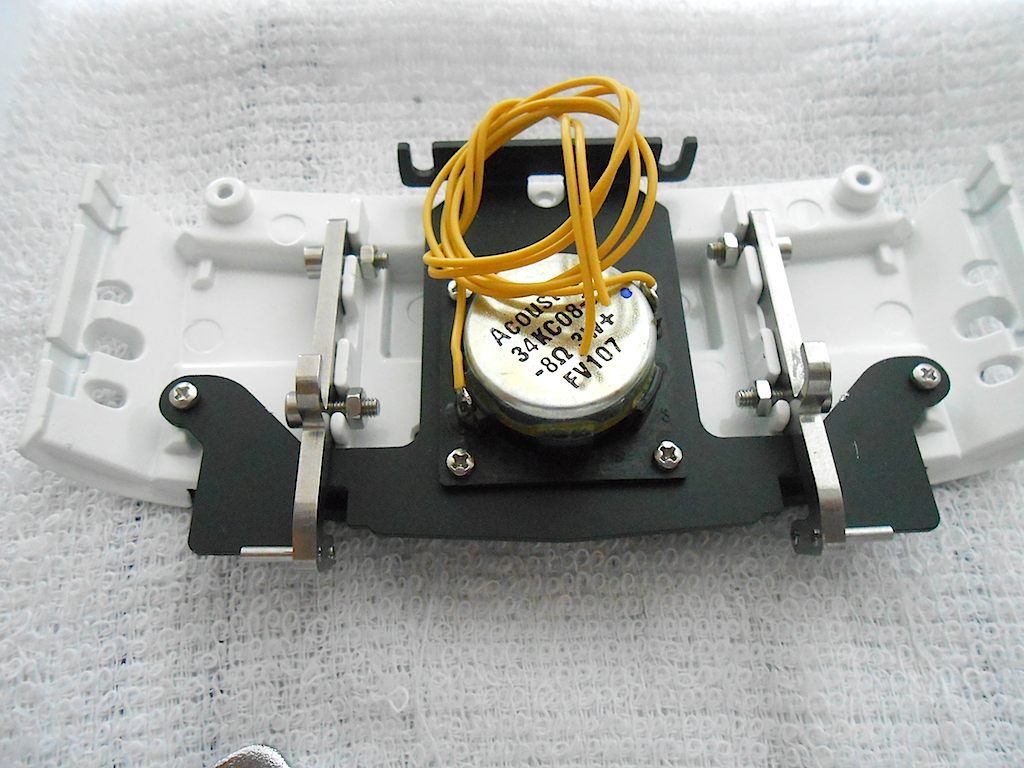 Supposed to look like this ... 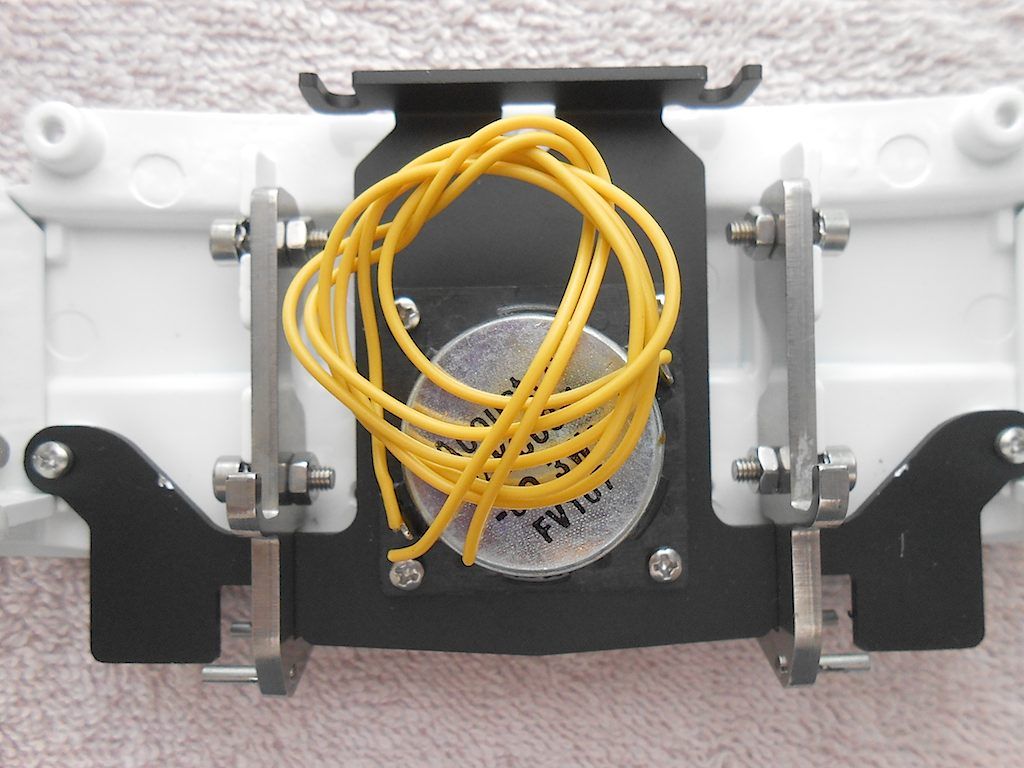 Next I wanted to attach the back of the Mercedes Star ... it screws in from the back ... so had to remove the speaker for access 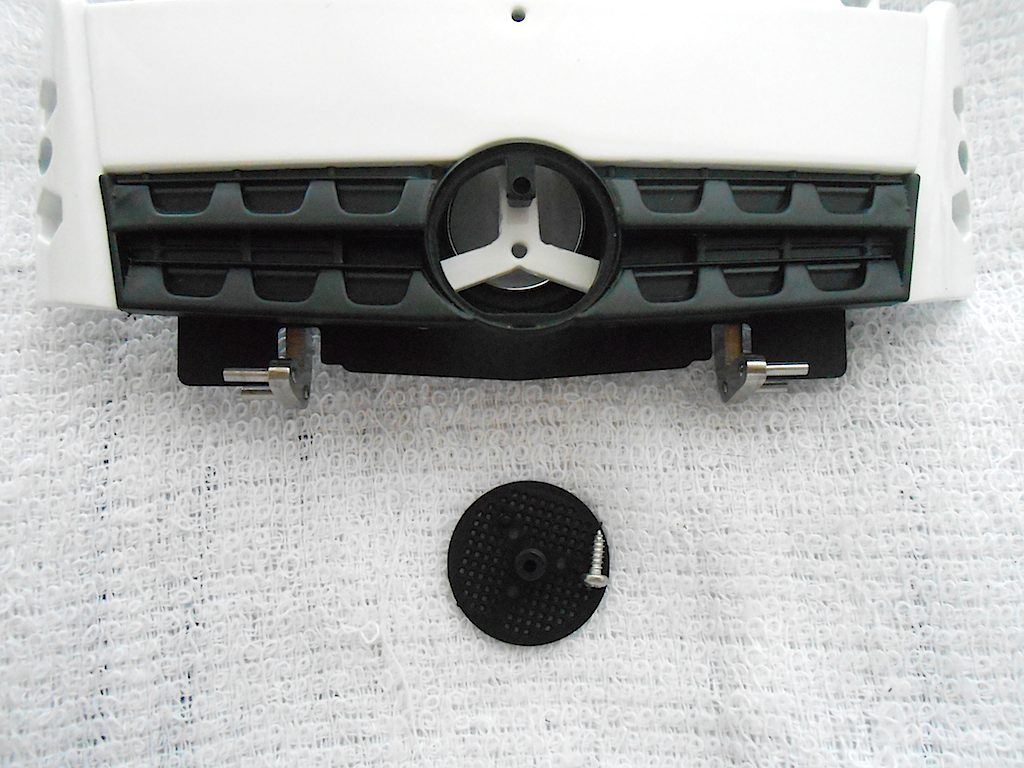 Also almost used the wrong kind of screw ... Needs to be a regular countersunk one. 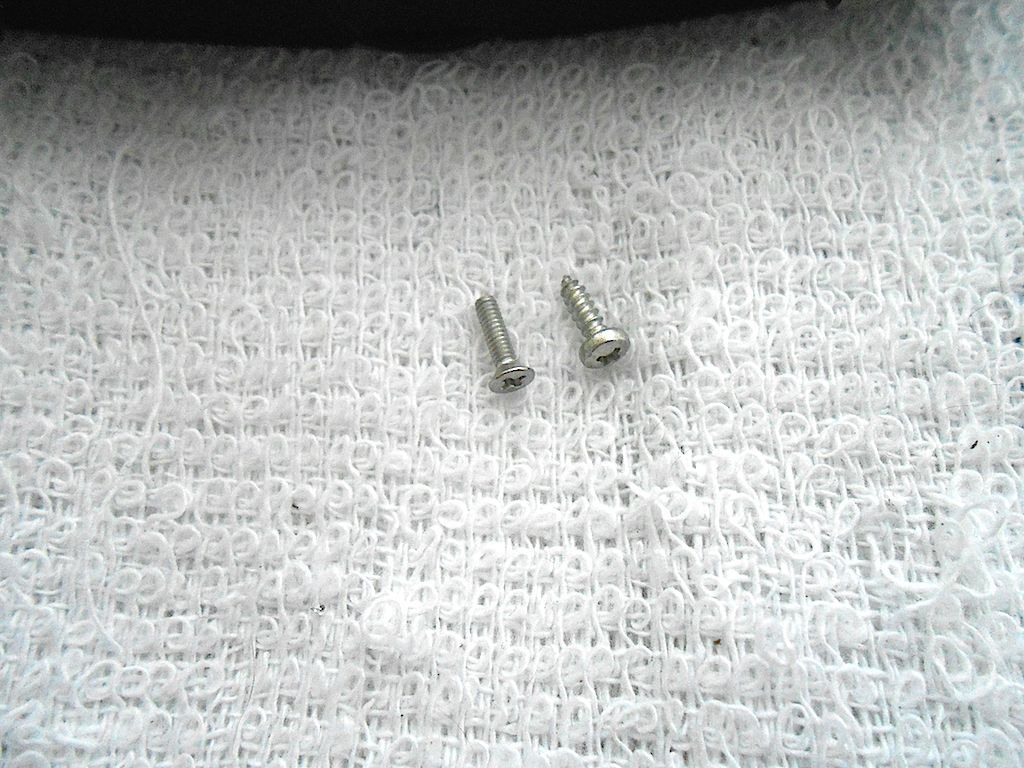 Installed 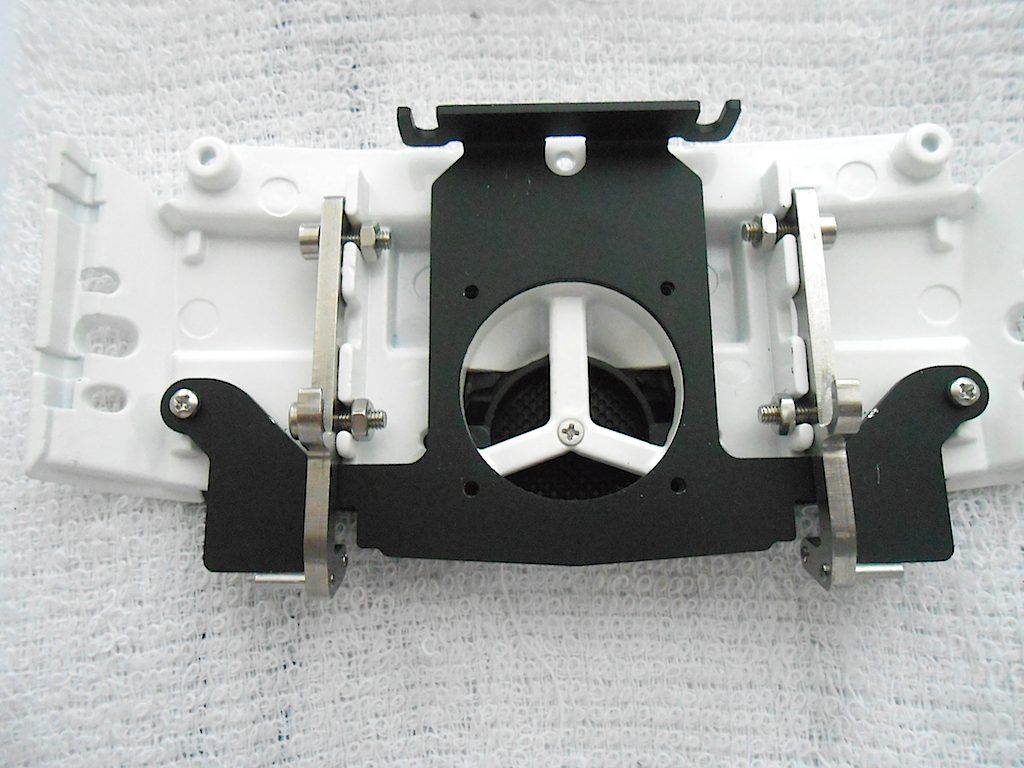 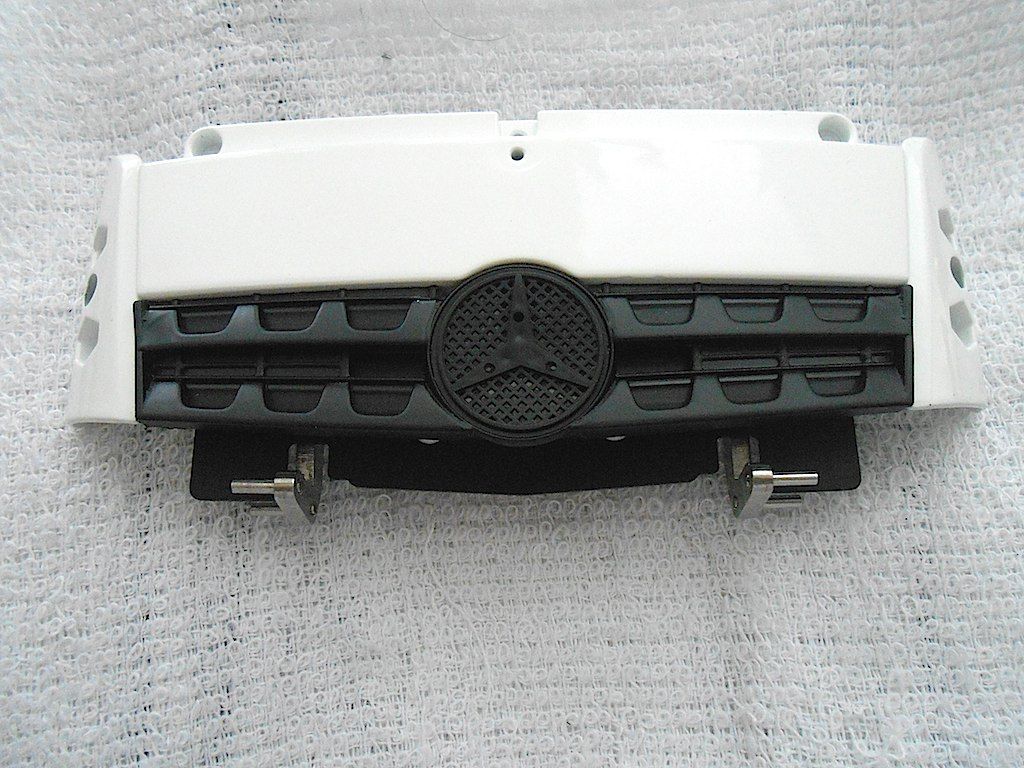 After sorting the stainless supports, test fitted on the front lock 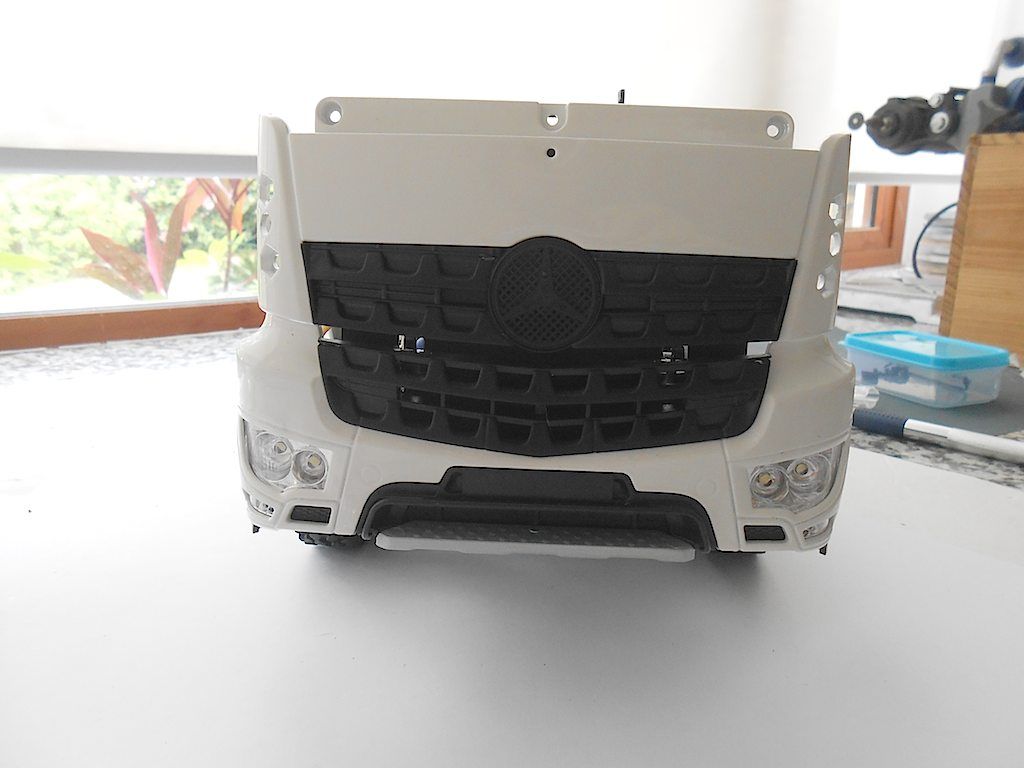 And tilt works fine too 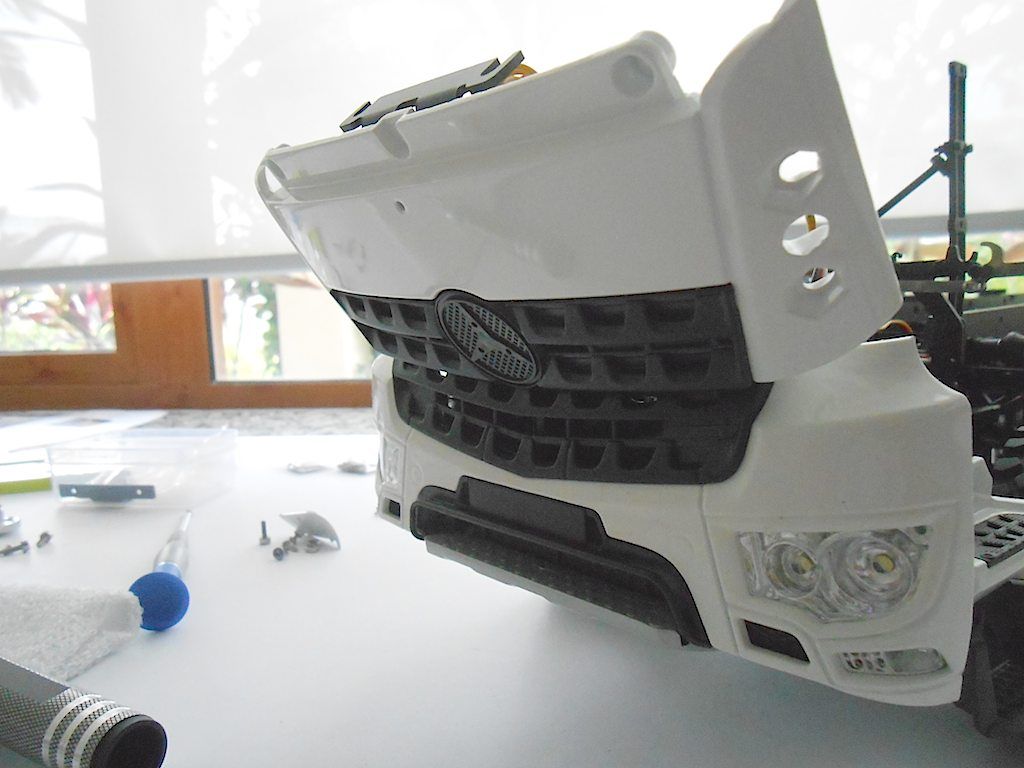 In the above picture you can see the holes that will be used to attach the sides of the cabs. The hexagonal shaped ones will hold the nuts and the middle one is for the little wind guide on the side.
__________________
Cheers, Stephan (Rakthi is the one in the avatar) |
|
#5
|
||||
|
||||
|
Now bolting the sides to the front
The two M3 Allen bolts go through from the inside to the nut on the outside. The whole thing is neatly designed. However ... 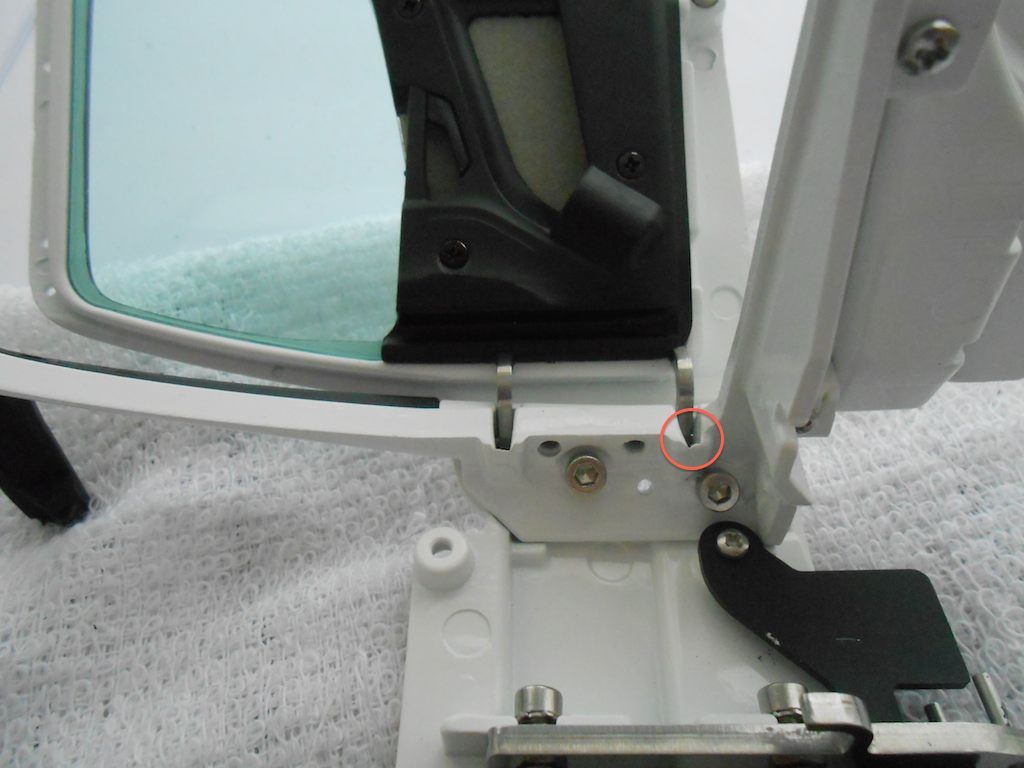 The door has a rather big gap ... Reason is why I have the red circle above. The casting is too rough at the hinges. Will need to be filed down. Apparently this is because this is one of the first batch of Arocs made. The later ones do not have this problem. 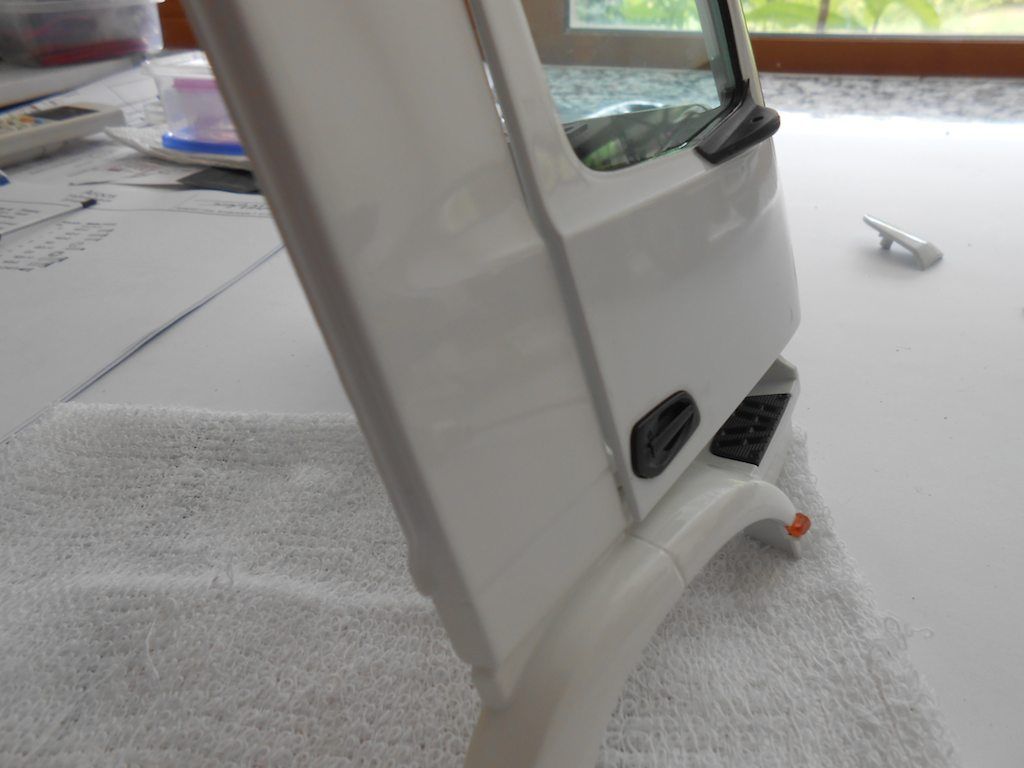 The other side same problem 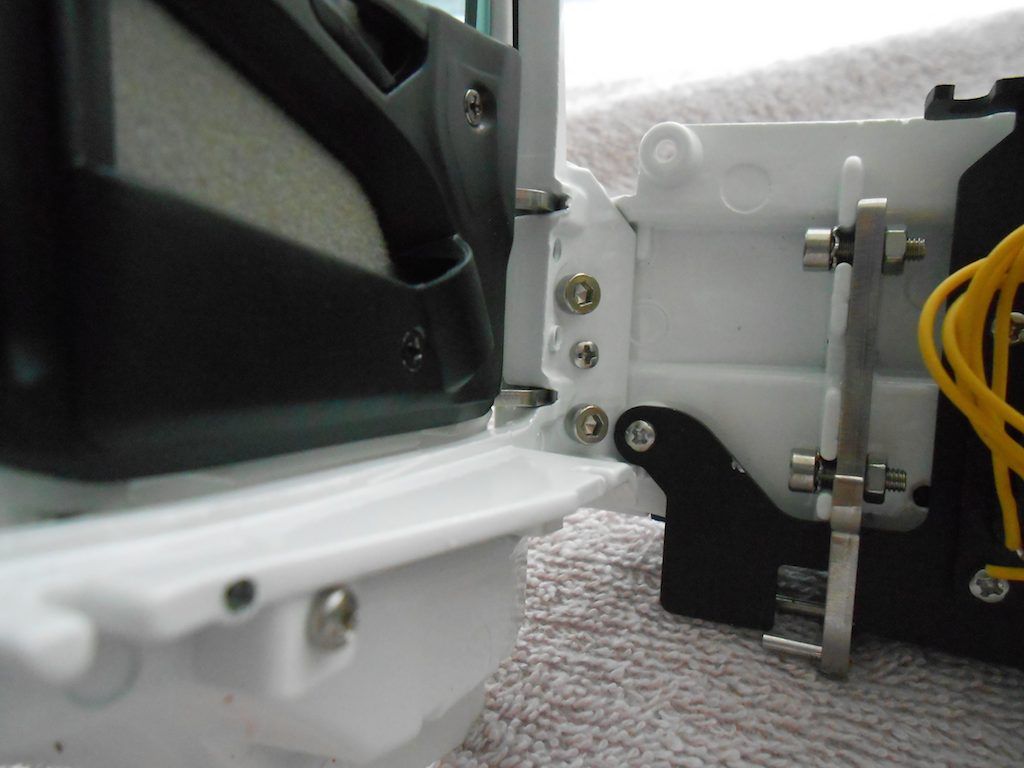 Didn't yet sort it out. Just bolted it up as it was. Will sort it out tomorrow. Both sides installed 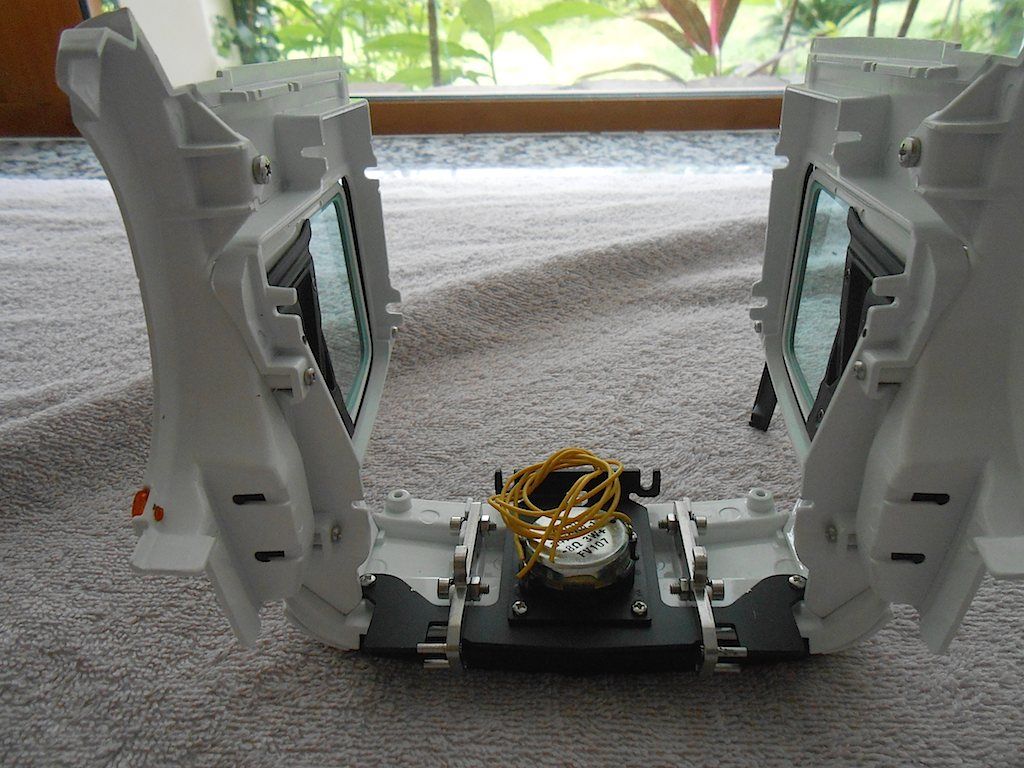 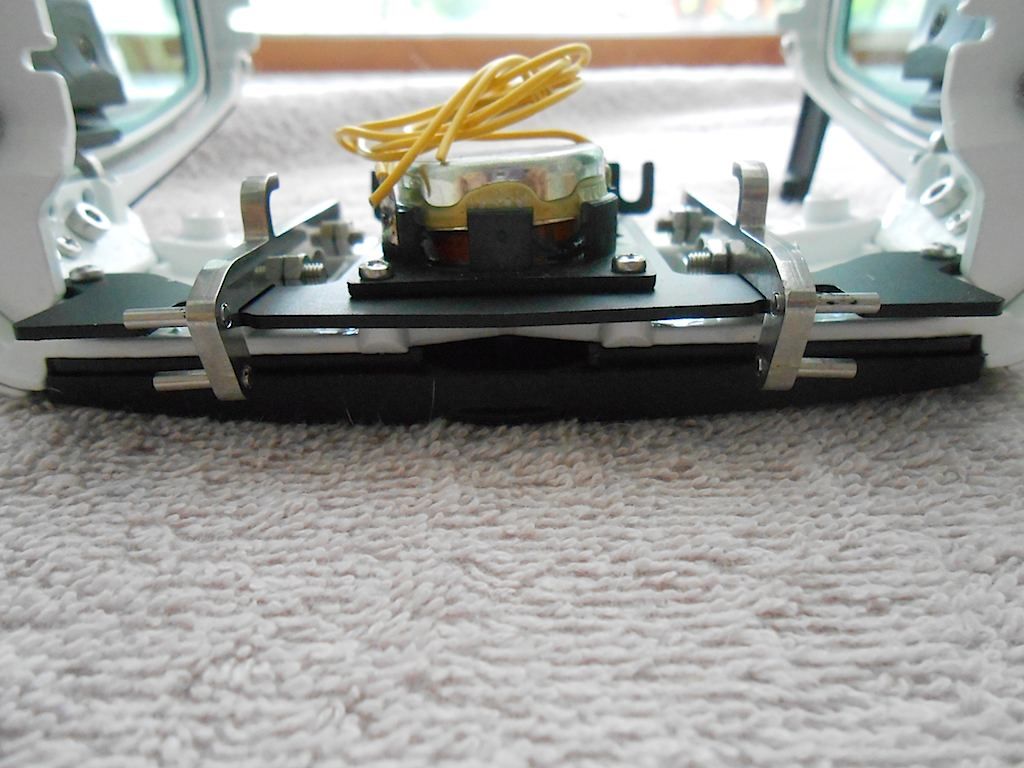 And a quick fit on the frame to get an idea. (Cab leans too far back because it's not properly supported yet) 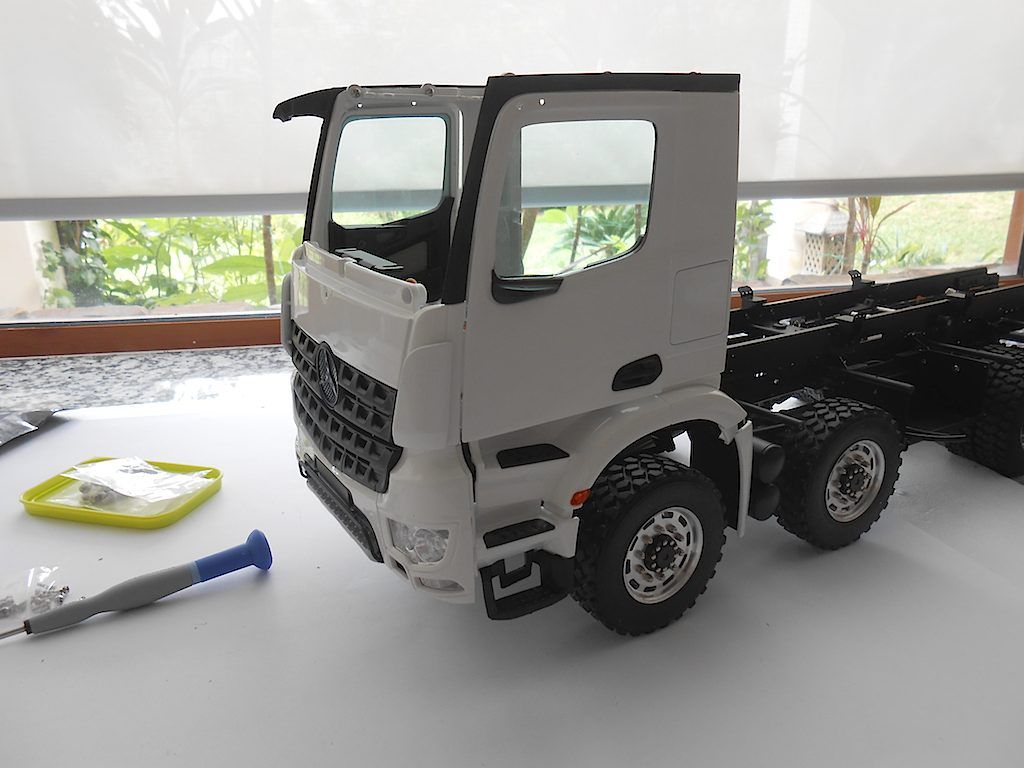 So I guess tomorrow I will be filing away at the door frames
__________________
Cheers, Stephan (Rakthi is the one in the avatar) |
|
#6
|
||||
|
||||
|
Looking fantastic. Some epic engineering on his rig. Shows you where your money is going.
|
|
#7
|
||||
|
||||
|
While the truck does look outstanding and does have some great engineering in it, it should not have all of the design flaws in it for what you pay for the kit. Even for an early production kit, there have been too many small errors to correct for the cost. I know that I would have been pulling my hair out long ago over the many errors that have been corrected in just the chassis and now to find more in the body. This is not acceptable in my eyes.
I am not ripping the truck as it does look great, just the many overlooked design flaws which Scaleart should have addressed before marketing the truck.
__________________
LYNN |
 |
| Tags |
| 8x8, arocs, scaleart |
| Currently Active Users Viewing This Thread: 10 (0 members and 10 guests) | |
|
|