|
|||||||
| 1:1 Your Semi's,Trucks and Equipment Here is a spot to share your 1:1 that you drive and or operate. |
|
|
Thread Tools | Display Modes |
|
#1
 04-03-2011, 11:00 PM
|
||||
|
||||
|
Well some of you have seen this truck before but since I posted picks of it, it has had some misfortune at the hands of my teenage son. Here is a pick of her at work.
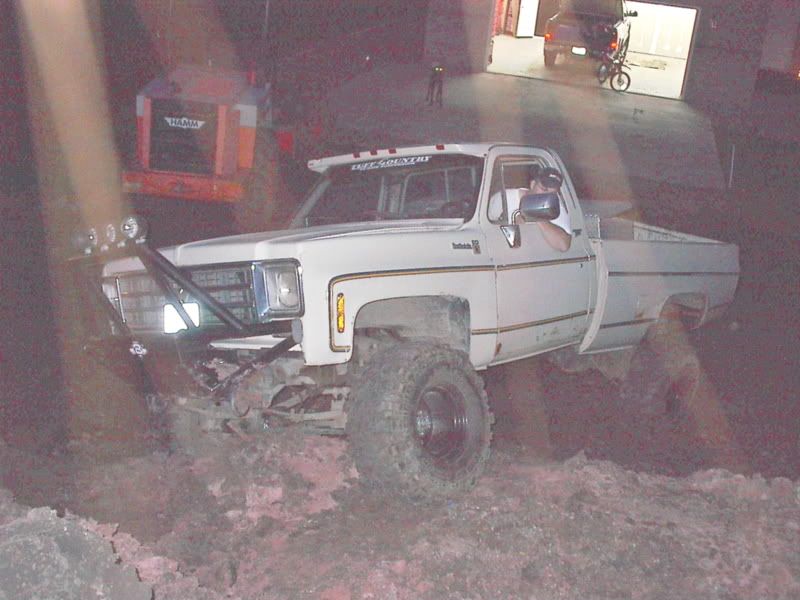 And here is a pick of the culprit next to the victim. 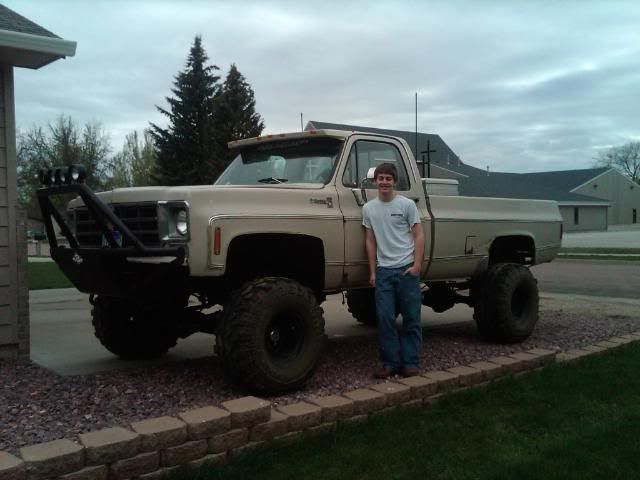 And a picture of the victim stripped of all her pride. 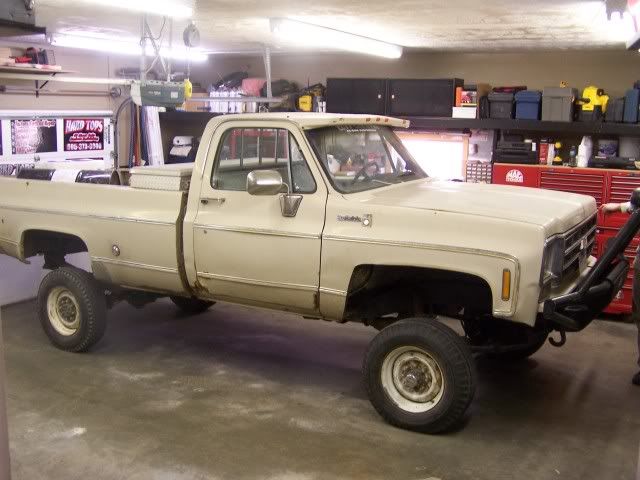 Since I do not have picks of what happened to her I will keep it short. She had a run in with an item that was not going to move with the passenger front wheel. This run in wrecked one of my 38 inch TSL SX tires and almost ripped the front leaf spring bracket off the frame bent the U bolts on both sides and sheared the centering pin out of the leaf stack and jacked the passenger front fender. Now don't think he is getting off with out being out of pocket he has to buy all New Tires for the truck and since Interco's Tire plant burned down 8 months ago my TSL SX's are very hard to get and if you can find them they have went threw the roof in price so he is buying 4 new 38 inch BFG KM2's.. So since we have this amount of damage and it has been run hard the last 11 years since I first rebuilt the truck and re did the body it is time for the kid and his little brother to learn how to do body work and paint and restore the old girl. Now since all the parts I have gotten him are OG off other truck there will be some work on them all but all in all for the most part rust free. So he started with the bottom side of the new hood this weekend and prepped the under side and sealed it with POR rust proof sealer. Before 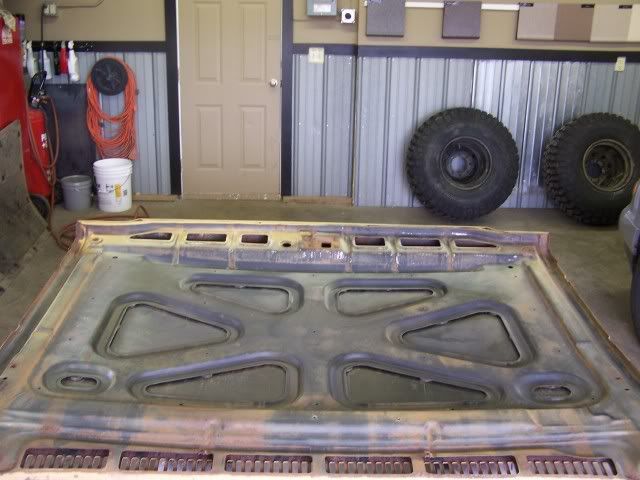 After 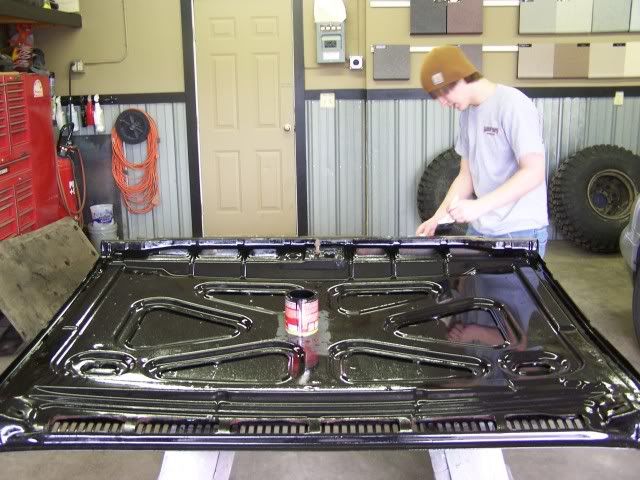 Next with some help he got to work on the damaged mount. 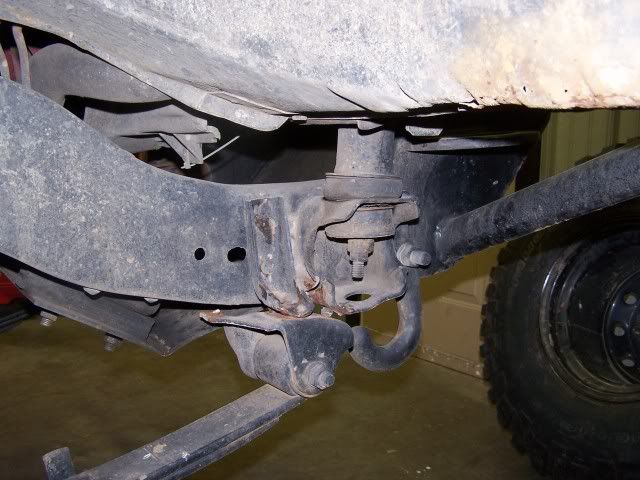 And here is what is left of the mount after we got it off. 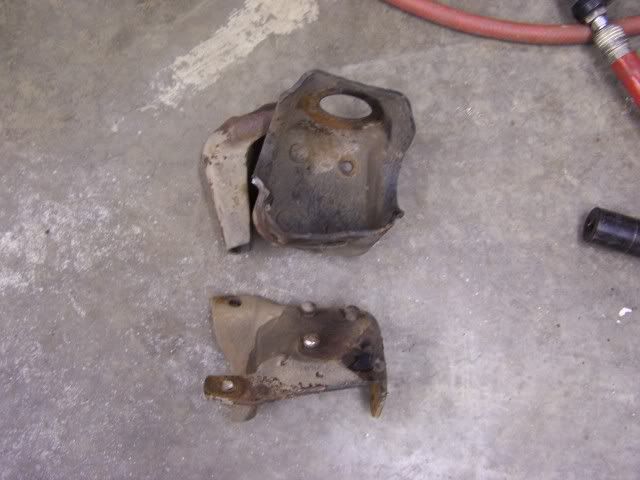 Now that is it for tonight Ill have more soon as I am having new U bolts made tomorrow and getting a new centering pin for the stack.
__________________
Paul W. "Tamiya Cowboy" HI.. My name is Paul.. And.. I.. Have a Cabover Addiction. RIP FreddyGearDrive 2-12-59/12-19-11 "LET IT EAT" Like Us on Facebook "Corn Field Mafia" To view links or images in signatures your post count must be 10 or greater. You currently have 0 posts. 
|
| Currently Active Users Viewing This Thread: 1 (0 members and 1 guests) | |
|
|


 Threaded Mode